How to fix lumpy cheese sauce? Making a cheese sauce and discover that it looks lumpy or curdled, all is not lost if you know what to do and you act quickly.
The "knowing what to do" is essential, which I am about to share with you.
But before we start, let's discuss what cheese sauce is and what's gone wrong in the first place.
What is cheese sauce?
The cheese sauce is one of the most delicious culinary sauces on the planet and is a favorite with people of any nationality.
It can elevate anything, from a simple baked potato or a bowlful of cauliflower, etc., to the next level, and when it comes to making something like a Lobster Thermidor, it helps create food heaven.
In all its gorgeous, cheesy, gooey splendor, a simple cheese sauce doesn't take more than about five minutes to knock up.
But it can easily go wrong if you don't do it properly.
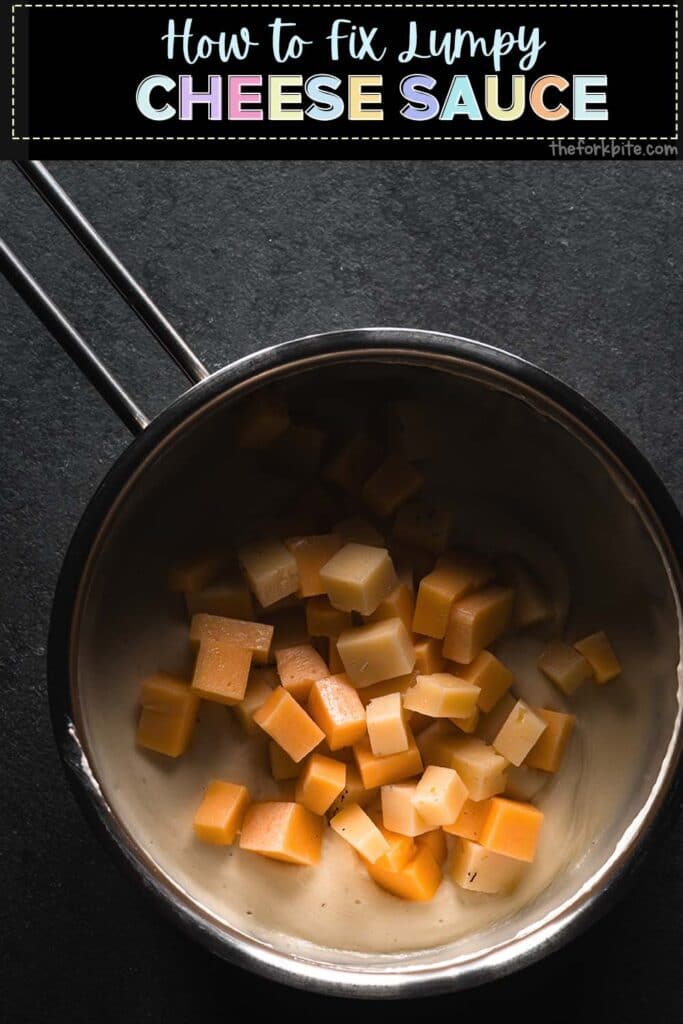
If, when you think you've finished making a cheese sauce and you go to start pouring it out only to discover that it looks lumpy or curdled, all is not lost if you know what to do and you act quickly.
The "knowing what to do" is essential, which I am about to share with you.
But before we start, let's discuss what's gone wrong in the first place.
Causes of lumpy cheese sauce
While making cheese sauce isn't exactly rocket science, several things can go wrong that will result in your sauce curdling or becoming lumpy.
1 The first thing is the heat.
Cooking the sauce on too high a heat could be the problem, especially if you are using a dairy-based cheese, as most people do.
If the heat is too high, the protein and the cheese's water can separate, with the protein turning into curds.
Curds are something in their own right. You will probably be familiar with them from the original British nursery rhyme, Little Miss Muffet.
Many people like them and make them especially because they enjoy their mild flavor.
The main pleasure for many is their springy texture which makes them "squeak" against your teeth when you bite into them.
The oil that cheese contains can also separate under high heat, giving the sauce a somewhat broken appearance rather than being nice and smooth.
2 Another cause of curdling is adding acid (such as vinegar) during cooking.
How to fix lumpy cheese sauce
1 As soon as you notice lumps forming in the cheese sauce you're making, remove the pan from the heat. It will stop the problem from getting worse.
Next step:
2 Add a few drops of liquid. With a milk-based sauce, the liquid can be cold milk, beer, or even white wine.
Give the sauce a good 10-second whisk. It might be enough to fix the problem.
3 If it doesn't solve the problem, the next thing to do is add some flour, still keeping the pan off the heat. You only need a little flour, say a teaspoon. It will start to thicken and bond the separation back into the sauce.
4 Another trick is to add a little lemon juice. Even though it is acidic, it can still help to rescue a curdled sauce. You only need a dibble - say, half a teaspoon. As soon as it's added, give the sauce a vigorous 10-second whisk.
Read: Substitutes for milk in Mac and Cheese
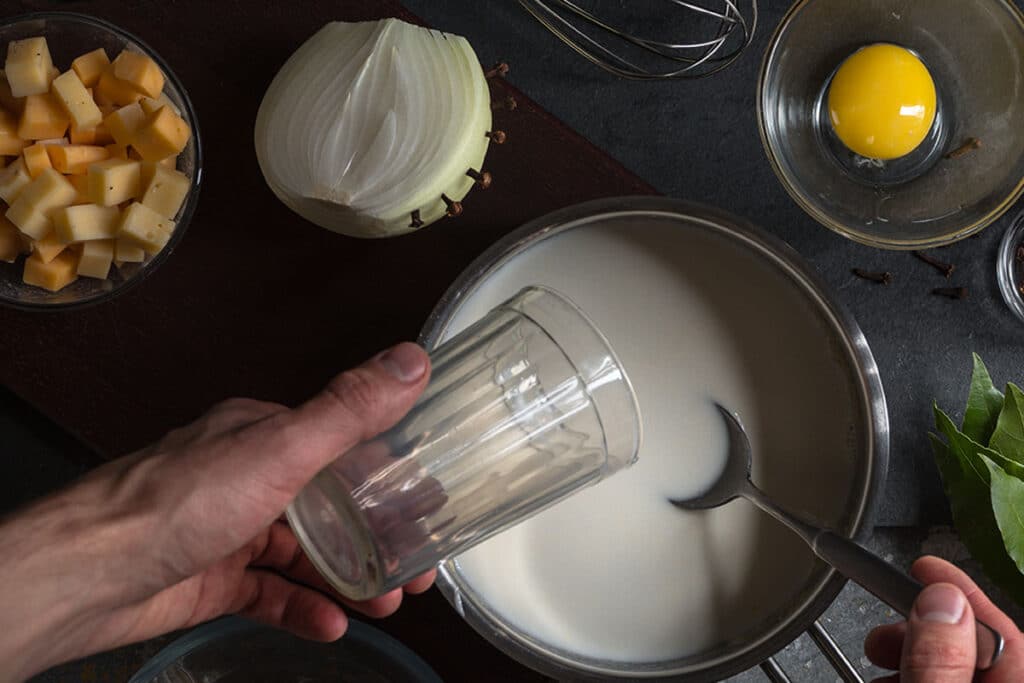
Another useful tip:
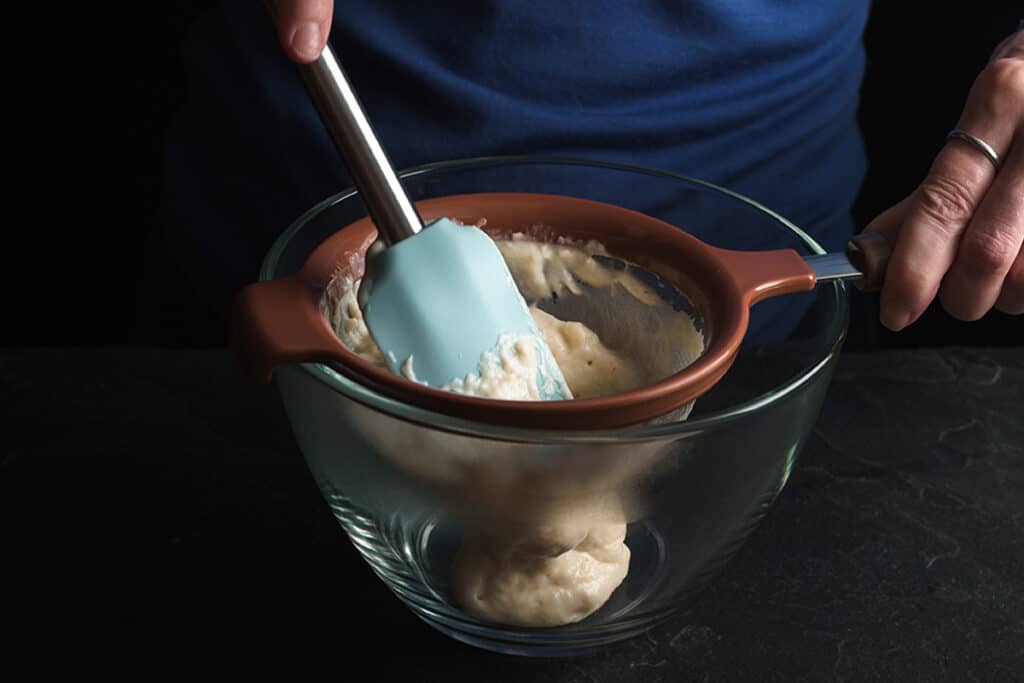
- If none of the above rescues work, you can pass the cheese sauce through a sieve as a last resort. To do this, position the strainer above a clean bowl or dish.
- Pour the sauce into the sieve and press down with a plastic spatula or the back of a plastic spoon, forcing the sauce through the holes, leaving any lumps behind.
Why cheese sauce becomes gritty
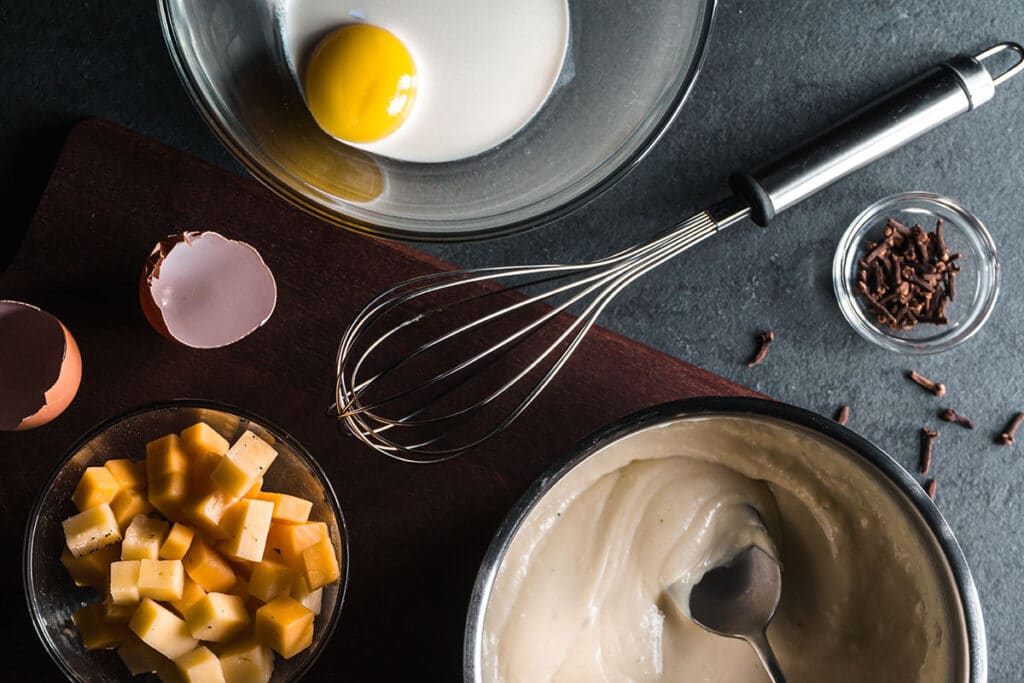
When you make your roux with white flour and butter and then add the milk and cheese, the sauce can become a little gritty.
It could be caused by the type of cheese you are using, or it could be that you've had the heat too high, and it has denatured the protein.
I think some kinds of cheese do this, but it could be that overheating the cheese has affected the protein structure.
Certain cheeses are not properly aged, and the coagulants and emulsifiers they contain are broken down due to the heat, creating grittiness.
The best way to avoid this is to use top-notch, pure cheese, not a cheese product that contains other ingredients.
Always read the label on the cheese before you buy, and if it lists lots of additives, give it a miss.
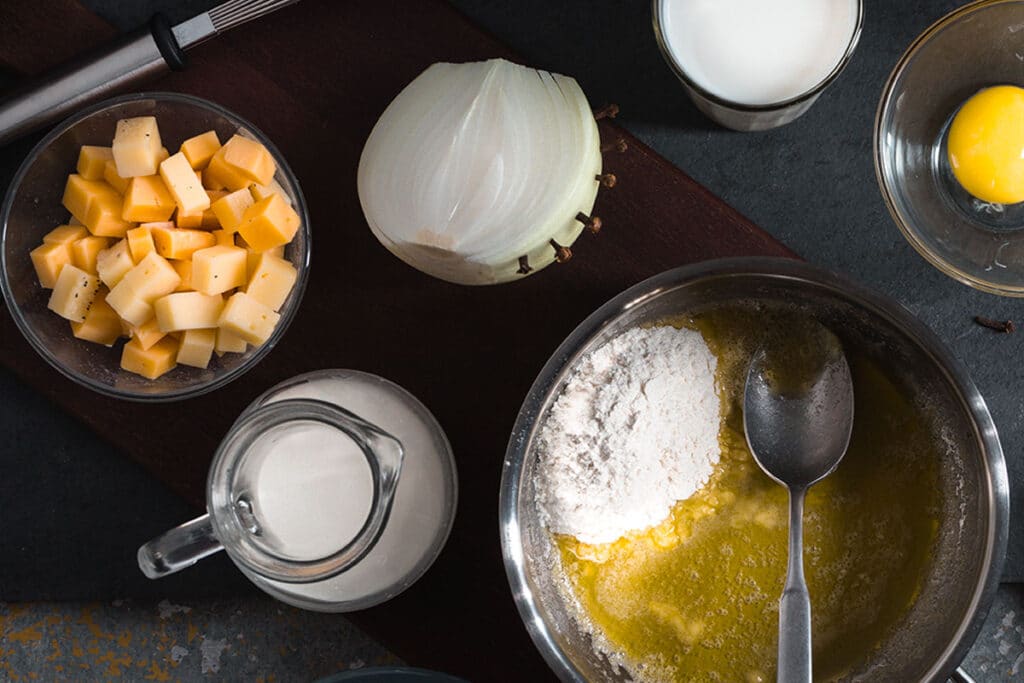
For me, you can't beat a nice, mature Cheddar. If you buy a good quality one, you will find it melts beautifully and smoothly, providing you do not overheat it.
Other cheeses I like include the Italian cheeses, Fontina, and Parmigiano Reggiano.
It is also recommended to buy a block of cheese and grate it yourself rather than purchase pre-grated.
The pre-grated stuff doesn't melt as well as self-grated to my mind. The quality of the cheese itself is not quite a good as when you buy a top-quality block.
Here are some additional tips about making the perfect cheese sauce.
- Don’t add the cheese until your white sauce has thickened.
- Make sure to use the lowest heat setting.
- When you add the milk, add it slowly and stir continuously.
- If the sauce isn’t bubbling hot, you can add the cheese (grated) while the pan is still on the heat, but remove it from the heat as soon as the cheese begins to melt.
- If the white sauce is bubbling hot before adding the cheese, remove it from the heat and add the cheese.
- Stir until the cheese has melted and blended in.
NB: When I talk about the white sauce (also known as (bechamel sauce), I refer to the sauce before adding cheese. White sauce is delicious with some salt, black pepper, and a pinch of nutmeg, then poured over veggies.
Don't forget. The key to a perfect cheese sauce is not to have the heat too high, or you run the risk of it curdling or becoming stringy. Gently does it.
Tips for a smooth cheese sauce
To make a beautifully smooth and stable cheese sauce, you must use starch supplied through white flour.
Blending white flour with melted butter over low heat creates a roux, which makes a nice, smooth white or bechamel sauce when you add milk (a little at a time), stirring all the while.
You might come across the odd recipe that uses cornstarch as a thickening agent rather than a roux. Personally, I recommend making a roux.
You cannot make a cheese sauce using only cheese and milk; it will not emulsify unless you add starch. Having said that, remember the importance of heating slowly.
It is also best to finely grate the cheese before you add it. It makes it easier to melt nicely and evenly.
If the white sauce is bubbling, remove the pan from the heat, then add the cheese. Give it a good stir. There should be no need to return it to the heat.
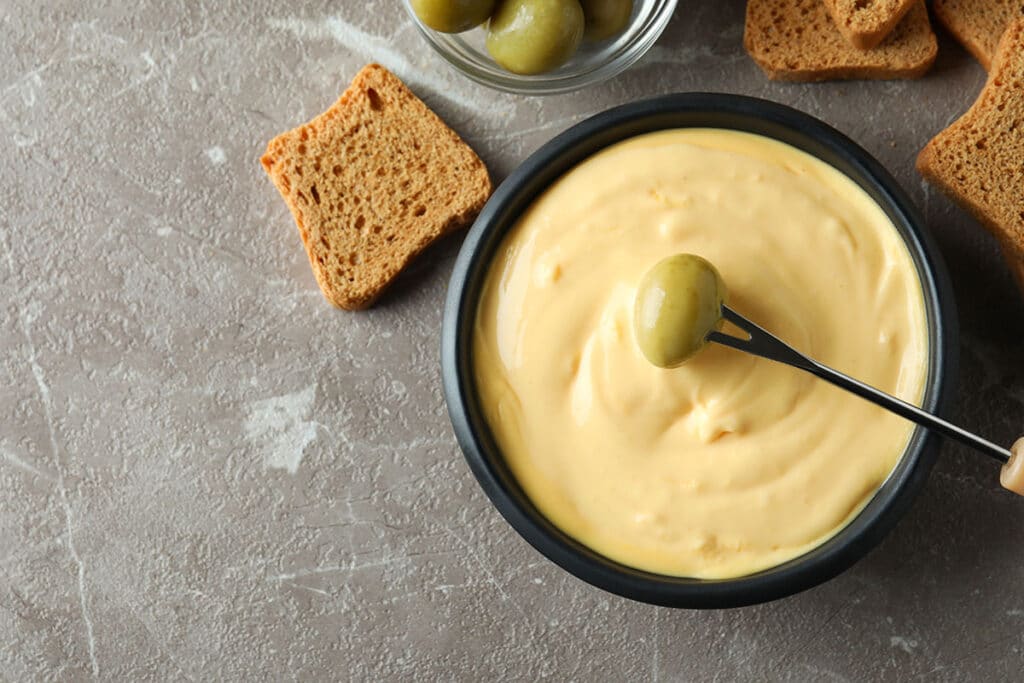
Do you need to refrigerate cheese sauce?
If you wish, you can make your cheese sauce ahead of time and refrigerate it for later use. Here's what you need to know.
- If you are going to refrigerate your cheese sauce, you should do so within two hours of making it.
- When you keep cheese sauce in your fridge, it should be in a covered container.
- When you reheat your sauce, do so slowly over low heat, stirring continuously.
Shelf life
If you buy store-bought cheese sauce, you can keep it in your fridge for up to four weeks.
It's a lot longer than you can keep homemade cheese for (which is only up to about four or five days), and that is because the store-bought stuff is laced with preservatives. But take it from me; homemade is so much better.
You should store it in an airtight container to protect it from external moisture and contaminants.
Can you freeze cheese sauce?
If you want to store cheese sauce for longer, whether homemade or store-bought, you must freeze it.
Once frozen, you can keep the store-bought variety for up to 3 months, whereas the homemade version can be ket for up to six months.
Some store-bought cheese sauces may be kept frozen for longer than others. It is dependent on the ingredients, so read the label.
Please be aware that the longer you keep cheese frozen, the greater the likelihood of affecting its texture.
It might become a little grainy when defrosted and reheated.
Refreezing frozen cheese sauce
There is a lot of misunderstanding about re-freezing once frozen foods - including cheese sauce. People are scared it is unsafe.
Generally speaking, it is not, but there is a BIG proviso. You can only re-freeze some foods if you thawed them in the fridge overnight.
The low fridge temperature reduces the chance of bacterial growth.
Defrosting any other way - out in the open or a microwave, increases the likelihood of bacterial growth, so re-freezing is out of the question.
Only re-freeze cheese once, though. Each time you freeze then thaw it, the consistency and texture are degraded.
Steps to follow when freezing cheese sauce
The cheeses that freeze best are those with higher fat content. Hard cheeses like Cheddar and Parmesan are perfect.
Sauces that freeze well include bechamel, cheese, and mornay, the last of which some people like using for mac and cheese. Nacho cheese sauces also freeze well.
Here are the steps to follow when freezing cheese sauce.
1 Allow it to cool down.
Once you've finished making your cheese sauce, take it off the heat and set it aside to thoroughly cool.
If you try and freeze it when it's too warm, it will take forever, and it could alter the temperature inside your freezer.
2 Split into portion size batches
If you are making a big batch before freezing, it's best to split it into portions so when you come to use it, you only have to take what you need. The rest can be left frozen.
If, for example, you are going to use your frozen cheese sauce for making mac and cheese, you will want far more than you would for, say, nachos. Store the sauce in portions. It gives you flexibility.
3 The storage containers
Whatever containers you use, you need to ensure that they are freezer-safe. You can use Ziploc freezer bags if you wish.
4 Label and Date
Once something is in the freezer, you can easily forget how long it has been in there after a few weeks, so it's a good idea to label and date it.
Useful tips when freezing cheese sauce
Here are some extra helpful little tips regarding freezing cheese sauce.
1 Using Pasteurized Milk
If you are making a batch of cheese sauce intending to freeze it, it's best to use pasteurized milk instead of powdered stuff.
It helps to lessen the chance of cross-contamination and helps to retain good taste and consistency.
2 Mixing once thawed
Immediately after defrosting, your cheese sauce might not look as you hoped. Don't worry. It's pretty standard for sauces to lose their texture and consistency when frozen and thawed. To correct it, it just needs a quick stir.
3 Using higher fat cheeses
You should steer clear of low-fat cheeses if you are making cheese sauce destined for the freezer - cheeses such as cottage cheese or mozzarella don't work well when frozen and thawed.
Cheeses with a high-fat contact are the way to go, and speaking personally, Cheddar is king when making a cheese sauce.
The shelf-life of frozen cheese sauce
The cheese sauce is a dairy-based product. It means that you shouldn't freeze it for longer than three months.
If when you come to defrost it, it looks off-color or it smells at all strange, you should discard it.
But, as I indicated earlier, don't worry if the consistency looks odd; it's quite normal after freezing and defrosting, and a quick stir will soon sort it out.
The right way to defrost cheese sauce
The correct way of defrosting frozen cheese sauce is to transfer it from your freezer into your fridge and leave it overnight to thaw.
If you leave it out on a work surface to defrost, you run the risk of inviting bacterial infection.
Once it has thawed completely, give it a gentle stir to distribute all its components evenly.
If you are pushed for time, you can always revert o defrosting in your microwave. Just be sure to serve and consume it straight away. Don't leave it standing around for any length of time.
You can only re-freeze once-frozen cheese sauce safely if you defrosted it overnight in a fridge.
How to keep cheese from clumping in soups
How many times have you added fresh cheese to a soup only to see it clump? It's frustrating.
Here's how to prevent it.
Causes of cheese clumping as soon as it is added to soups include:
- The soup is too hot
- The soup doesn't contain an acidic ingredient (including wine).
If you don't want to disturb the flavor of the soup by adding lemon juice or wine, you can try the following:
- Before you add it, grate the cheese as fine as you can. The finer the grating, the more readily it will melt in the soup without clumping.
- Coat the cheese gratings by tossing them in cornstarch or flour.
- Reduce the stovetop burner or ring under the pan of soup to a medium/low heat and add the cheese gradually, one tablespoon at a time. The coating stabilizes the fats and proteins in the cheese, which helps to prevent the cheese from clumping together when added to hot soup.
- Gently stir the soup in between, adding each spoonful of cheese.
- Continue to stir until ready to serve - clump-free.
A word to the wise. Avoid using Cheddar or Mozzarella as they both tend to become stringy.
What to do to fix oily cheese sauce?
Have you ever sprinkled grated Cheddar cheese onto a bowl of hot pasta, hoping it would give you a great pasta melt, only to find that you ended up with a stringy mess when you came to eat it? Join the club.
It's not just Cheddar. The same problem happened with Gruyere, Jarlsberg, and Monterey Jack.
Melt any of these down, and you will likely end up with a stingy mess sitting within a circle of oil.
It made it one of my culinary goals to find the perfect, non-stringy cheese dip, and here's what I discovered.
1 Go with American cheese
My first experiment was using a 50/50 mixture and Cheddar and Jack.
What I ended up with was a grainy, lumpy thing that sat there gleaming at me through a top coating of grease. Not good. A failure.
In experiment two, I ditched the Cheddar and went 100% American cheese. Success!
The dip was smooth and silky and much less dependent on temperature. It was closer to the dips you can buy off-the-shelf in jars.
Why should this be so?
At average room temperature (70°F/21°C), Cheddar, Monterey Jack, and similar cheeses are stable mixtures of dairy fat plus water, kept together by a network of proteins.
Introduce heat, and it plays havoc with the protein structures, which in effect disintegrates. The fat molecules pool together in a greasy deposit while the proteins clot into strings.
American cheese, however, has been designed with melting in mind and is next to impossible to destabilize.
So, when I exchanged the Cheddar in favor of American cheese, it introduced stability which allowed the Jack to melt, but no fat separation.
You can substitute other semi-firm melting cheeses instead of Monterey Jack, like Comté, Gruyère, Manchego, or low moisture Mozzarella.
Keeping American cheese in the mix is vital. It will give your dip the color and texture you are looking for, while the other cheese you use adds flavor and stretchiness.
2 The importance of cornstarch
When you make a cheese dip, you cannot overlook the importance of cornstarch. It soaks up excess water and thickens the sauce turning it from a dressing into more of a dip.
The other important function that cornstarch fulfills is stopping the fats and proteins from morphing into pools of grease and stringy clumps.
It exerts this control even when the temperature is raised.
This is one way of making a smooth cheese sauce.
There are others. We have already talked about making a bechamel sauce, but there are other ways to use evaporated milk or good old Velveeta. If none of these appeals, you can always do shop-bought.
How do you get the flour taste out of cheese sauce?
I have friends who often asked me why their sauce tastes floury.
It usually happens when the flour is not cooked enough when making the roux.
If you ensure it is cooked for, say, up to five minutes, on a gentle heat, so it doesn't turn brown or become burnt, it should be okay before you start adding the milk.
Making Bechamel and Mornay Sauce
To be honest, if you make a cheese sauce, the cheese flavor should overpower a taste of flour, but if you're making a bechamel sauce or light mornay sauce with mild-tasting cheese, flour taste could be more problematic.
So, let's go through the following steps together.
- Gently melt butter in a pan.
- Add the flour, and fry gently (the key is applying low heat) until the roux turns light brown. Keep stirring the roux with a plastic or wooden spoon to ensure none of it sticks and burns.
- While doing this, gently heat a pan of milk on a separate ring or burner. You don't want the milk to burn. You need to simmer it until skin begins to form on top.
- Then, gently and slowly pour the hot milk into the roux, stirring all the while. I find it's best to add a little a time, dissolve it thoroughly, and then add more.
- When you've added all the milk, and you have a lovely, smooth, white, bechamel sauce (which the French refer to as the mother of all sauces), to turn it into a mornay sauce, add the grated cheese (Usually Swiss or Gruyère) and season. Some people also like to add a small pinch of nutmeg, and why not?
Is it safe to eat curdled cheese sauce?
Yes, and no. It all depends on why it has curdled. If the curdling occurred during cooking, no problem. It might not look very appetizing, but it will still taste okay.
But if it has curdled in storage because it's turned bad, it should be discarded and not eaten. It could make you ill.
Why does my cheese sauce split in the oven?
Everyone loves Mac and Cheese - well, at least everyone I know, including my kids.
In my early days of making it, I had it split on me a couple of times, but I have since learned how to avoid it, and firstly, it's all about not overheating it.
Once I've assembled everything, I pop it into a preheated oven at 350°F for 25 minutes.
The other thing is to make sure you prepare the macaroni and the cheese sauce separately.
Using butter and flour, roux, plus pasteurized milk which is more than capable of standing up to the temperature in the oven.
Let's talk more about the roux in a moment.
1 Prepping the pasta
I mentioned above the importance of preparing the pasta for your mac and cheese separately. If you use uncooked pasta, two things will happen.
- The pasta will take too long to cook, and the sauce will separate.
- The uncooked pasta will draw all of the moisture from the sauce, which considerably increases the change of the sauce separating.
You don't want to overcook the pasta before adding the cheese sauce and putting it in the oven. Cook it al dente.
The 25 minutes oven time mentioned above will be plenty of time to finish the pasta and create the perfect mac and cheese with a lovely crispy topping. You might enjoy this recipe.
2 Making the roux
Most Mac and Cheese recipes use a mornay cheese sauce with good reason. It stands up to the heat of the oven better than most.
I have already explained how to make a simple roux, but just to recap - melt some butter (you can use margarine if you prefer), add some sieved flour (sieving takes out any lumps), and heat gently stir until it forms a thick roux.
3 Making the bechamel
Slowly add milk to the roux, continuously stir until you have used it all, and it has created a smooth, slightly thick sauce.
If you use full-fat milk with butter, you will get a lovely creamy sauce that is much more resistant to separating.
Remember not to overheat the sauce, but to simmer it gently.
4 Now for the cheese
Sometimes people cut the cheese into small cubes and even use pre-grated cheese. Take it from me; the best way to prep the cheese is to use a fresh block of cheese and grate it well and fine.
It will melt much more quickly. The quicker it melts (on a low heat, of course), the lesser the chance of separation occurring.
5 A quick, hot (not more than bake)
Mix the pasta with the sauce well, then transfer it into a casserole dish. Add some grated cheese on top and a liberal sprinkling of breadcrumbs. I use Panko breadcrumbs for the ultimate crunch.
As well as being gorgeously crispy, the topping also serves to protect the cheese sauce from the fierce heat of the oven.
I mentioned earlier baking at 350°F for 25 minutes. You can increase the heat to 400°F and cook for just 10 minutes, but not a moment longer, or it will burn, and there is a chance of the sauce separating.

