A succulent piece of fried chicken is the ultimate crowd-pleaser. Foodies worldwide love it, and even the most pompous food connoisseur will secretly admit that when it comes to comfort food, it doesn’t come any better than crispy, fried chicken.
But many folks don’t know how to keep crispy fried chicken crispy, which is a great shame. So, I am going to reveal how it’s done, so you never have to succumb to eating soggy fried crispy chicken ever again.
Ready? Let’s get to it.
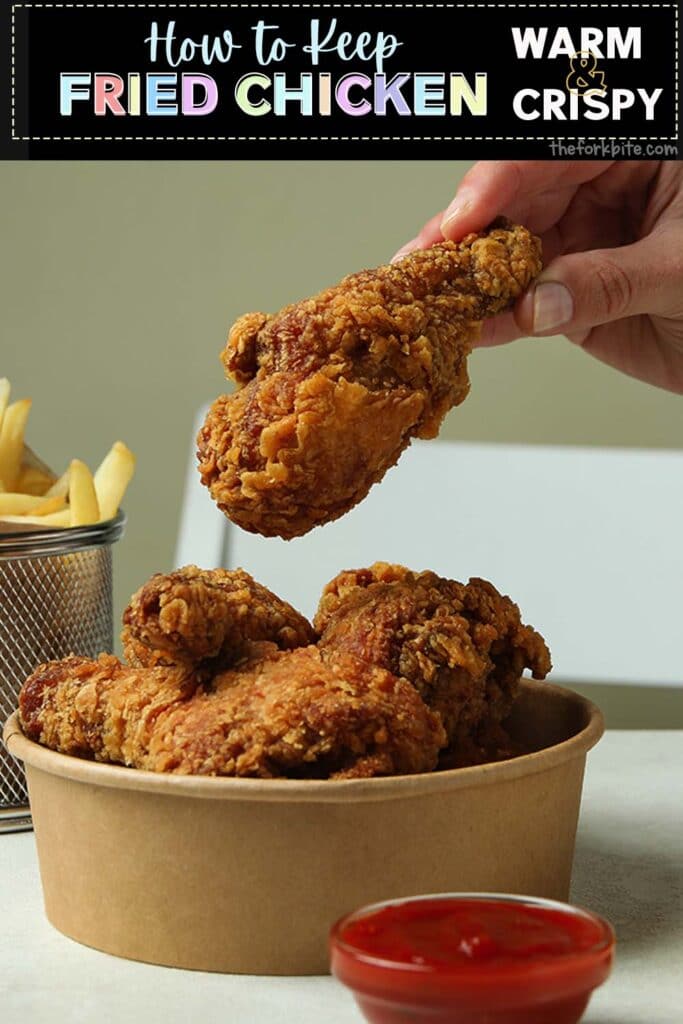
How to keep fried chicken warm and crispy
It is often said that no good deed remains unpunished, and serving soggy fried chicken makes you a prime candidate for the “the rack.”
It’s not just about keeping crispy fried chicken crispy. It has to stay juicy and succulent, too, and getting the combination right is no easy thing - until you’ve read through this article, that is.
One of the problems is that when you set the chicken aside to rest, all those lovely juices start to leak out, making the bottom soggy - and a soggy bottom isn’t good as any baby will soon let you know.
As well as the bottom of crispy chicken going soggy due to leakage, the hot steam trapped under the crunch coating makes the rest of the chicken turn soggy too.
Covering the chicken only makes it worse. You have to find a way of keeping it nice and hot while at the same time allowing the juices to drain and the steam to evaporate.
1 Using a conventional oven
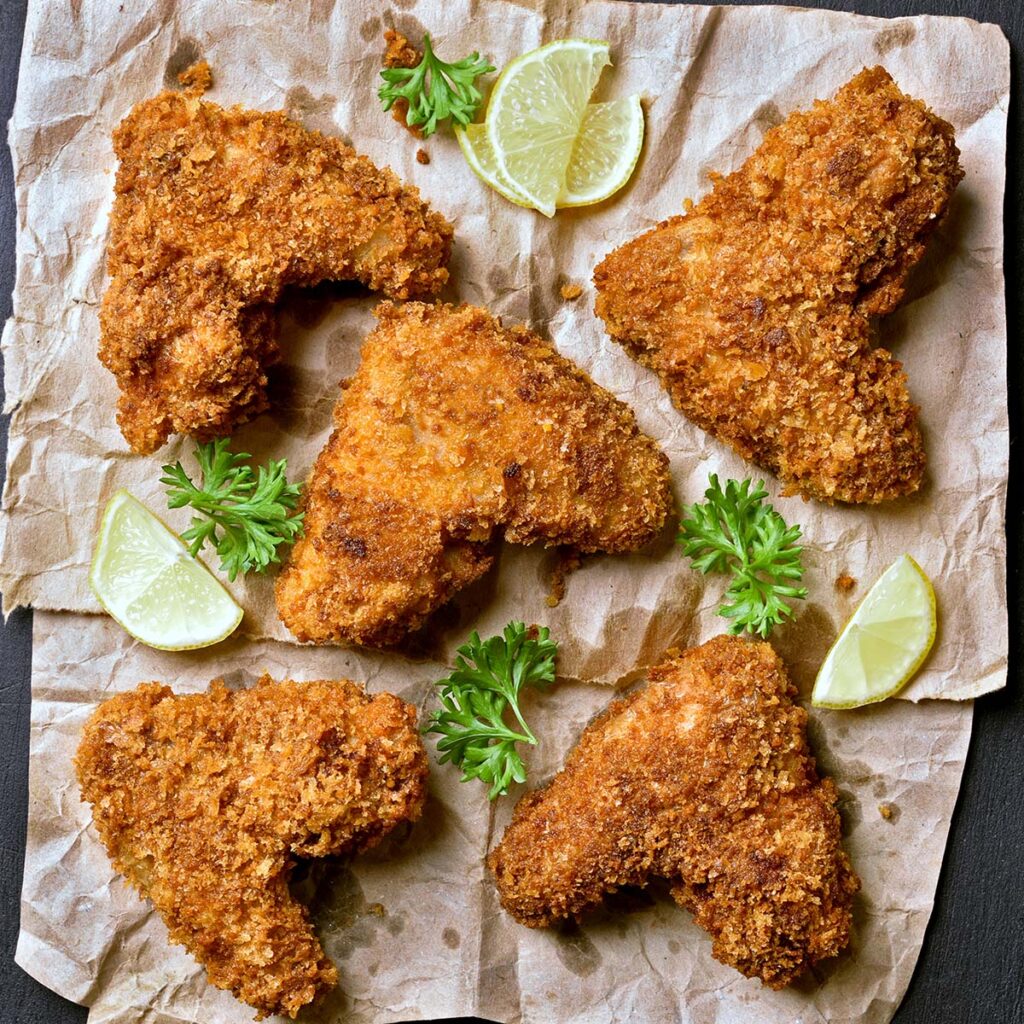
When using an oven to keep crispy chicken warm, it needs to be preheated to a temperature of 200°F. This heat level is enough to allow the steam to dissipate without turning the star of the show soggy.
Here’s how:
- Line the bottom of a sheet pan with aluminum foil or parchment paper, then position a wire rack on top. The lining makes it easier to clean up afterward.
- Place the chicken pieces straight from the hot fat onto the wire rack, ensuring they are spaced apart to allow the air to circulate.
The key is allowing the warm air in the oven to circulate.
If you’re cooking a large batch, don’t stack the pieces on top of each other when placing them on the pan sheet. If necessary, use an additional tray.
Suppose you own an oven with a convection mode, even better. It will help to keep the chicken dry and crisp.
2 Toaster oven
The same principle applies if you are going to use a toaster or small countertop oven.
Being that much small than a conventional oven, you can only put between four and eight pieces of chicken inside, but if you are serving just one or two friends - no problem.
There are some points to bear in mind when using these smaller-type ovens.
Because there isn’t much height between the heating elements and the bottom of the oven, you will need to place a sheet of aluminum foil over the chicken to prevent it from scorching.
Leave it loose rather than folding it in position because you still want the air to circulate, and you also want to avoid trapping any steam.
The other thing is that you still need to place the chicken on a rack so it isn’t sitting on the bottom of the sheet pan.
However, it’s not so easy to find the right size of the wire rack, but you can find them if you search online at places like the target.com website or good old Amazon
Some toaster ovens have designs that accommodate a pan sheet that you can slide under the rack with which the oven is supplied.
3 Roaster or slow cooker
You can also use a slow cooker or roaster oven, although you don’t get the same sort of air circulation.
But so long as you space the chicken price apart in a single layer, they will do the job just fine.
If using a roaster oven, preheat it to 200°F. If using a slow cooker, put it on its highest setting and find a suitable wire rack. Again, you might find something suitable on Amazon.
Creating your own makeshift rack
If you can’t find the right rack size, or you simply can’t be bothered to buy something special, there is a DIY solution.
Scrunch up lots of little balls of aluminum foil, spread them across the bottom of the tray, and set the chicken on top. It might not look as pretty as the real thing, but it does the job.
Don’t put the top on the cooker/roaster. If you do, it will trap the steam inside, defeating the object of the exercise. Instead, cover the top with a sheet of paper kitchen towel.
4 Chafing dish
If you are cooking and eating al fresco, and you don’t want the hassle of having to fix up an extension lead to get electricity out there, you might use a chafing dish.
If you do lots of barbecues, buying one two two might be considered a worthwhile investment. They are not expensive. Check these out on the Walmart website.
Just be warned - if you say al fresco to an Italian, they might get the wrong impression.
You can get chafing dishes in all sorts of shapes and sizes. I find that the most useful ones are the rectangular jobbies that restaurants use.
You want the type that you put over some flame for outdoor purposes - typically a fuel-fed candle or wick.
Remember, you still need a wire rack to sit the chicken on for best air circulation and forgo putting the cover in place.
Cover it with a towel but be careful of the naked flame. You don’t want to be providing the cabaret too!
How do you keep chicken breast warm without drying it out?
You will find that many recipes for fried dishes advise you to use paper kitchen towels, brown paper bags, even newspaper on which to stand food to let any excess oil drain away.
However, trust me, it is not the solution for keeping fried crispy chicken at its crunchy, succulent best.
The way restaurants do it routinely works best, especially as it agrees with what I said earlier.
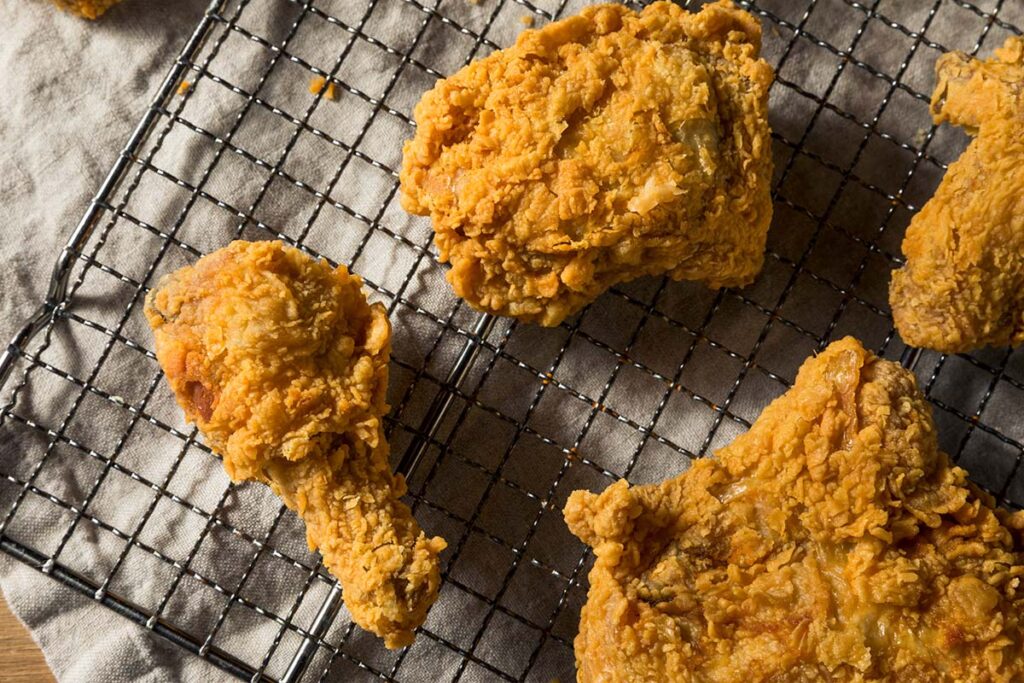
They place their crispy fried foods on a cooling rack above a baking sheet in a low oven (170°F) and keep adding freshly fried goodies as they come out of the frier, always making sure they are spaced well apart for that all-important air circulation.
Yes, I know we are talking about cooling racks, but they are used for both cooling and keeping crunchy fried foods warm and crisp.
Some restaurants use perforated trays, which do a similar job.
How to keep fried chicken crispy while frying batches
When you are cooking a lot of crispy chicken, you will need to cook it in batches and keep each batch as crunchy as it came out of the frier.
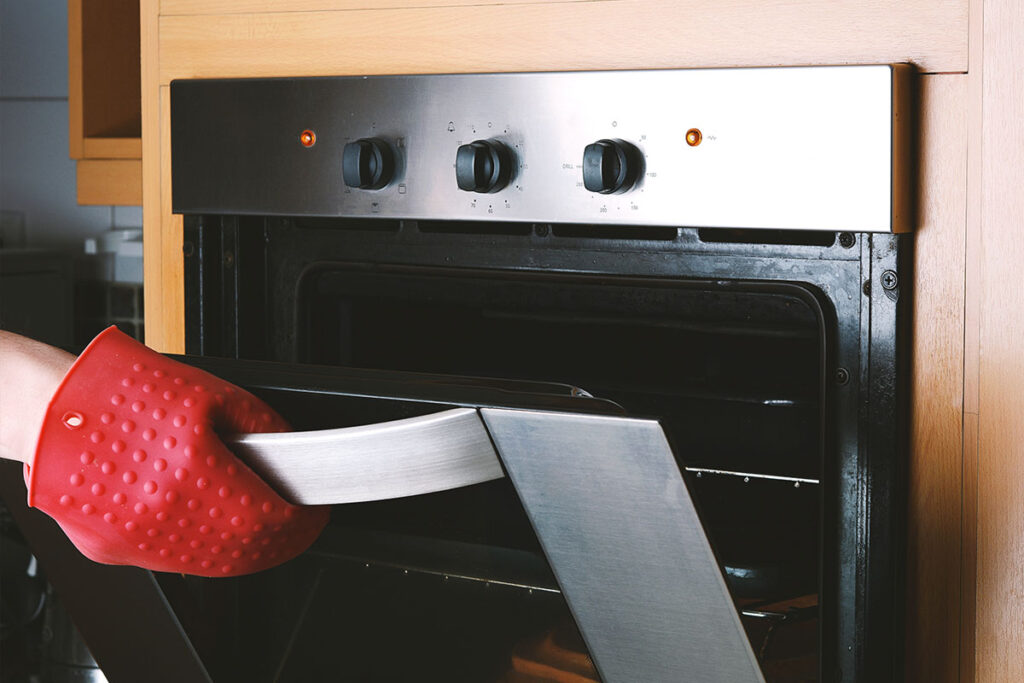
So, before your first batch is ready, preheat your oven to a temperature of between 170°F to 200°F.
It is the right temperature range to keep the first batch warm, crispy, and succulent until the last batch is added.
You have up to two hours before this oven warming begins to ruin the crispiness of the chicken.
Friendly reminder:
You must keep the chicken off the bottom of the tray—doing this allows that crucial air circulation to facilitate any excess oil dripping away rather than soaking back into the coating, preventing any sogginess.
If the total frying time goes to 20 or 25 minutes, I recommend switching your oven off after 20 minutes. Open the oven door a fraction - say half an inch or so, particularly if your oven is gas-fired.
Having the door shut in an electric oven will run the risk of the chicken becoming dry.
Keeping the door shut with a gas oven not only exacerbates the risk of the chicken drying out but can also result in the crispy crust softening as cooking with gas produces moisture.
How do you keep fried chicken crispy for a picnic?
My memory of those lovely picnics is complete with crispy, non-soggy chicken.
When my nan used to take us, kids, on a picnic, she would put the crispy fried chicken into the picnic basked wrapped in a cotton napkin.
Whether it worked or whether it is me looking back through rose-colored spectacles, I’m not sure. But I do remember gleefully wolfing the chicken down.
If you are prepping crispy fried chicken for a picnic, here’s what to do:
- Before coating the chicken, make sure to pat it dry before coating.
- After frying, put the chicken on a cooling rack to drain excess oil suspended over sheets of paper kitchen towel. Set aside to cool completely.
- Once cool, lay the chicken pieces directly onto sheets of paper kitchen towel. This is to leach out any remaining oil, which, if left, would turn the coating soggy.
- Transfer into a brown paper bag (used brown paper shopping bags are ideal). Chicken should remain nice and crisp.
Note:
To keep it crispy. Store the chicken in a non-humid environment. Don’t put the cooked chicken into plastic containers or wrap it in foil as this will promote humidity, leading to the forming of condensation.
Check this Belgian waffles recipe that truly complements fried chicken.
What makes the breading fall off your chicken?
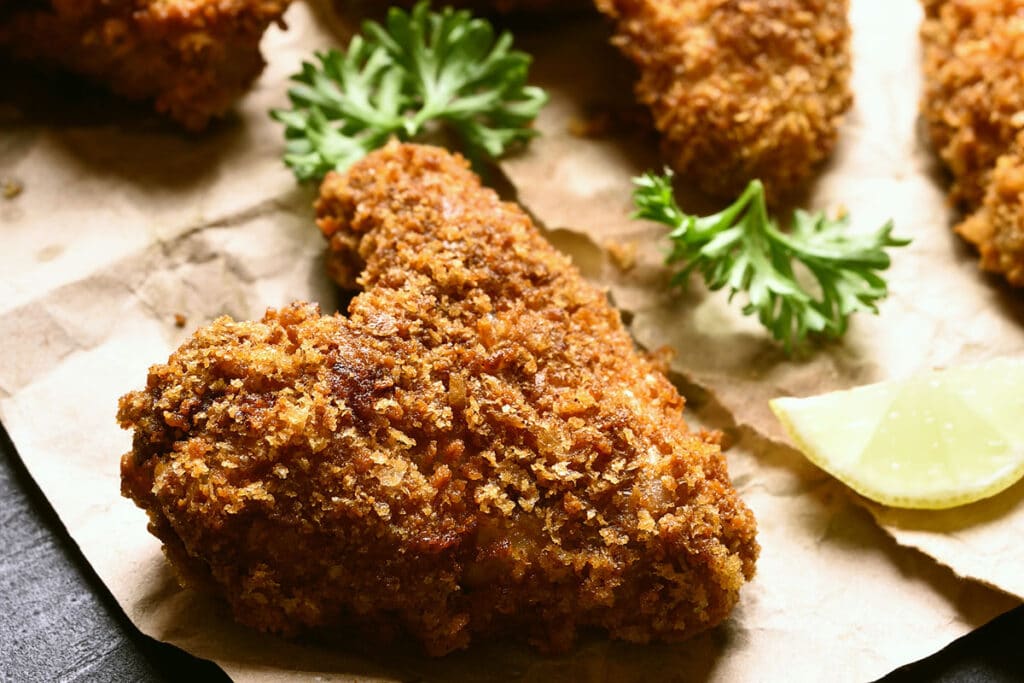
Breaded chicken is great food for dinners and parties but can be very disappointing when the coating falls off, taking most of the gorgeous crispiness.
So, to save you from this disaster, here are five crucial prep stages I will share with you.
These are the same whatever crispy coating you are making - beer batter or an egg, flour, breadcrumb mix.
1 Start with dry chicken.
All meats, including chicken, are naturally moist. So before you dredge the chicken in flour, pat it completely dry with a paper kitchen towel.
If left moist, it means that when you flour the meat, the flour will become soggy.
2 Shake the flour off
If there is any excess flour left on the chicken, it will make it more difficult for the egg mixture to stick to the chicken. So, give the chicken a good shake to remove any unwanted surplus flour.
3 Be generous with the crumb coating.
Don’t skrimp with the crumb coating. It would be best if you made sure that all surfaces of the meat were well covered.
4 One last pat
Once you’ve finished the breading, give the coated chicken a final pat. This is to ensure that the coating properly adheres to the layer of egg mixture covering the meat.
5 Remain patient
Once you put the breaded chicken into the hot oil, don’t keep on pushing and prodding it. Each time you do, you are encouraging some of the breading to come away.
Place the chicken gently in the oil and space them apart in the pan. Any contact between the pieces increases the likelihood of losing a bit of the breading.
Now leave them alone to do their thing. The more you touch them, the more you risk the breading falling off.
When you spot a goldish rim materializing around the edge, that is your key for turning them over. Do so and try not to touch them again until it’s time to remove the chicken from the oil.
How do you keep leftover fried chicken crispy
Eating cold, leftover fried chicken is still enjoyable. It makes great sandwiches, for example.
But there is no doubt that the best way to enjoy it is hot and crispy, just like it was when it first came out of the frier - I include the colonel’s chicken, good old KFC when I say this, too.
Reheating KFC chicken to be nice and crispy
If you have any leftover KFC chicken, this too can be reheated in all its crispy, golden glory. You just need to know how to do it, and yes, I am bout to share that with you.
Follow the method I am about to confirm (avoid microwaving at all costs), and you will forever be able to devour lovely, hot, crispy leftover KFC without drying it out.

You can do this in a conventional oven or an air fryer.
First, the traditional oven.
- Preheat your oven to a temperature of 375°F.
- Position a wire rack in a baking sheet, take the leftover KFC out of the fridge, and place it on the rack in a single layer with the pieces spaced out so they are not touching. As I mentioned earlier, using a rack rather than sitting the chicken directly on the base of the baking sheet allows the air to circulate and prevents the KFC from getting soggy.
Doing this while the oven is preheating gives the refrigerated chicken time to come up to room temperature, allowing it to cook nicely and evenly.
- Spray both sides of the chicken with cooking or butter spray.
- Pop the tray into the oven and bake for around 15 minutes, by which time the skin should be hot and crispy. You may need to lengthen the heating time by a few minutes if you are reheating a big batch.
Don’t cover the chicken with foil.
Don’t be misled into thinking that covering the KFC with foil is the right thing to do. While it will prevent it from drying out, it also traps the steam, making the chicken soggy. So, don’t do it.
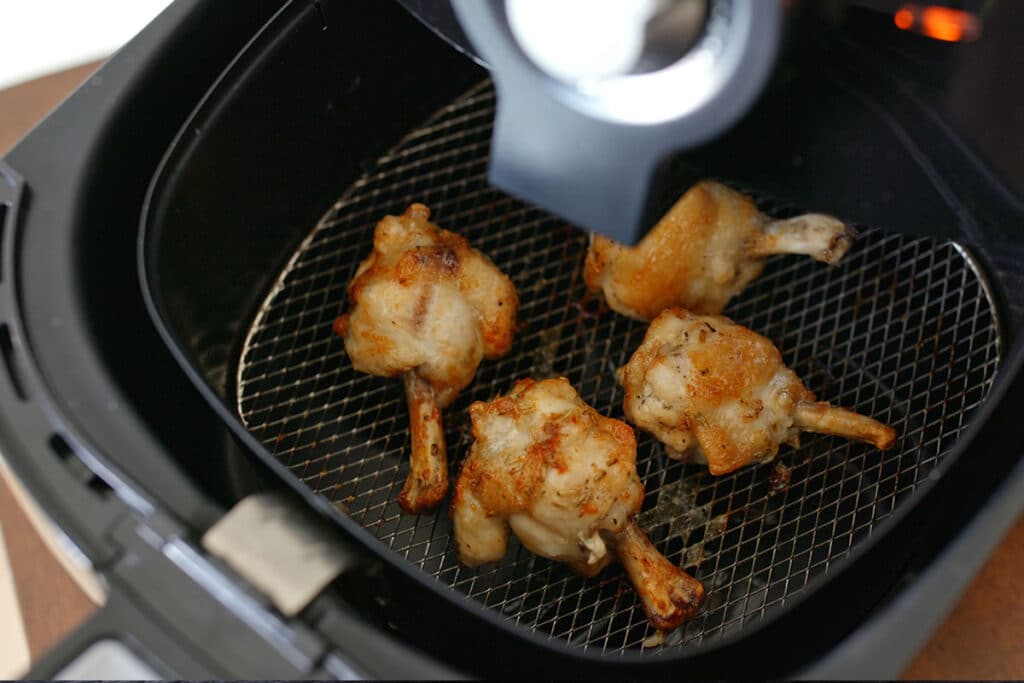
Reheating KFC chicken in an air fryer
If you’ve got an air fryer, there is no reason not to use it to reheat leftover KFC. Here’s how:
- Preheat the air fryer at 375°F. Take the KFC out of the fridge and leave it to come up to room temperature.
- Coat the chicken all over with cooking spray and transfer it into the air fryer basket. Don’t stack it and leave as much room between the pieces as you can. If it means cooking the chicken in several batches - so be it. It is the way to ensure it stays nice and crispy.
- Heat it for around four minutes, turning it over half wat through the cooking time.
What makes fried crispy chicken soggy?
Making your own crispy fried chicken is not difficult, but if you allow it to get soggy in the process, you will be hugely disappointed.
To stop this from happening, make sure you don’t put too many pieces into the fryer at the same time.
It is the same recommendation for all fried foods. Do it in batches. Not only does it help to stop the pieces from touching each other, but it also helps to keep the oil temperature constant.
The best temperature for frying crispy chicken is 375°F. Allowing the chicken to get to room temperature before putting it into the hot oil helps minimize any temperature drop in the hot oil.
If the temperature drops, it will encourage the oil to permeate the coating, making it soggy.
Other pitfalls to avoid
1 Frying the chicken in batches will mean the early batches cooling, so to keep them nice and crispy, transfer them to an oven preheated to 200°F where they will remain warm and crisp for up to two hours.
2 Don’t over-flour the chicken. You need to ensure all of the chicken is well coated, but only lightly.
I find the best way to do the flouring is to pour the flour into a Ziploc type plastic bag, add the chicken and give it a good old shake.
3 Don’t lay the fried chicken on a paper kitchen towel to drain when you take it out of the fryer. The hot oil drains from the chicken will soak back into the crispy coating, making it soggy.
The best thing to do is place the chicken onto a wire rack in a lined baking sheet or tray. Allow to cool for about ten minutes, then tuck in and enjoy.
If you prefer to eat it cold or use it for making sandwiches, allow the chicken to cool down to room temperature, after which you can store it in your fridge until you need it.

