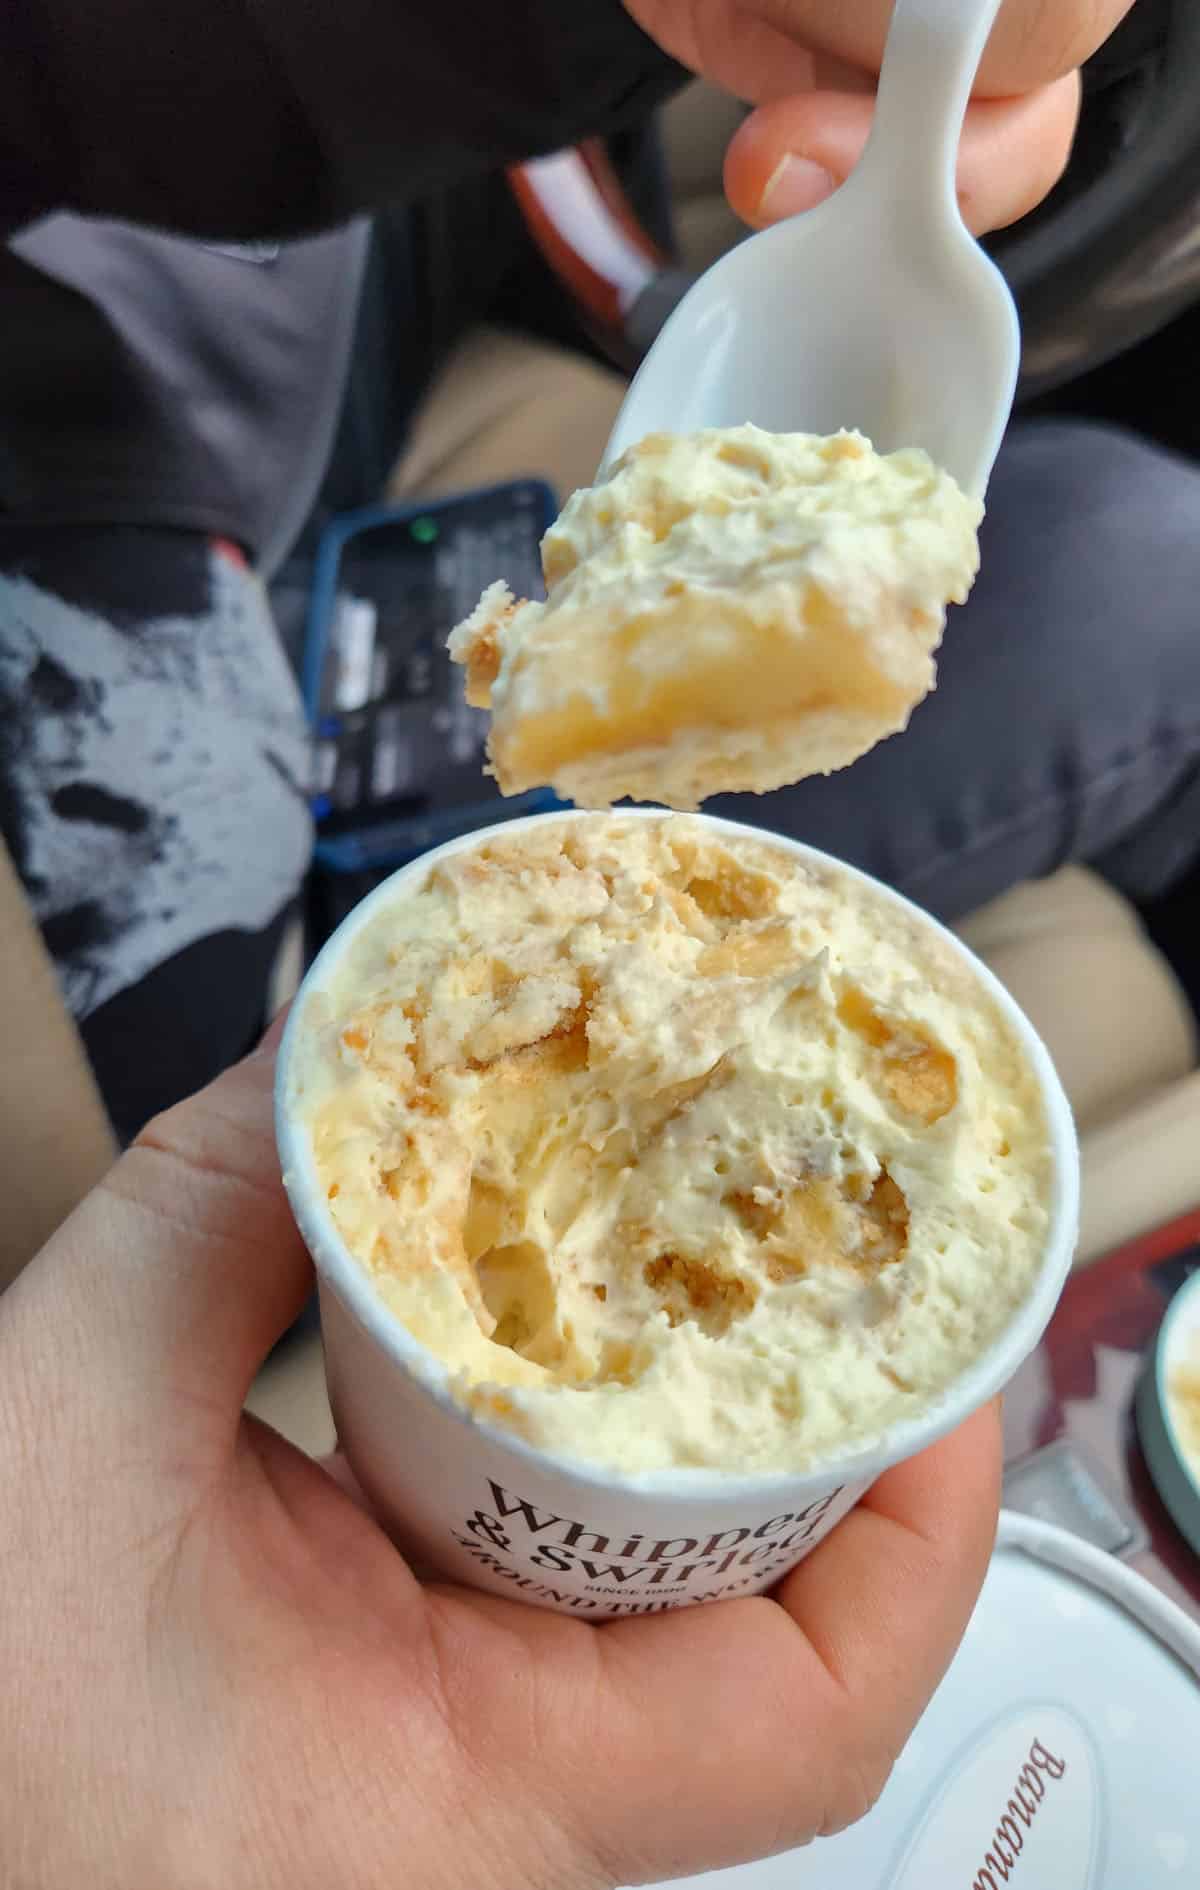
There's a lot to be said about the sweet nostalgia that comes with childhood favorites. Whenever I eat Banana Pudding, it takes me back to a time when I could play outside for hours and not be glued to a screen. It's incredible how a simple dessert can bring back such fond memories.
Take Aways
- Make sure to chill the pudding: Chilling the pudding is an essential step in the recipe, allowing the pudding to be set properly for 2-3 hours to achieve the perfect texture.
- Use ripe, firm bananas: Slicing them just before assembling the pudding will prevent them from turning brown and keep the dessert presentation fresh and appealing.
- Crush the Nilla Wafers:: Crushing the Nilla Wafers before layering them in the pudding allows for better cookie distribution throughout the dessert. It also adds a satisfying crunch to each bite.
Jump to:
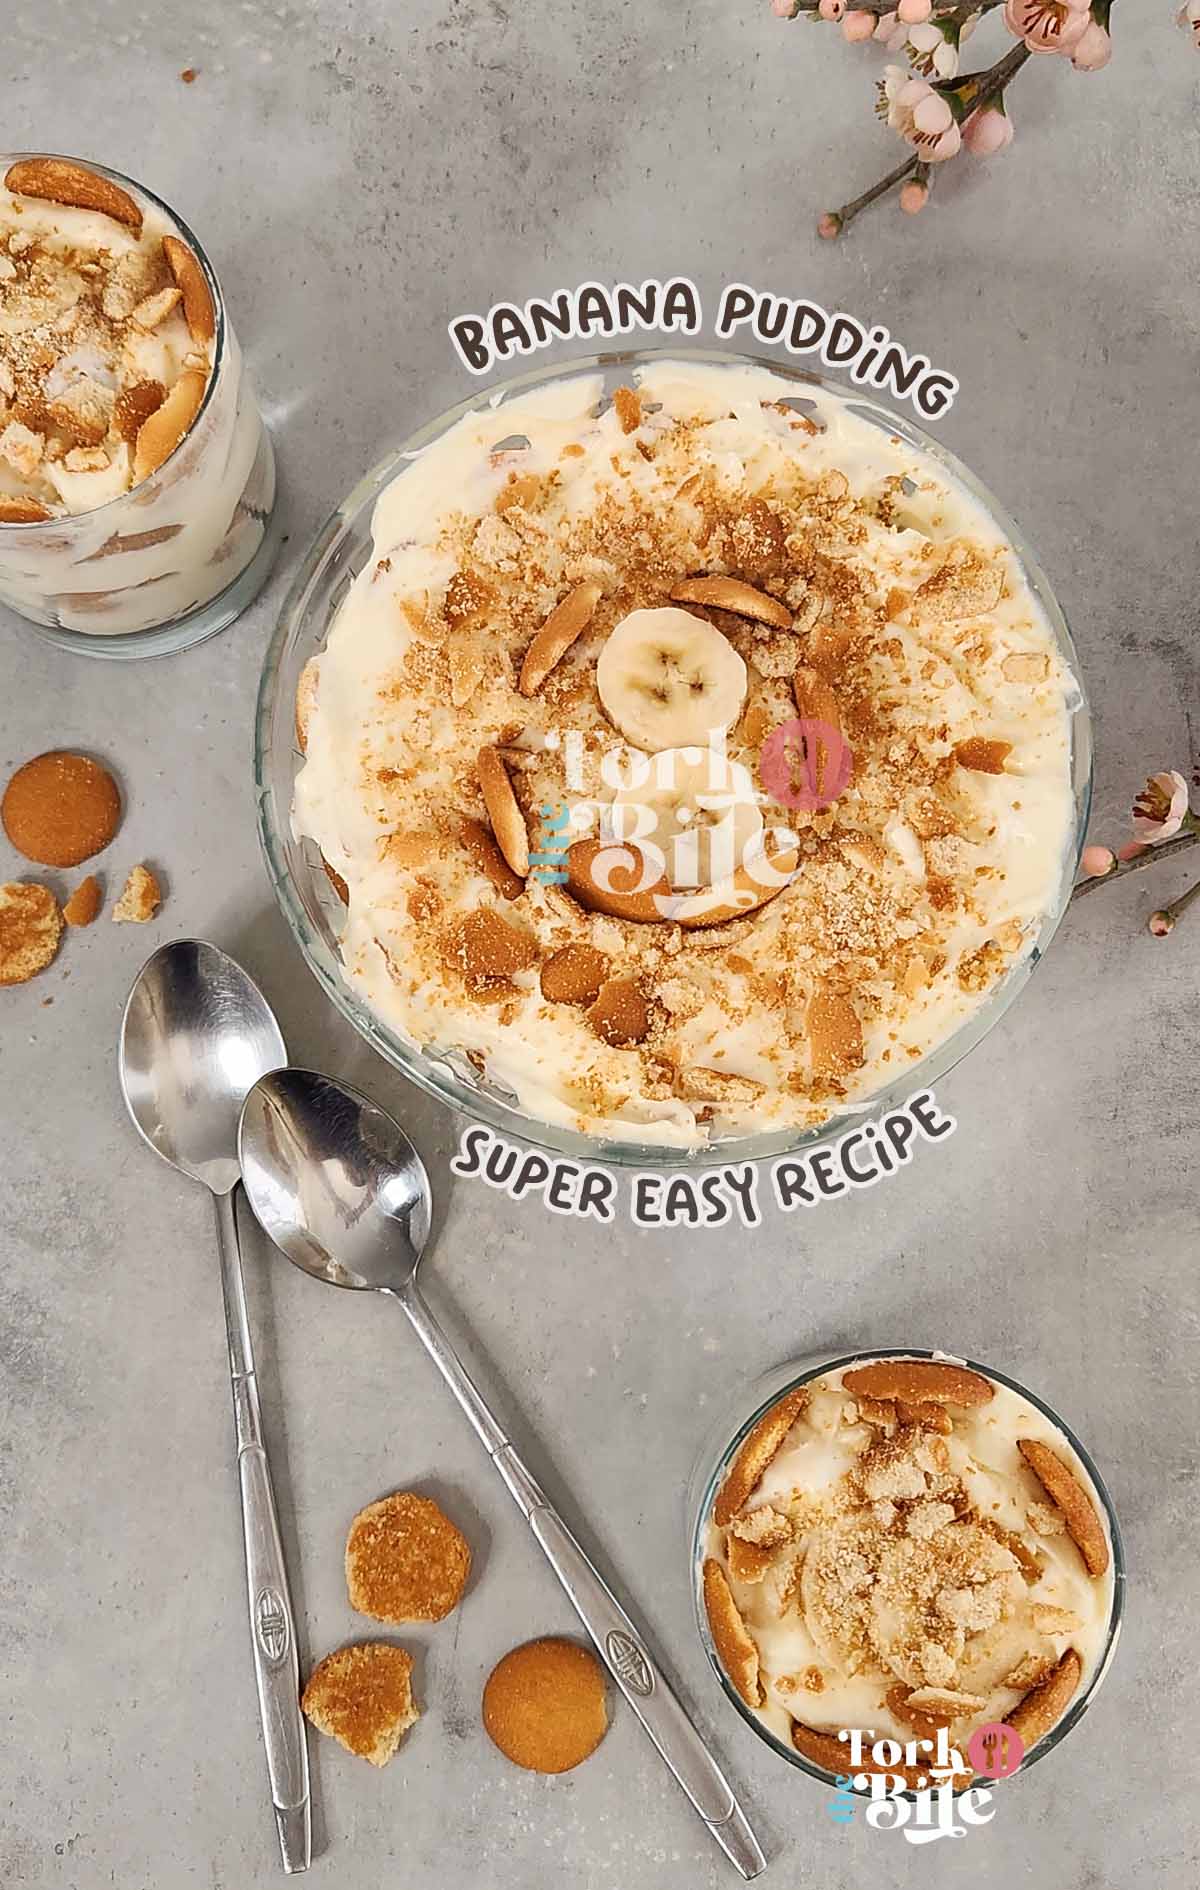
Let me tell you about banana pudding! It's a delightful dessert that consists of layers of creamy vanilla pudding, sliced bananas, Nilla wafers, and whipped cream (or Cool Whip). It's usually served in a trifle dish or casserole dish and is chilled for several hours to soften the cookies. So the next time you're in the mood for a sweet and nostalgic treat, try banana pudding!
Watch the video: Banana Pudding Recipe
Ingredients you'll need:
Vanilla Pudding (if cooking from scratch):
- 2 ½ cups whole-fat milk
- ½ cup heavy whipping cream
- 1 egg (at room temperature)
- 2 egg yolks (at room temperature)
- ¾ cup sugar
- 4 ½ tablespoon cornstarch
- 4 tablespoon butter (cubed)
- 3 teaspoon vanilla extract
- ⅛ teaspoon vanilla bean paste
- ½ teaspoon salt
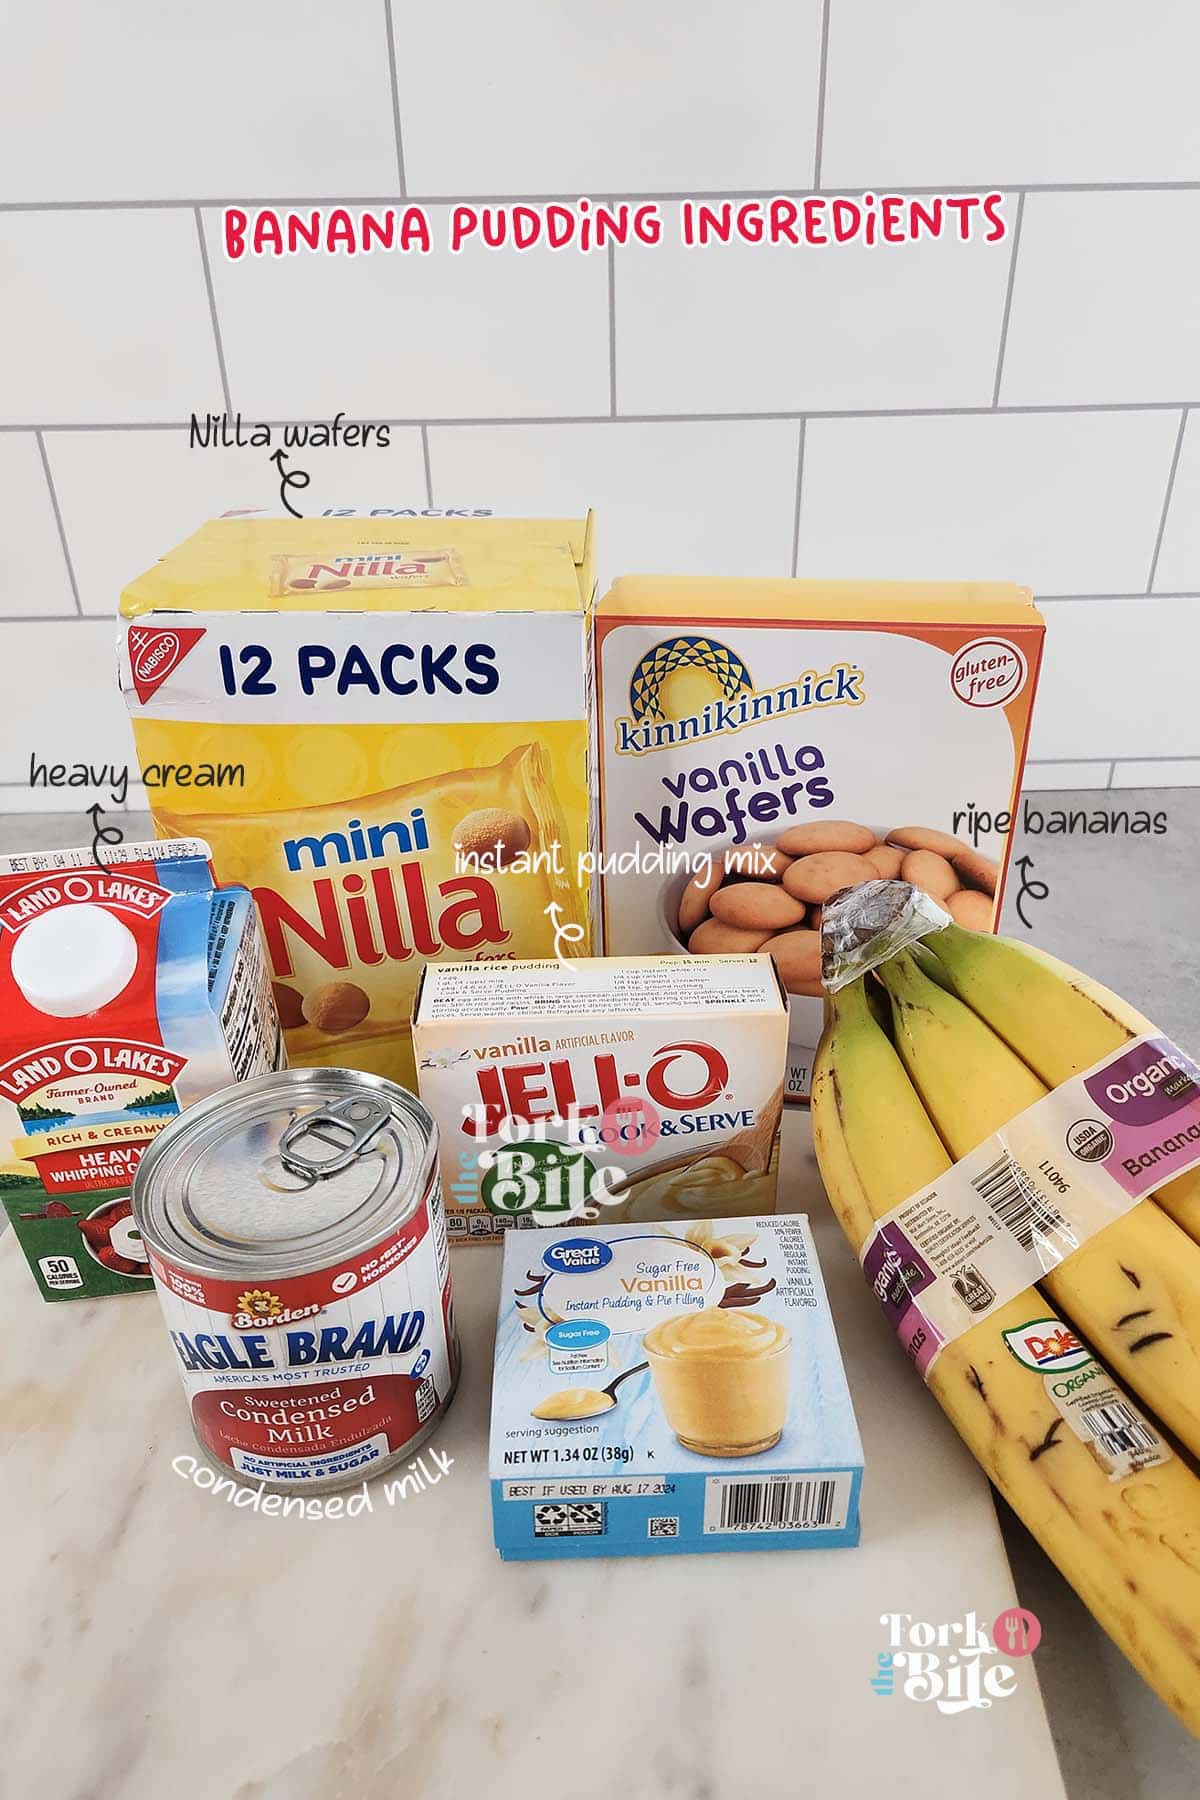
If using vanilla instant pudding mix:
- 1 (14-oz) can of sweetened condensed milk
- 1 ½ cups ice-cold water
- 1 (3.4 oz) box vanilla instant pudding mix
For assembly:
- 2 cups heavy whipping cream, whipped to soft peaks
- 3 medium bananas (sliced just before assembling to prevent browning)
- 1 pack Nilla Wafers (crushed)
Step-by-step instructions: (if making pudding from scratch)
You can just skip these steps if you're using the instant pudding mix. See directions below.
Step 1
Grab a medium-sized saucepan and pour in the milk and cream. Then, heat the mixture over medium heat and begin constantly stirring until I see it simmer. This helps to infuse the flavors and create a smooth base for my pudding.
Step 2
Crack the eggs into a medium-sized bowl, then add the sugar and cornstarch. With a whisk, blend the mixture until everything is well incorporated. This is crucial in creating a smooth and creamy texture for my banana pudding.
Step 3
I use tempering to ensure that the Banana Pudding comes out perfectly. Start by scooping a cup of the hot milk mixture into the bowl of eggs and whisking it immediately. Continue whisking, then pour the rest of the hot milk into the eggs, creating a smooth and creamy base for my pudding. This technique is crucial because it helps prevent the eggs from scrambling and ensures that my banana pudding comes out just right.
Step 4
After tempering the eggs with the hot milk mixture, pour the mixture back into the pot. Back on the stove, heat the mixture over medium-low heat to continue cooking it. This allows the mixture to slowly thicken and come together, creating the perfect base for my banana pudding.
Step 5
Constantly whisk the custard in the saucepan for 5-6 minutes or until it thickens to your desired consistency. Watch it closely and prevent it from boiling to avoid curdling.
Step 6
After thickening the custard, take the saucepan off the heat and add butter, salt, vanilla extract, and vanilla paste while constantly whisking.
This step is essential, so don't forget it! Pass the mixture through a sieve to get that smooth, silky pudding texture and eliminate lumps.
Step 7
Once the pudding is done, allow it to cool completely and thicken before using. Store it in the fridge for at least 4 hours or overnight. In fact, the pudding can be made up to 2 days in advance, allowing the flavors to meld together even more.
Read:
Step-by-step instructions: (if using instant pudding mix)
Step 1
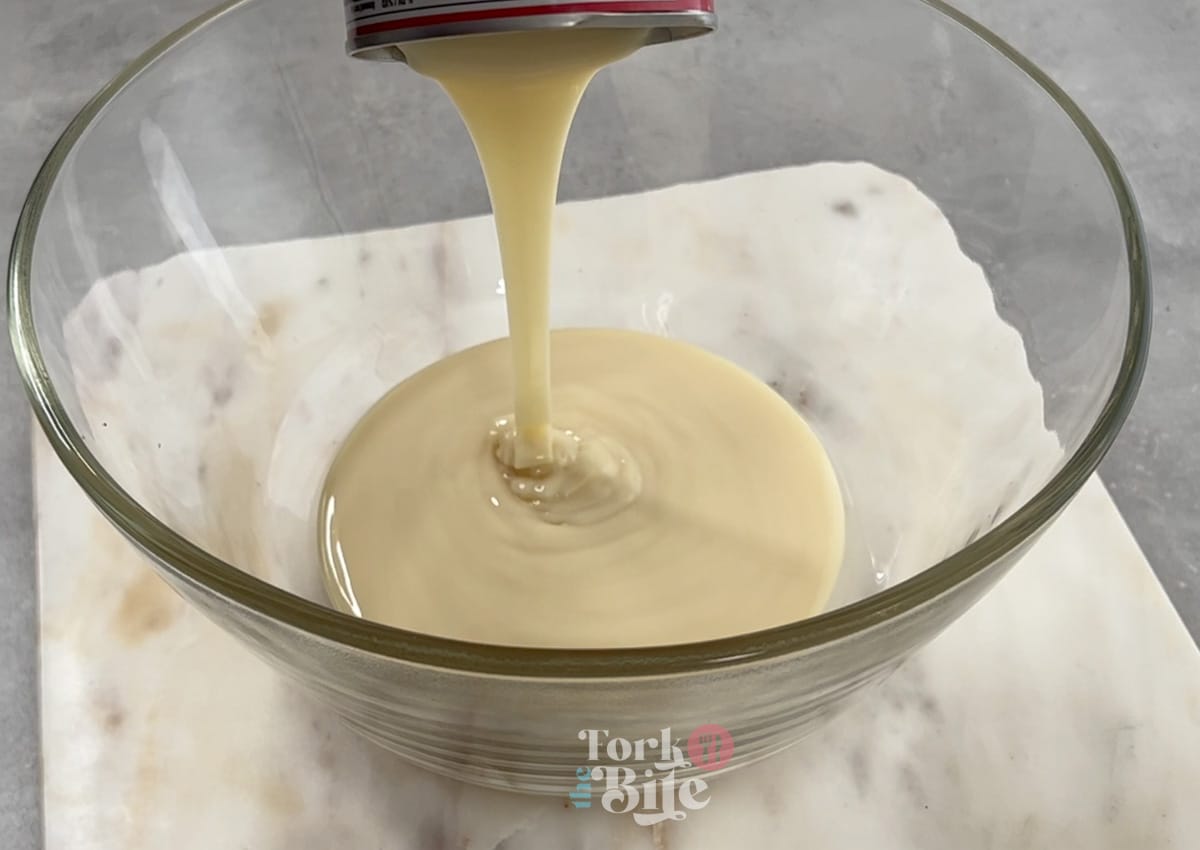
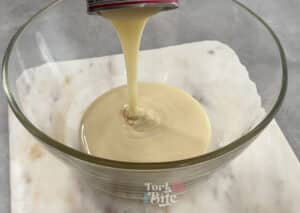
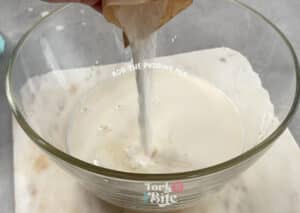
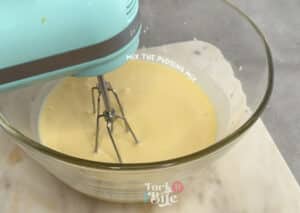
Start by whisking together sweetened condensed milk and water with an electric mixer.
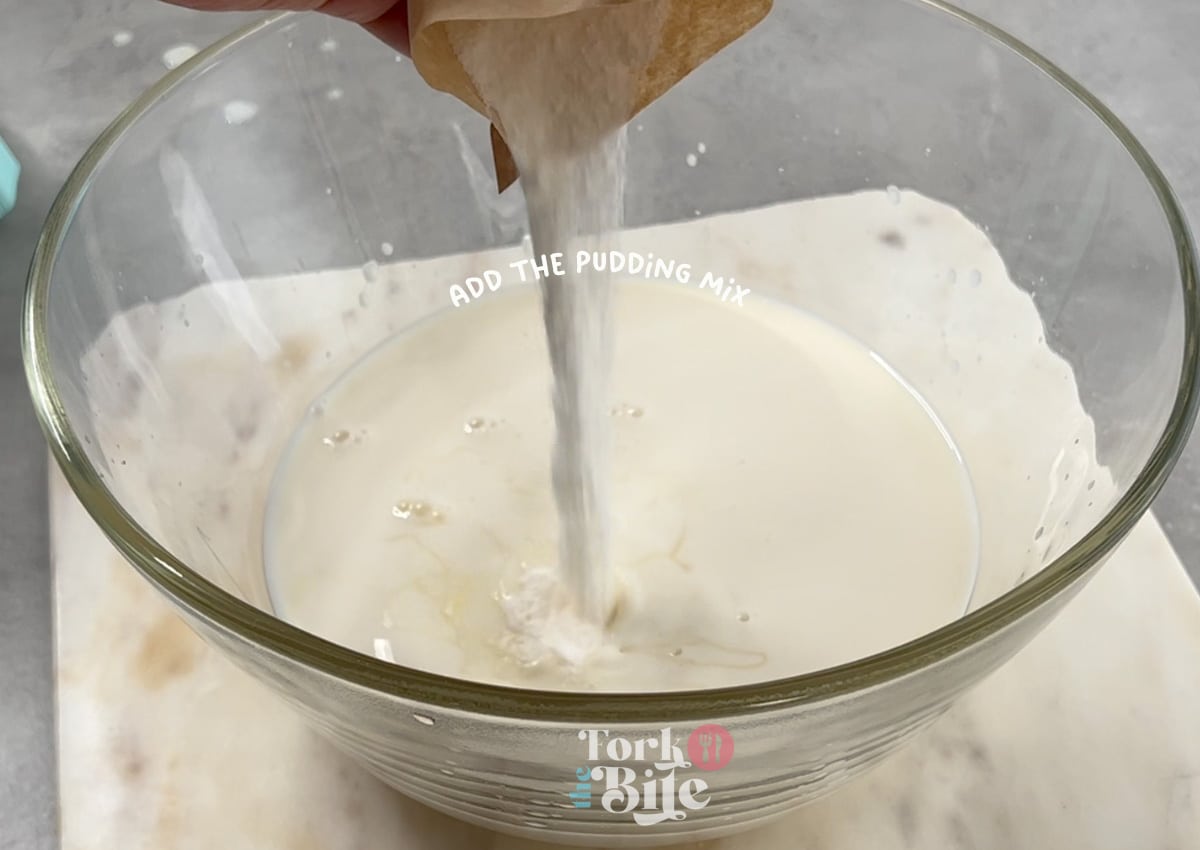
Then, we gradually add the pudding mix and beat until everything is thoroughly combined.
Once the mixture is smooth and creamy, we cover it and refrigerate it for at least 4 hours or overnight.

Step 2
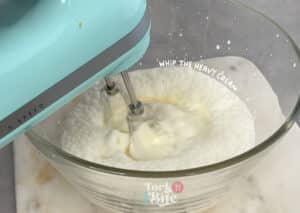
Whip the heavy whipping cream with an electric mixer until it forms soft peaks, creating a light and fluffy texture perfect for mixing with the pudding.
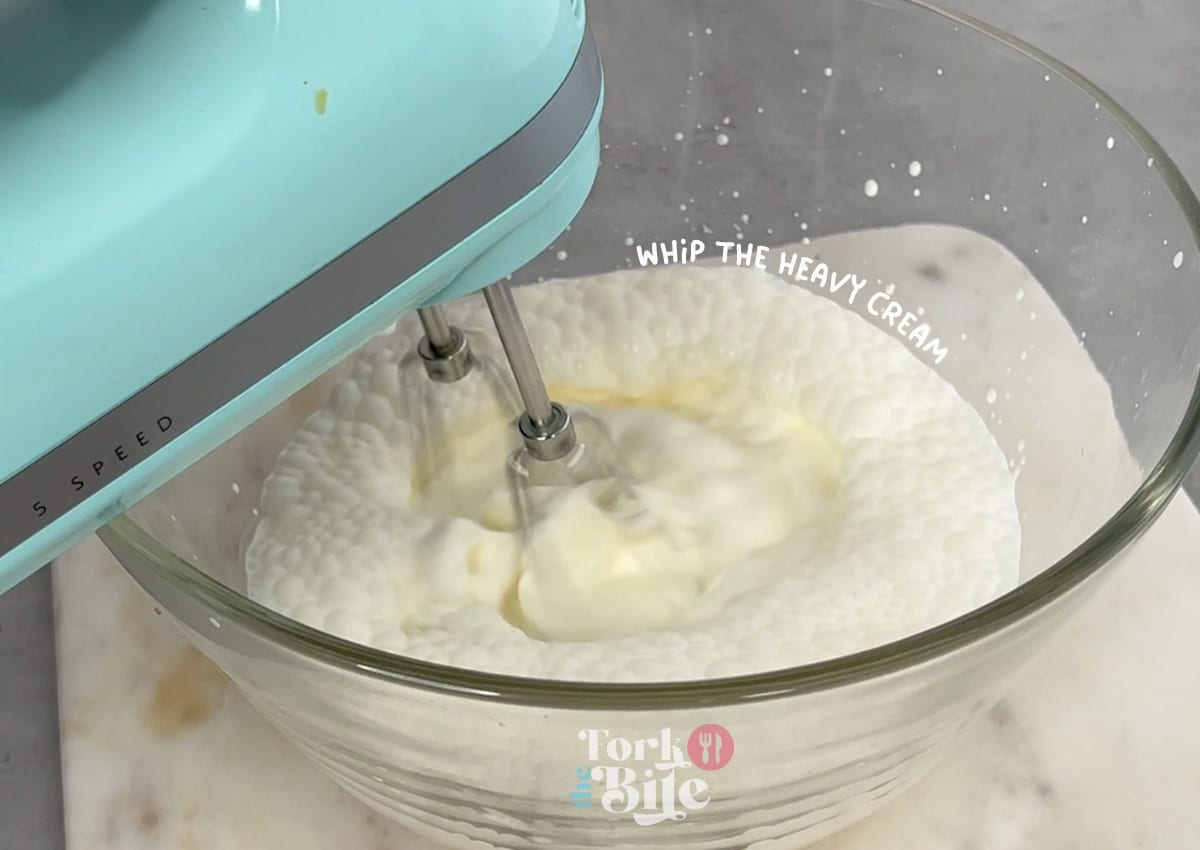
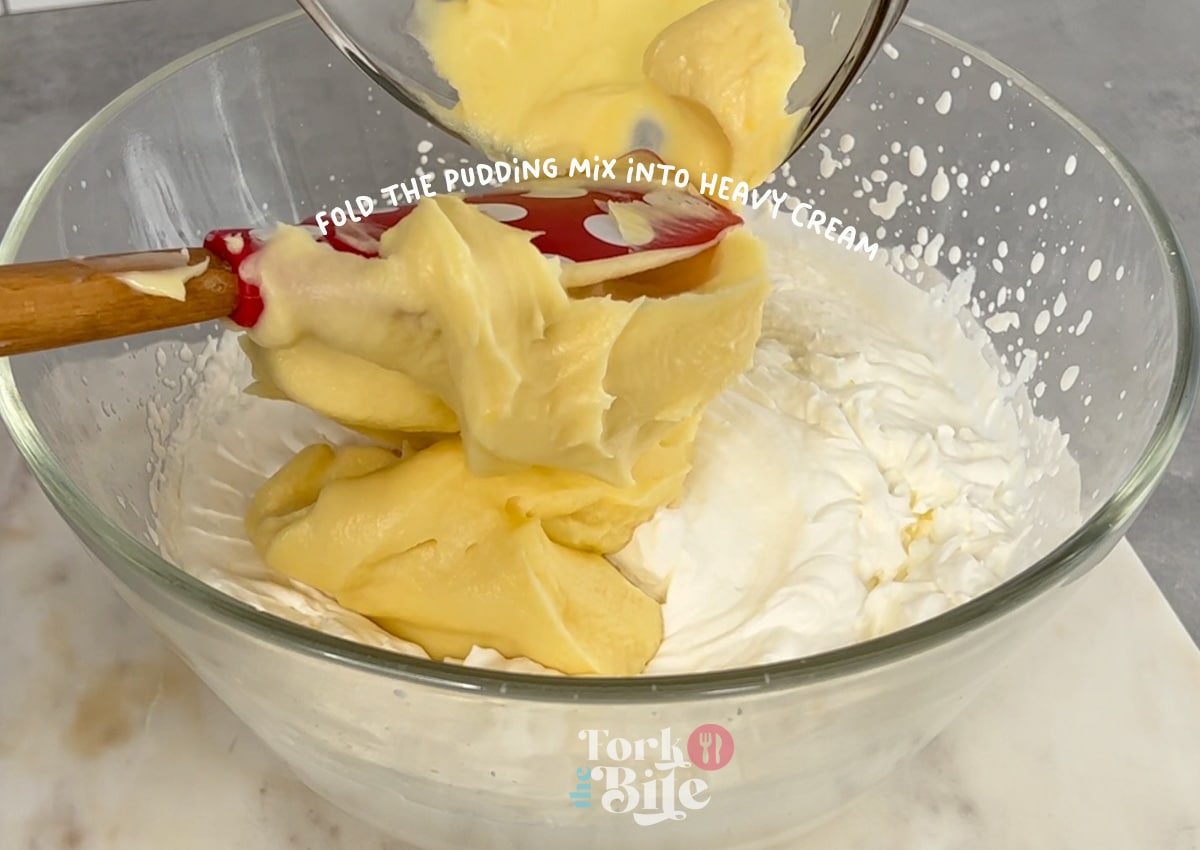
Then, gently fold the whipped cream into the chilled pudding mixture, ensuring no streaks are left behind.
Note:
The key to a great banana pudding is in the details, and one of the most important details is the cookie choice. In this case, the cookie of choice is the humble Nilla Wafer.
These classic cookies balance sweetness, crunch, and vanilla flavor, making banana pudding addictive. If you can't find Nilla Wafers at your local grocery store, don't worry! We've got you covered with a recipe that's easy to make at home. Follow the link to learn how to whip up a batch of homemade Nilla Wafers that will take your banana pudding to the next level.
Assembling the perfect banana pudding
Assemble the banana pudding. I suggest getting some beautiful stemless wine glasses for serving banana pudding. It's important to choose a cup that allows you to see all the layers and appreciate the beauty of the dessert.
Alternatively, clear plastic cups also work as long as you can see all the delicious layers. And if you want to go for a rustic look, mason jars are a great option too! You can use a large bowl, a trifle dish, a baking pan, or individual dishes - whatever works best for you!
Step 1

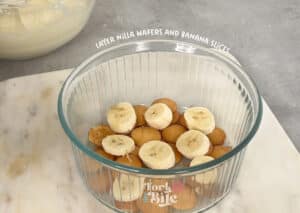
To create the layers, add a layer of Nilla Wafers to the bottom of your dish(es). Then, add a layer of sliced bananas on top of the wafers.
Add a layer of the pudding/whipped cream mixture to the bananas. Be sure to spread the pudding evenly to cover the bananas and wafers completely.

Note:
To make my banana pudding cups even more decadent, I like to swirl some chocolate sauce on the bottom. I always use Hershey's chocolate sauce instead of fudge sauce because it's thinner and won't solidify as much in the fridge. This ensures that every spoonful of the pudding is perfectly balanced with a touch of chocolate goodness at the bottom.
Step 2
Repeat these layers until you reach the top of your dish(es), ending with a layer of pudding on top. This will create a beautiful, layered dessert that will impress your guests. And the best part? You can customize the size and shape of your dish(es) to suit your needs - whether feeding a crowd or indulging in a single serving.
Once your pudding is assembled, serve it immediately or chill it in the fridge for a few hours to let the flavors meld together.
Step 5
Cover the dish tightly with plastic wrap to prevent air from getting in, and place it in the fridge for 4-8 hours. You can even leave it in the refrigerator overnight to further develop the flavors. This step is crucial for allowing the flavors to meld together and creating a smooth, creamy texture that is perfect for digging into.
Note:
Once your pudding has chilled, it's time to add some finishing touches. You can top it with additional sliced bananas and crushed Nilla Wafers for a beautiful presentation and extra flavor and texture.
Why these ingredients:
The success of a recipe depends on the careful balance of ingredients, especially for Pioneer Woman's Banana Pudding. Each ingredient in this recipe plays a crucial role in creating the dessert's unique flavor, texture, and flair.
- Whole milk and cream - The combination of whole milk and cream provide the perfect balance of richness and creaminess essential to the texture and flavor of the pudding.
- Egg and egg yolks - The egg and egg yolks are essential in making the pudding base. They help thicken the mixture and provide a smooth texture.
- Sugar - Sugar adds sweetness to the pudding and balances out the flavors.
- Cornstarch is a thickening agent that helps the pudding set up properly.
- Butter - Butter adds richness and creaminess to the pudding.
- Vanilla extract and vanilla bean paste - The combination of vanilla extract and vanilla bean paste adds depth of flavor and enhances the overall taste of the pudding.
- Salt - Salt helps balance out the sweetness of the pudding.
- Sweetened condensed milk - Sweetened condensed milk adds sweetness and creaminess to the pudding.
- Instant vanilla pudding mix - Using instant vanilla pudding mix is a convenient option for making the pudding quickly and easily.
- Heavy whipping cream - Whipped cream adds a light and fluffy texture to the top layer of the pudding.
- Bananas are a key ingredient in banana pudding and add natural sweetness and flavor to the dessert.
- Nilla Wafers - Nilla Wafers are the classic cookie used in banana pudding and provide a sweet, vanilla flavor and a satisfying crunch.
Read:
Tips for making banana pudding in advance
I always recommend making these banana pudding cups at least two hours before serving to give the cookies enough time to soften. You can also make them up to 24 hours in advance for an even better flavor. Once the cups are assembled, I cover them with plastic wrap and chill them in the fridge until I'm ready to serve. Just before serving, I add the whipped cream and garnishes to complete the dessert presentation.
How long can you keep banana pudding fresh?
Enjoying these banana pudding cups within 24 hours of making them is best. While the leftovers may still be good for one more day, I've noticed that the cookies become pretty mushy, and the bananas turn brown beyond that point. So, to savor the perfect texture and flavor of the banana pudding, it's best to consume it within a day of making it.
What wafers to use?
Choosing the right wafer is essential for making the perfect banana pudding. While Nilla Wafers are the traditional choice, plenty of other options can take your dessert to the next level.
Upgrading to a higher-quality vanilla shortbread cookie can make a difference in the flavor and texture of the final product.
These cookies are more buttery than Nilla Wafers and have a standout vanilla flavor that pairs perfectly with the creamy pudding.
Of course, you can always make your shortbread cookies from scratch, but you can also find plenty of high-quality options at your local grocery store or bakery. Select a cookie with a sturdy texture that can hold up to the creamy pudding without getting too soggy.
Whether you stick with the classic Nilla Wafers or a more elevated shortbread cookie, you can't go wrong with this delicious and comforting dessert.
How ripe should bananas be for banana pudding?
For this recipe, it's best to use ripe bananas. These bananas will be sweet and flavorful, with a soft texture that will blend well into the pudding. In fact, the riper the bananas are, the better the flavor and texture of the pudding will be.
Look for fully yellow bananas with some brown speckles or streaks on the skin. If your bananas are still green or mostly yellow with no spots, you can ripen them quickly by placing them in a paper bag with an apple or a tomato for a day or two. This will help speed the ripening process and ensure your banana pudding turns out perfectly.

How do I keep my banana pudding from getting watery?
To prevent the banana pudding from becoming watery, there are a few steps you can take:
- Use ripe but firm bananas: Overripe bananas tend to be softer and can release more moisture into the pudding, causing it to become watery. Choose bananas that are ripe but still firm enough to hold their shape.
- Drain the sliced bananas: If you're using sliced bananas in your pudding, pat them dry with a paper towel to remove any excess moisture before adding them.
- Chill the pudding: After assembling it, chill it in the refrigerator for at least 2-3 hours to allow the flavors to meld together and the pudding to set. This will help prevent any excess moisture from seeping into the pudding.
- Cover the pudding: Cover the pudding with plastic wrap, making sure it's in contact with the surface of the pudding to create an airtight seal. This will help prevent excess moisture from forming on the surface.
- Don't add too many bananas: While bananas are a key ingredient in banana pudding, adding too many can cause the pudding to become watery. Be sure to add only enough bananas to create the desired texture and flavor.
- Serve immediately: Serve the pudding as soon as possible after assembling it to prevent it from sitting too long and becoming watery.
Can I use a different type of cookie besides Nilla Wafers in my banana pudding?
Yes, you can use a different type of cookie besides Nilla Wafers in your banana pudding! Nilla Wafers are a traditional cookie for banana pudding, but other cookies also work well. Some popular alternatives include:
- Shortbread cookies: These buttery, crumbly cookies are a great substitute for Nilla Wafers.
- Graham crackers: These sweet, crunchy cookies can add a nice contrast to the creamy pudding and bananas.
- Vanilla or chocolate sandwich cookies: These cookies can be crushed up and used instead of the Nilla Wafers for a twist on the traditional recipe.
- Ladyfingers: These sponge-like cookies can also be used in place of Nilla Wafers and add a delicate texture to the pudding.
Note:
When substituting cookies, keep in mind the cookie's flavor and texture to ensure it complements the banana pudding well. Additionally, be sure to adjust the amount of cookies used to match the amount of Nilla Wafers called for in the recipe.
Can I use different types of fruit in my banana pudding?
While banana pudding traditionally features sliced bananas as the main fruit ingredient, you can certainly experiment with different types of fruit to customize the dessert to your liking. Here are a few ideas:
- Strawberries: Sliced strawberries can be a delicious addition to banana pudding, adding a pop of color and a sweet, juicy flavor.
- Pineapple: Chunks of pineapple can give your banana pudding a tropical twist and add some texture to the creamy dessert.
- Blueberries: Fresh blueberries can add a tart sweetness to your pudding and complement the flavor of the bananas.
- Mixed berries: Combining strawberries, blueberries, raspberries, and blackberries can create a colorful and flavorful twist on traditional banana pudding.
How do I store leftover banana pudding?
To store leftover banana pudding, follow these steps:
- Cover the pudding with plastic wrap or a lid: This will help prevent the pudding from drying out or absorbing any unwanted flavors from other foods in the refrigerator.
- Refrigerate the pudding: Store it in the refrigerator for up to four days. The temperature in the fridge should be at or below 40°F (4°C) to keep the pudding fresh and safe to eat.
- Don't freeze the pudding: While it is possible to freeze banana pudding, the texture may change and become less desirable when thawed. It's best to store leftover pudding in the refrigerator and consume it within a few days.
- Serve chilled: Before serving, remove the pudding from the refrigerator and let it sit at room temperature for 10-15 minutes to take the chill off. Serve the pudding as desired, topped with whipped cream or additional sliced bananas.
How do I make sure my bananas don't turn brown in my banana pudding?
Bananas tend to turn brown quickly when exposed to air, which can affect the appearance of your banana pudding. However, there are a few things you can do to help prevent the bananas from turning brown:
- Add lemon juice: Adding a small amount to the sliced bananas can help prevent them from turning brown. The acidity of the lemon juice slows down the enzymatic browning process.
- Slice the bananas just before assembling the pudding: To minimize the exposure of the bananas to air, slice them just before you're ready to assemble the pudding.
- Use fresh, ripe bananas: Fresher, riper bananas are less likely to turn brown quickly than less ripe bananas.
- Layer the bananas with pudding: To minimize the exposure of the bananas to air, layer them with pudding as soon as possible after slicing them.
- Cover the pudding: Covering the pudding with plastic wrap, making sure it's in contact with the surface of the pudding to create an airtight seal, can help minimize the exposure of the bananas to air and prevent them from turning brown.
Can I use frozen bananas in my banana pudding?
While it's possible to use frozen bananas in banana pudding, it's not recommended as the texture of the bananas will change when they're thawed. Frozen bananas become soft and mushy when thawed, resulting in a less desirable texture in the pudding. Additionally, the excess moisture released by the thawed bananas can cause the pudding to become watery.
If you must use frozen bananas in your banana pudding, here are some tips to help maintain the best texture:
- Thaw the bananas before use: Thaw them in the refrigerator overnight to prevent them from becoming too soft.
- Drain any excess liquid: Once the bananas are thawed, drain any excess liquid before using them in the pudding.
- Use the bananas immediately: Once they are thawed, use them immediately in the pudding. Don't let them sit at room temperature for too long, as this can cause them to become too soft and watery.
FAQs: Related questions
How long can you keep pioneer woman banana pudding?
If you want to maintain the cookies' texture, consuming the pudding as soon as possible is important. As time goes on, the bananas will start to soften, and the wafer cookies will become soggy, which can affect the overall taste and texture of the pudding. I recommend storing Banana Pudding in an airtight container in the refrigerator for up to four days to keep it fresh and edible.
Can I make banana pudding in advance?
Yes, you can make banana pudding in advance! It's a great dessert to prepare; it needs time to chill and set in the refrigerator before serving. You can prepare the pudding and assemble the layers of cookies, sliced bananas, and pudding a day or two ahead of time, then cover it with plastic wrap and store it in the refrigerator until you're ready to serve. Add the whipped cream and garnishes before serving to maintain it's freshness and texture.
How long does banana pudding last in the fridge?
Banana pudding can last up to 4 days in the refrigerator if stored properly in an airtight container. It's important to keep the pudding covered to prevent it from drying out or absorbing any unwanted flavors from other foods in the fridge.
If the pudding is exposed to air or left uncovered, it can also cause the top layer to dry out and form skin. To avoid this, press a piece of plastic wrap directly onto the surface of the pudding to create an airtight seal.
Can I freeze banana pudding?
While it's possible to freeze banana pudding, the texture and the bananas may change when thawed, making it less desirable. Freezing can cause the bananas to become soft and mushy, and the pudding may separate or become watery.
However, if you need to freeze banana pudding for future use, here are some tips to help preserve its quality:
- Freeze the pudding in an airtight container or freezer-safe plastic bag to prevent freezer burn.
- Label the container with the frozen date and use it within 1-2 months for best quality.
- When you're ready to use the pudding, thaw it in the refrigerator for several hours or overnight.
- Before serving, check the pudding for any changes in texture or flavor. If the pudding looks or smells off, it's best to discard it.
Full Recipe

Pioneer Woman Banana Pudding Recipe
Pin RecipeIngredients:
Vanilla Pudding Mix (if cooking from scratch):
- 2½ cups whole-fat milk
- ½ cup Heavy cream
- 1 piece egg (at room temperature)
- 2 pieces egg yolks (at room temperature)
- ¾ cup sugar
- 4½ tablespoon cornstarch
- 4 tablespoon butter (cubed)
- 3 teaspoon vanilla extract
- ½ teaspoon salt
If using Vanilla Instant Pudding Mix:
- 1 can sweetened condensed milk (14.oz canned)
- 1½ cup water (cold water)
- 1 pack vanilla instant pudding mix (3.4 oz)
For assembly:
- 2 cups heavy cream (whipped to soft peaks)
- 3 pieces bananas (sliced)
- 1 pack Nilla Wafers
Watch the Video:
Instructions:
If using Instant Pudding Mix:
- Start by whisking together sweetened condensed milk and water with an electric mixer.

- Then, gradually add the pudding mix and beat until everything is thoroughly combined.
- Once the mixture is smooth and creamy, we cover it and refrigerate it for at least 4 hours or overnight.
- Whip the heavy whipping cream with an electric mixer until it forms soft peaks, creating a light and fluffy texture perfect for mixing with the pudding.
- Then, gently fold the whipped cream into the chilled pudding mixture, ensuring no streaks are left behind.

Assembling the perfect banana pudding:
- To create the layers, add a layer of Nilla Wafers to the bottom of your dish(es). Then, add a layer of sliced bananas on top of the wafers.
- Add a layer of the pudding/whipped cream mixture to the bananas. Be sure to spread the pudding evenly to cover the bananas and wafers completely.
- Repeat these layers until you reach the top of your dish(es), ending with a layer of pudding on top. This will create a beautiful, layered dessert that will impress your guests. And the best part? You can customize the size and shape of your dish(es) to suit your needs - whether feeding a crowd or indulging in a single serving.Once your pudding is assembled, serve it immediately or chill it in the fridge for a few hours to let the flavors meld together.

- Cover the dish tightly with plastic wrap to prevent air from getting in, and place it in the fridge for 4-8 hours. You can even leave it in the refrigerator overnight to further develop the flavors. This step is crucial for allowing the flavors to meld together and creating a smooth, creamy texture that is perfect for digging into.

Notes:
Tips for making banana pudding in advance
I always recommend making these banana pudding cups at least two hours before serving to give the cookies enough time to soften. You can also make them up to 24 hours in advance for an even better flavor. Once the cups are assembled, I cover them with plastic wrap and chill them in the fridge until I'm ready to serve. Just before serving, I add the whipped cream and garnishes to complete the dessert presentation.How long can you keep banana pudding fresh?
Enjoying these banana pudding cups within 24 hours of making them is best. While the leftovers may still be good for one more day, I've noticed that the cookies become pretty mushy, and the bananas turn brown beyond that point. So, to savor the perfect texture and flavor of the banana pudding, it's best to consume it within a day of making it.Nutrition Information:
Please note that all nutrition information are just estimates. Values will vary among brands, so we encourage you to calculate these on your own for most accurate results.