Not many foods are as versatile as eggs, but they are subject to many questions about safety. For example, do you know whether or not it is safe to re-boil them if they've been previously parboiled? How about putting eggs in the microwave?
Boiled or not, is it safe to reheat eggs in the microwave, or are you running the risk of them exploding during the process?
Jump to:
The first question's response is something we will tackle a little later, but to give you an immediate answer to the second one - yes, there is a real danger of an egg exploding if you heat it in a microwave.
You know why?
It's all about science. Microwaves create heat by causing the water modules inside the things they are heating to vibrate. The same things happen to eggs - even hard-boiled ones.
They still retain sufficient water or moisture, and as these water molecules vibrate, they will turn into steam.
Eggs are essentially sealed containers. Inside the shell, there are high and low-fat liquids - the yellow yolks and the clear sacs that turn into egg whites. These liquids do what all fluids do when heated - they expand.
As the heating continues, the liquid starts turning into steam, and the pressure inside the shell builds, until - pop - the shells crack. If heated very rapidly, as in a microwave, the result is an exploding egg.
Why re-boil eggs?
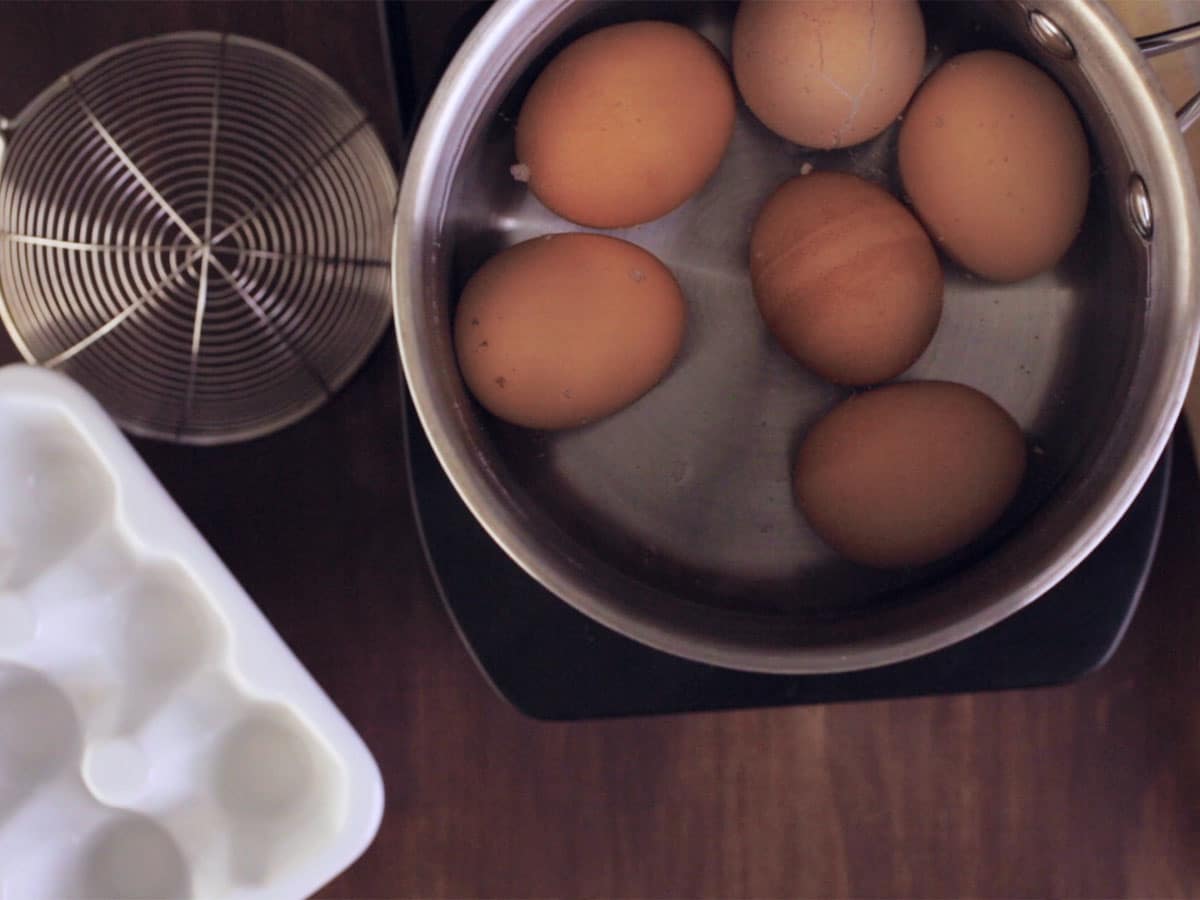
If you suspect an egg you have boiled is a little underdone, you might decide to put it back into the water and re-boil it for another minute or two.
Many people don't like their boiled eggs to be too runny, so re-boiling is not uncommon. In a way, they are right. Boiled eggs contain more digestible protein-rich nutrients than parboiled.
The average large, hard-boiled egg contains around 78 calories.
It is a proven fact that you stand a bigger chance of getting salmonella poisoning from raw or under-done eggs than you do from eggs that have been properly cooked.
Can you re-boil eggs if they are under-cooked?
There is no problem with re-boiling the eggs if they have been undercooked the first time around. Even if you peel the shell from an egg you were hard boiling and find it is too soft and therefore underdone, it is relatively safe to pop it back into boiling water for another minute or two.
If you remove the shell from a boiled egg to find that when you separate the yolk apart from the white, the yolk is too runny, you can still correct it. Just put the yolk into a microwave-safe dish and microwave it gently until the color of the yoke darkens.
How to re-boil eggs?
If you want to re-boil an already boiled egg, you can use a bowl and some boiling water.
Technically you are not re-boiling the egg - you are reheating it, as the boiling water ceases to boil when you pour it, as you will see from the following steps.
- Take a medium or large bowl and put the egg or eggs into it.
- Boil some water in your kettle or coffee maker, then carefully pour it onto the eggs inside the bowl.
- Once the eggs are completely immersed in the water, place a lid over the top of the bowl. Leave for a short while until the water's temperature has cooled a little.
- After a while, take off the lid and inspect the eggs.
- Test one egg. If the yolk is still too runny and not to your taste, leave the rest in hot water for another one or two minutes.
If all you want to do is warming a pre-cooked egg, it only needs to soak in hot water for about one minute.
When done to your satisfaction, remove the eggs from the water with a tablespoon, place them onto the working surface on a sheet of paper kitchen towel, and gently pat dry.
What happens when you re-boil eggs?
When you re-boil eggs, a couple of things happen.
- Firstly, the eggs will become harder and will be thoroughly cooked through.
- Secondly, the shell softens.
Once you have re-boiled the eggs, if you are not going to eat them straight away, you should store them in your fridge.
They will be okay for up to one week. Any longer and they start to turn bad.
To tell whether they are still safe to eat or not, you can subject them to the water test. Place them into a bowl of water, which is at room temperature.
Any floaters have gone off and need discarding. Any that don't float are still safe to eat.
Can you re-boil peeled eggs?
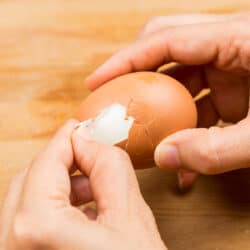
If your brekkie treat is a hard-boiled egg, the last thing you will want to happen is you peel the shell off only to find it's underdone.
As you know, microwaving eggs with their shells intact is a no-no.
However, you could do so with an egg that's had its shell peeled off, although you still need to take care not to heat for too long.
The alternative with a peeled egg is to boil it.
Can you re-boil dyed eggs?
People dye eggs in different colors to celebrate special occasions like Easter and kids' birthdays. If you're wondering whether or not you can re-boil them once they are dyed without losing the color, the answer, in theory, is yes, you can. However, there is a but.
It depends on whether the kind of dye you used was resistant to boiling water - if yes - no problem - if no, you can expect it to at least fade or, at worst, to come off altogether.
The other thing you should be aware of is that re-boiling dyed eggs weaken their shells. They become porous, meaning that the dye can migrate to the egg's inners.
In other words, it's not a good idea, and this goes for natural dyes too. Don't risk it.
Can you re-boil hard-boiled eggs?
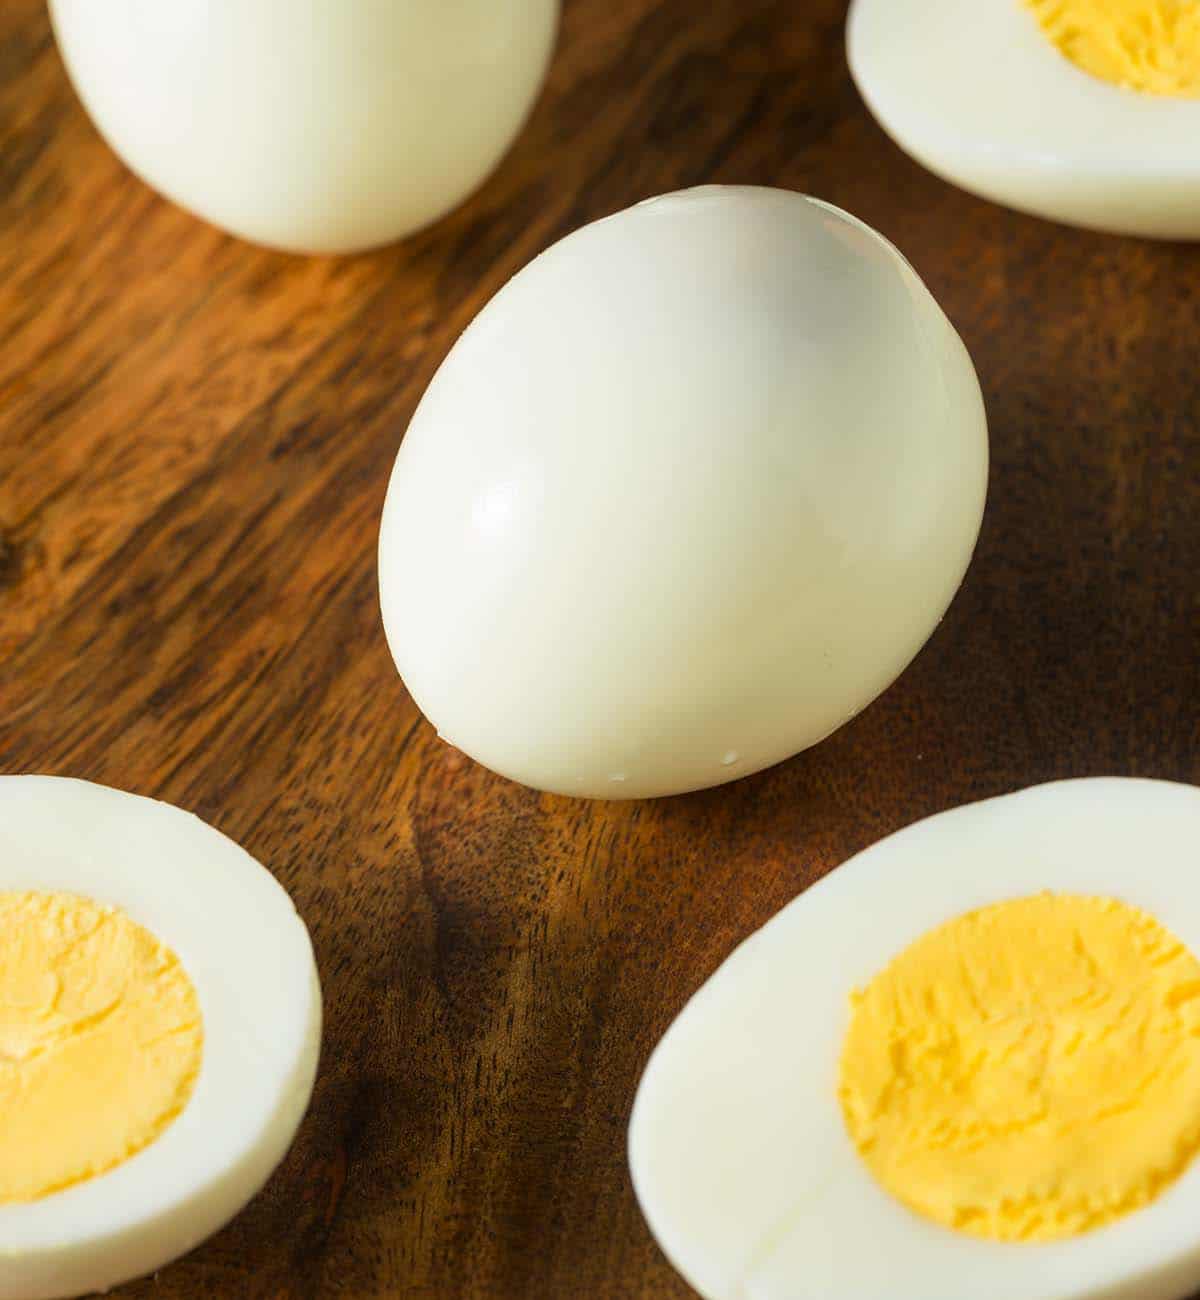
As you've probably realized by now, you can re-boil previously hard-boiled eggs.
- Step 1: Put them into a heat-resistant bowl or pan and add boiling water.
- Step 2: Make sure the eggs are totally immersed.
- Step 3: Leave to heat through for ten minutes, then serve and enjoy.
While using boiling water to reheat the eggs is fine, using a microwave is not. There is still moisture inside the shell, and they could easily explode.
Can you re-boil soft-boiled eggs?
If you can re-boil hard-boiled eggs, you can sure re-boil soft -boiled - sure as eggs are eggs - sorry, couldn't resist it. So, yes, you can re-boil them, but they will turn into hard-boiled.
But if you are in a rush in the morning, having a hard-boiled egg for breakfast indeed, isn't a problem.
To ensure they are correctly hard-boiled, it is recommended to let them boil for 12 minutes. It reminds me of the joke about the guy complaining because he said he'd been boiling his eggs for hours, and they still weren't soft!
Of course, they never will be, but seriously, 12 minutes for a bona fide hard-boiled egg will get the right results every time.
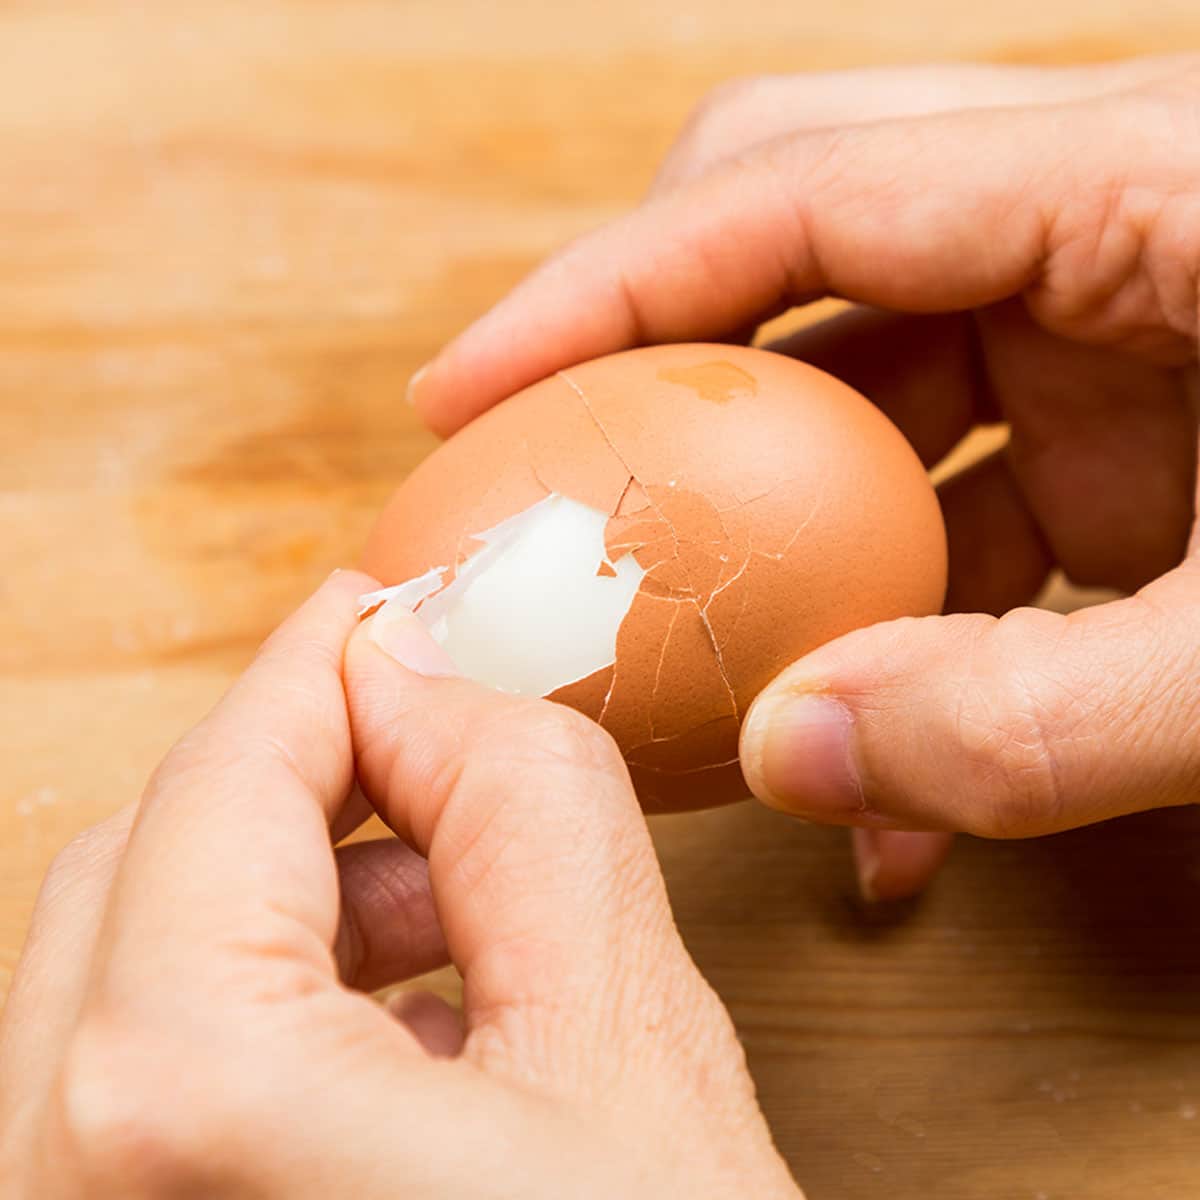
Before you try to peel the shell from an egg you've just taken off the boil, don't forget first to cool it in cold running water. You will not only prevent burning your fingertips; it also makes the shell easier to peel.
How long before a hard-boiled egg goes bad?
Hard-boiled eggs are kept relatively safe from spoilage that can adversely affect our health by their shells. However, even stored in a refrigerator, they will eventually go off.
As hard-boiled eggs have a limited fridge life, it's important to keep track of how long they have been in the fridge. The best way to do this is to write the date you put them in the refrigerator on their shells.
When good eggs go bad
Hard-boiled eggs are safe in the refrigerator for up to one week.
Before refrigerating them use a sheet of paper kitchen towel to dry the shells.
This is recommended as porous shells can absorb smells from other foods stored around them.
Please Note:
Although refrigerators have compartments in their doors suitable for storing eggs, it is best not to use them. Because fridge doors are opened regularly, the eggs are exposed to varying temperatures.
Store them deeper inside the fridge where the temperature is more stable.
Do not keep hard-boiled eggs out of the fridge at room temperature for longer than two hours. Beyond this time, the risk of the development of bacteria rapidly increases.
The shelf life of hard-boiled eggs
Hard-boiled eggs are delicious and nutritious. They're extremely versatile, and you can use them in salads, in main dishes, or as snacks. Most people have a ready supply in their fridge.
They are cheap, simple to prepare, and when hard-boiled, they are easy to transport.
Significance
From a calorific and nutritional viewpoint, eggs, depending on size, have an average of 75 calories each. They each contain between six and seven grams of protein and the vitamins A, B2, B5, B12, D, and E, plus Choline, Folate, Phosphorous, Iodine, Iron, and Selenium.
They are low in fat and sodium. They are, in fact, nutritional powerhouses.
Considerations
When buying eggs, go for grades AA or A. Store them in the body of your refrigerator in their cartons, rather than in the door, and before using them, check that they are fresh and that the shells are uncompromised.
Hard-boiled eggs
The best hard-boiled eggs are made using any that are a few days old.
- When cooking, place them gently into a pan of cold water. They should be immersed one or two inches below the surface.
- Bring the water to a boiling point, reduce the heat, cover and simmer for 12 minutes.
If, during cooking, any of the shells crack - add a teaspoon of vinegar to the water. It will stop any of the insides oozing out.
Shelf life
Stored hard-boiled eggs ought to be consumed within a week of cooking.
When eggs are boiled, the coating of mineral oils that protects the shells gets washed off. As explained above, the shells are porous, so they can not only pick up odors from other foods, but they are susceptible to bacteria.
Handling
It is also worth repeating that you should store hard-boiled eggs in your fridge within hours of cooking. If an egg's gone bad, you can tell by its coloring and bad smell.
Fact
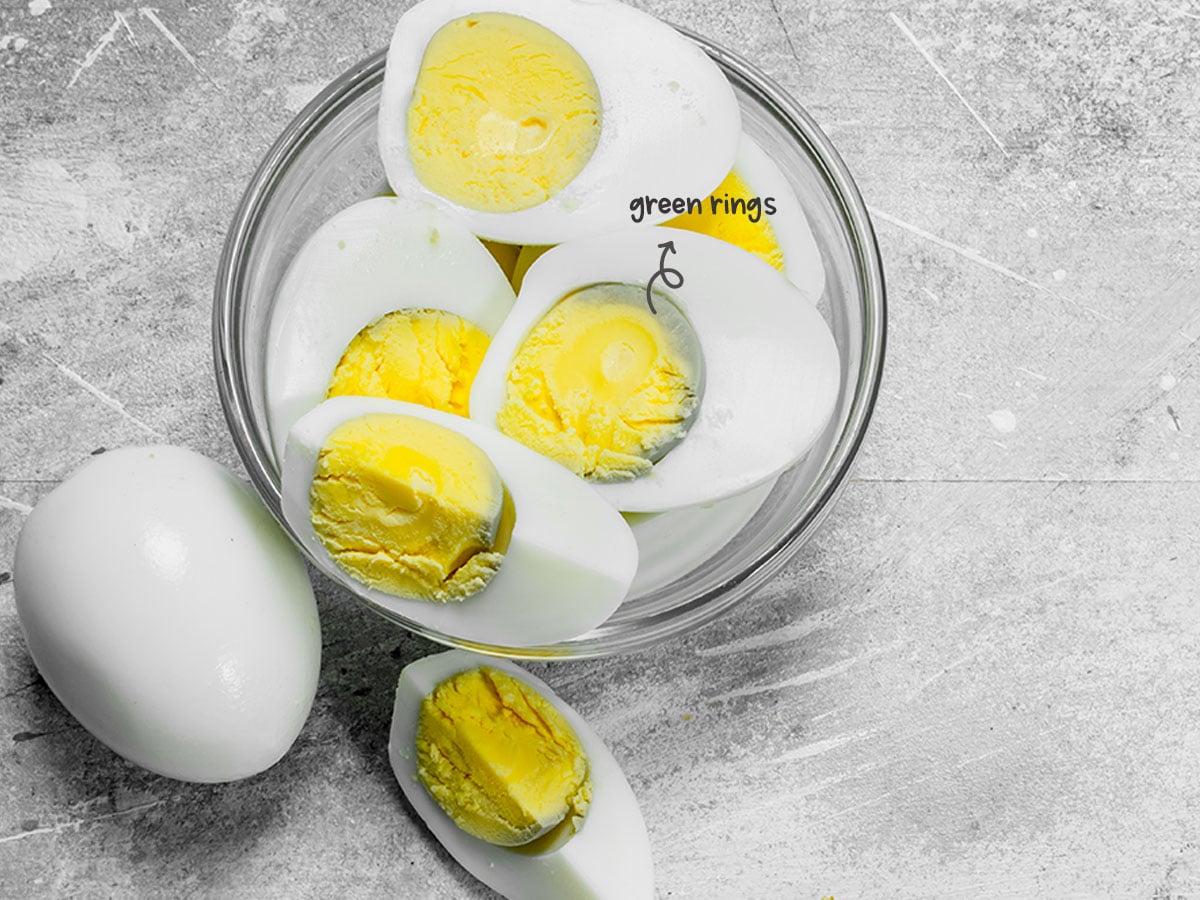
The best hard-boiled eggs are made by boiling them gently. If you boil them too vigorously, a green ring forms between the yolk and the white.
It's doesn't make it unsafe to eat; it just doesn't look great. Boiling too hard also gives the white a rubbery texture.
Try this hack never to crack a hard-boiled egg again.
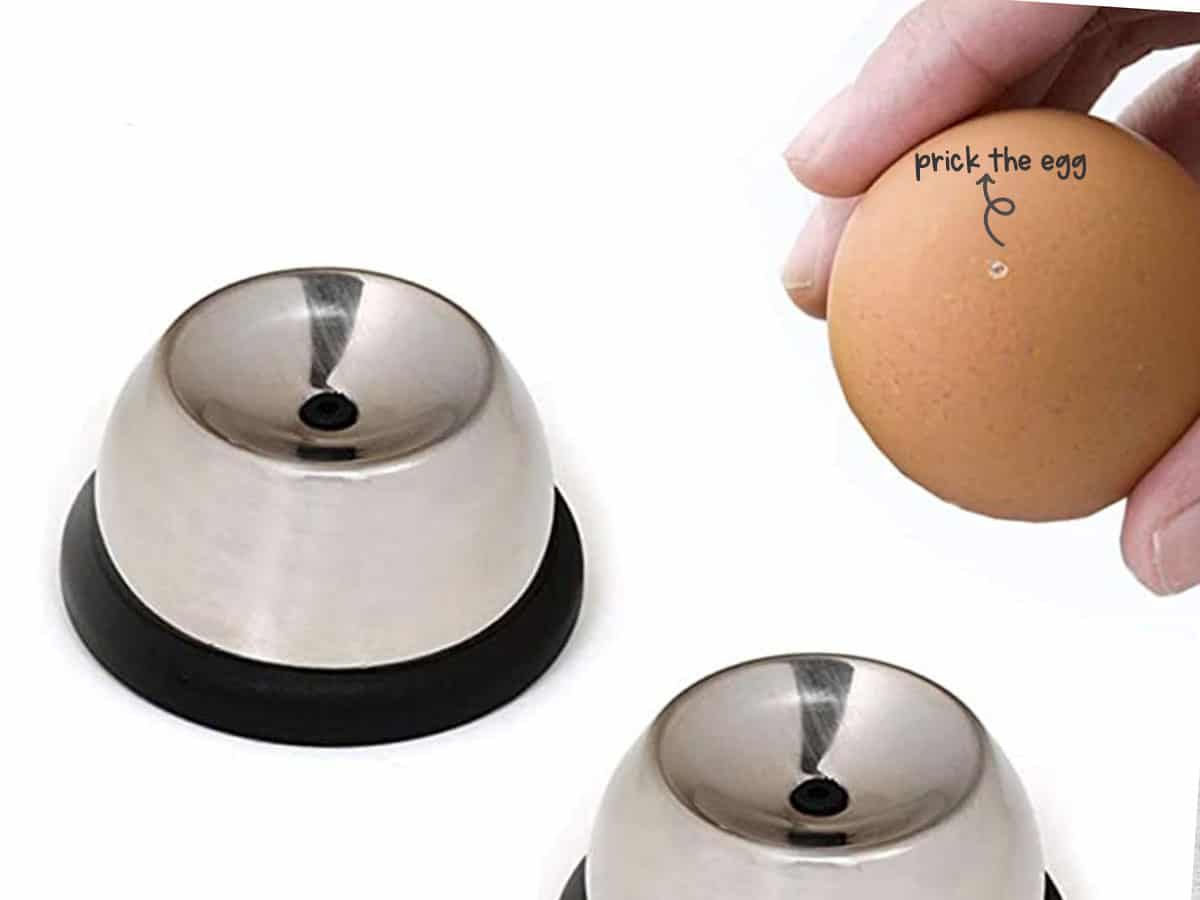
The bottom, fatter and flatter end of an egg contains air. When you boil it, it causes this air to expand, and it's why eggs sometimes crack. To stop it from happening, try pricking a tiny hole in the base of the shell.
This piercing allows the air to escape, thus avoiding any pressure build-up. It is particularly true of older eggs, which contain more air. It's another good reason for using older eggs to a hard boil.
Another benefit of pricking the bottom of an egg is that it makes it easier to peel off the shell. The tiny hole allows the water to relax the membrane, which attaches the white (proper name for which is the albumen) to the shell, and hey presto - you have an easy peeler.
This particular piece of advice has relevance to fresh farm eggs as they are tough to peel.
Pro tip:
Putting a couple of pinches of salt into the boiling water will help to minimize the loss of albumen when you boil a pricked egg.
Did you know that you can purchase egg prickers and peelers? It saves using a safety pin.
How to make yolks stay in the center of hard-boiled eggs
Not only are hard-boiled eggs a cinch to make, but they are also a hassle-free snack that provides a great protein boost with a low-calorie count.
If you're using them as a garnish or a chopped ingredient in a salad, it's not important to have the yolks perfectly centered.
However, if you're doing deviled eggs or you will be presenting whole or halved slices of egg, a properly centered yolk will look better.
A well-centered yolk also means that you're less likely to end up with a thin edge of white and less likely to tear the white when removing the yolk and later replace it with the yolk-based stuffing.
The best way to center egg yolks
Getting egg yolks centered is not as difficult as it might sound. It involves boiling the eggs lying on their sides. It helps to keep the yolks equidistant between the eggs' ends.
Step 1
The night before the day you will be boiling them, store the eggs on their sides. If you're doing several eggs, a quick tip is to leave them in the carton and stand the carton itself on its side.
Step 2
To make sure that the egg carton doesn't accidentally fall open, place an elastic band around it to keep it closed.
Step 3
When boiling the eggs, start by positioning them on their sides in the pan and covered in cold water. Don't overcrowd them, thereby forcing some eggs into an upright position.
Ensure they are each lying horizontally.
If necessary, use another pan to give all the eggs the free space they need to lie flat.
Step 4
When the water comes to a boil, remove the pan from the stovetop, put the pan's lid in place, and leave to stand for 15 minutes.
Step 5
Take the eggs out of the pan with care. If necessary, use tongs. Put the cooked eggs into a bowl of ice water to bring the cooking process to a rapid halt.
Note:
If you don't cool down the eggs when you take them out of the boiling water, they will continue to cook. The result will be eggs with tough whites and yolks with green or grey rings around them.
Step 6
Remove the shells. Slice the eggs in half horizontally, and voila - you will have beautifully centered yolks.
Cooking eggs sunny side up without flipping
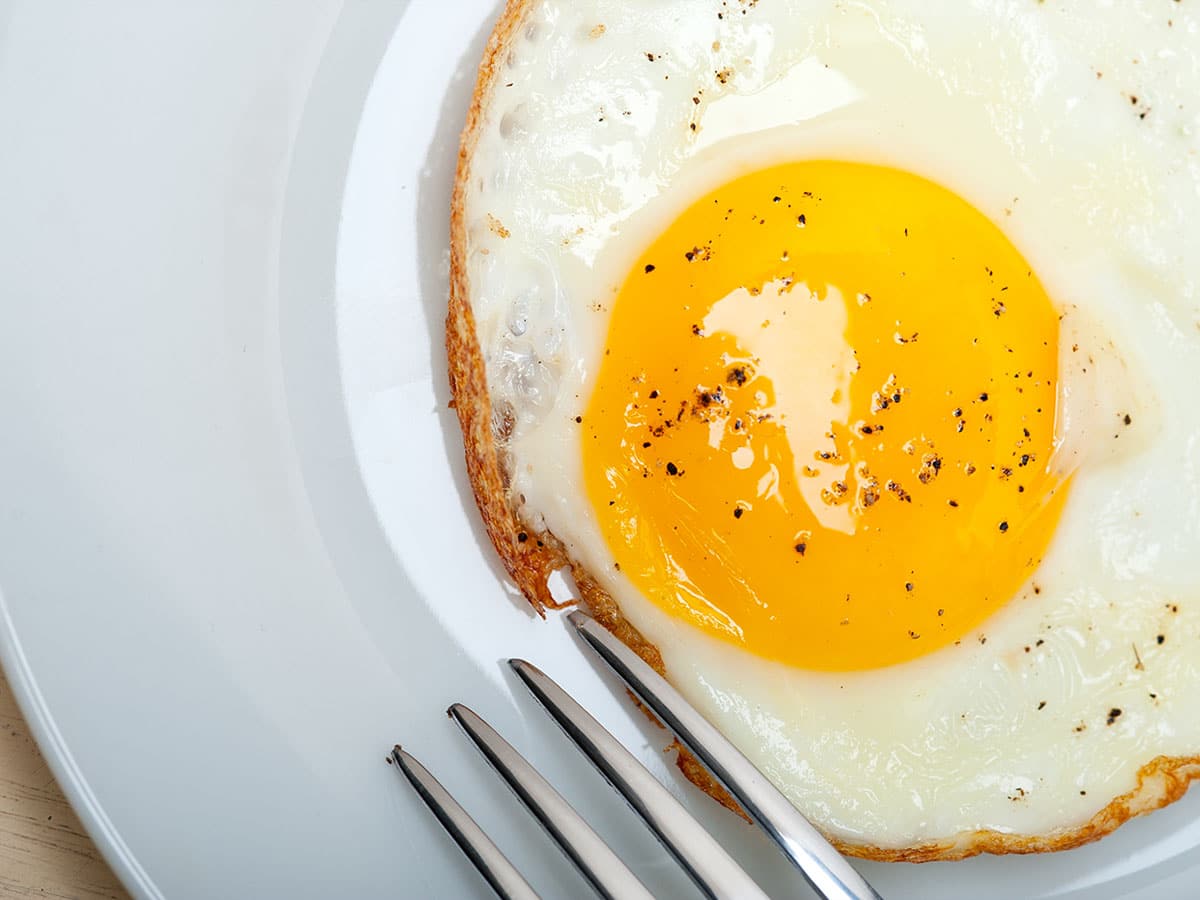
There's nothing quite like a thick, liquid yolk surrounded by a firm yet tender white, sunny side up egg on your breakfast plate.
Here is a little trick that avoids flipping and the danger of breaking that precious yolk in the process. Instead of flipping, allow the eggs to steam.
Here's how:
Step 1
Into your frying pan, add a little melted butter or olive oil - just enough to cover the bottom of the pan. Turn the heat to medium-high, heating the oil, so it shimmers but doesn't bubble or smoke, which means it's overheated.
Step 2
Carefully crack the egg and gently tip it into the pan so that the yolk presents in the middle of the white. (Remember that trick I told you about earlier for centering the whites? - Feel free to use it). If cooking multiple eggs, crack and tip each one individually.
Step 3
Lower the heat slightly to medium-low, and put a reasonably airtight lid in place. Continue to cook for about 5 to 6 minutes until the whites firm up and the yolks have a little bit of jiggle.
Give the pan a little shake. If the yolks wobble too much, they're not yet ready. Allow a few more seconds until they have a more gentle wobble. Be careful. It's a fine line, but practice makes perfect.
Step 4
To remove the eggs from the frying pan, hold the pan at an angle over the plate. Gently slide your spatula under the eggs (one at a time), and carefully lift them out of the pan and onto the plates.
Step 5
If there is any excess oil, dab the eggs gently with a piece of paper kitchen towel, being careful not to break those precious yolks.
Tricks to make perfect sunny side up eggs
Trick #1
This trick is all about carefully controlling the temperature. Overheat the oil, and the whites will become tough with the brown edges. Underheat the oil, and while the whites will set, the yolks will only be cooked partway through.
Whereas with the steaming routine above, you only require enough oil to cover the bottom of the pan, with this method, you need a little more to scoop it up and use it to baste the eggs.
Basting allows the whites to set without having to put a lid in position and cloud the yolks. Don't season the eggs until you've finished basting.
Alternatively, serve them unseasoned for the lucky consumer to add salt-and-pepper themselves.
How to Make It
Step 1
Take an 8-inch non-stick skillet, add oil, and heat over a medium-low setting.
Step 2
Carefully crack the eggs into the pre-heated skillet. If the heat is too high, you will notice the whites fluttering or bubbling. Turn the heat down. Ideally, the eggs should lie nice, flat, and still.
Step 3
Cook the eggs for three minutes until the whites are almost set all over but still a little runny near the yolks.
Step 4
Angle the pan towards you to pool the oil along the bottom edge of the pan. Using a spoon, carefully baste the unset whites near the yolks until they are nicely set. Try not to baste the yolks because they will cloud over.
Step 5
Sprinkle with salt-and-pepper and serve.
Trick
There's nothing to beat a lovely sunny-side-up fried egg presented beautifully on your breakfast plate. An undercooked fried egg with a soggy white and a watery, runny yolk is a real turnoff.
It's not that difficult to get it right. You might recognize this technique if you pan-fried dumplings before.
Here's how.
It involves getting a browned crust on the bottom of your pan to provide some extra texture and flavor.
Having done that, add a little water to generate steam, which will gently warm your eggs without overcooking.
How to make it:
Step 1
Coat the pan's cooking surface with a fine layer of olive oil and heat.
Step 2
When the oil shimmers, crack the egg into the pan. With immediate effect, the albumen should turn white and start bubbling.
Step 3
The rim of the white will become opaque and might begin to crisp up a little.
Step 4
Wet your fingertips with cold water and carefully sprinkle a few drops into the pan. As the water hits the oil, it will spit and sizzle, but that is to be expected.
Step 5
- Put a tight lid on the pan, preferably one made of glass, to enable you to keep an eye on the eggs.
- In 20 seconds or so, the egg white will firm up and look sort of puffy.
- Leave it too long, and the yolk will glaze over, and the white will get rubbery. It's a fine balancing act.
Step 6
Take the egg from the pan with a spatula and serve on a piece of nice, warm toast for texture contrast.
Preventing dark circles in hard boiled eggs
It is the iron and the sulfur in eggs that are responsible for that specific hard-boiled egg smell. It also causes the darkish gray-green rings to appear between the yolk and the white when boiled in water hotter than 158°F.
You can prevent these rings from forming by following the procedure below.
Cooking the Eggs
First, be sure to use eggs are at room temperature.
Step 1
Place the eggs in a pan containing enough cold water, so the eggs sit 1 inch below the water's surface.
Step 2
Bring it to the boiling point, then take off the heat straight away, covering the pan to retain the heat.
Step 3
Leave to stand for 15 minutes if the eggs are large, 12, if the eggs are medium, after which they will be ready to serve.
Cooling the eggs
While the eggs are boiling, find a suitable container, fill it with ice topped off with water. When the eggs have finished boiling, take a slotted spoon and transfer the eggs from the pan into the ice water bath.
If you want to eat the eggs warm when you peel them, leave them in the water for about five minutes. If you want the eggs cooler, say at room temperature, leave them for 12 to 15 minutes.
Cooking over-easy eggs in a microwave
Eggs are cheap and high in protein and are great partners for any meal, including breakfast, lunch, or evening dinner.
They are easy to prepare and fast to cook, especially in a microwave. Here's how to microwave a delicious easy-over egg with a sumptuous yolk and a nice firm white.
It's the perfect accompaniment to buttered toast, crispy potatoes, flavorsome noodles, tasty lentils, or steamed veggies.
Step 1
Take a micro safe bowl or plate and cover with a fine film of oil.
Step 2
Sprinkle a smidgen of salt on the bottom of the dish. It helps the egg to cook evenly all over.
Step 3
Carefully break the egg onto the plates or into the bowl. Pierce the egg yolk once and the whites several times with a fork. It will prevent the egg from exploding.
Step 4
Cover the dish with plastic film leaving one corner open to allow the steam to evacuate during the cooking.
Step 5
Microwave at full power for approximately 30 seconds, then allow the egg to cool for a further 30 seconds before carefully flipping it over.
Step 6
Reposition the plastic film, again leaving one corner open, and microwave at full power for another 30 seconds. Allow cooling.
Step 7
As the size of eggs varies, if you find your egg is slightly undercooked, give it another 10-second blast in the microwave. Repeat as necessary.
How to store cracked eggs in refrigerators
Now and again, when you arrive home with a carton of eggs, you may find one or two that have cracked.
Providing the inners aren't seeping out, you can still use the eggs if you are careful, and you store them in your fridge straightaway.
Option #1
Put any cracked eggs into a separate carton and store them in your fridge. To be safe, use the eggs (full cooked) within 24 hours.
Option #2
Crack the shell and pour the egg into a shallow container. Put a tight-fitting lid in place and refrigerate safely for up to 2 days. When you use the egg, ensure it is in a recipe where you will fully cook it.
Option #3
Break the shell and separate the yolk and the white. Put each into its own separate, shallow container, cover, and store in the fridge. Use within two days.
How to freeze raw eggs
Under normal circumstances, you can keep eggs safely in your fridge for up to 5 weeks after buying them. If you want or need to keep them longer, you can do so by freezing them.
- Set aside some small plastic containers with lids. Yogurt cartons are great for freezing individual eggs, but if you are freezing more, sour cream containers will do the job.
- Break the eggs into the containers. Sprinkle with a little salt to help to preserve the egg. If freezing to eggs in one container, add two pinches of salt and gently stir, careful not to break the yokes or froth the mixture.
- Cover tightly with plastic film by pulling it taut across the top of the container. Complete the packaging by snapping the lid of the container into place.
- Using a piece of masking tape, annotate it with the number of the eggs and the date they're going into the freezer, and stick to the carton where it will be visible.
- Ensure you store the container level inside the freezer.
Before using the eggs, allow them to thaw in your fridge for approximately 12 hours. - To prevent a thawed frozen egg from going off, use it immediately.
Is it Okay to Eat an Egg that's Been Frozen? - An egg can burst inside the shell while it's been frozen. But if you are lucky, and the egg remains intact inside the shell, can you still use it?
According to the Foodsafety.gov website, yes, you can. The only proviso is that you should have frozen the egg before its best-by date expires and that when you cook it, it is cooked thoroughly.
Shells don't freeze well
It is best to avoid freezing intact eggs if you can. The shells are not that robust and won't offer full protection.
As explained earlier, the egg can go off more quickly inside the shell than if you refrigerated it properly.
When eggs freeze, they expand. It can cause the shell to crack. The same applies to hard-boiled eggs. Once the shell cracks, egg safety is compromised as bacteria can get inside.
Beat to freeze
- The best way to freeze an egg is to crack it into a plastic container.
- Lightly whisk the egg as if you were about to make an omelet.
- Close the container off with an airtight lid to prevent contamination.
- Label and store in your freezer.
- Stored using this method, eggs can be kept safely for up to twelve months.
A thaw point
It is necessary to thoroughly defrost frozen eggs (raw or cooked) before cooking.
It's best to leave them to thaw in the fridge overnight. You can thaw them faster by running cold water over them.
After defrosting, you mustn't refreeze eggs. The same goes for egg products such as custard, quiche, and pies.
Once thawed, you can keep eggs in the fridge for up to three days.
Using frozen egg
It's not easy to judge how much thawed-egg to use in recipes if you froze several whisked eggs in one batch. As a guide, about three tablespoons will be the equivalent of one large egg.
If the egg emits a horrible smell, don't risk it. Throw it away.
You shouldn't take any risks with your health. Food poisoning can be very serious.
How to make powdered eggs
You can substitute whole eggs in most recipes by using powdered eggs instead. It's even quite palatable on its own. A powdered egg is easier to transport and store than fresh eggs, and it's just the ticket to take on camping trips or to have in the cupboard on long-term cruises.
It is non-perishable, and when stored in a cool oxygen-free place, will last up to 12 months or more. It's a handy thing to have around, and you can make powdered eggs in one of two ways.
The dry method
Step 1
Place a frying pan (non-stick) on the stovetop and pre-heat on a medium to a low setting.
Step 2
Break six eggs (more if you wish) into a large mixing bowl.
Step 3
Whisk briskly until the yolks and whites are homogenized.
Step 4
Pour the whisked eggs into your non-stick pan and cook until solid and any moisture has evaporated.
Step 5
Beat out any large chunks that have formed to speed up drying.
Step 6
Spread the scrambled eggs over a food dehydrator tray. To accelerate the drying process, spread the egg as if you were crumbling cheese.
Step 7
Switch the dehydrator to the setting of 150°F and dry the egg for four hours.
Step 8
Take a look when the four hours are up. The egg ought to feel brittle and should snap if you try bending it.
Step 9
Put the pieces of dehydrated egg into your blender, switch on and blend into a powder.
Step 10
Transfer the now powdered egg into an airtight container. Label and date. It will keep safely for up to 12 months.
The wet method
Step 1
Break six eggs into a large mixing bowl and whisk as if you were going to make scrambled eggs.
Step 2
Transfer the egg onto your dehydrator's disk or jellyroll sheet.
Step 3
Put the temperature setting of your dehydrator to 150°F. Dry for 10 to 12 hours to completely dehydrate. Check after 10 hours and continue as long as necessary.
Step 4
Transfer the dehydrated eggs to your blender and blend them into a powder.
Step 5
Pour the powdered egg into an airtight container. As with option one, your powdered egg will keep safely for up to 12 months.
Other interesting posts:
- Can you Freeze Hollandaise Sauce??
- How Long Can you Keep Pancake Batter in the Fridge
- Can you Freeze Liquid Coffee Creamer
Can you reboil eggs (How to)
Pin RecipeIngredients:
- boiled eggs
Instructions:
- Take a medium or large bowl and put the egg or eggs into it. Boil some water in your kettle or coffee maker, then carefully pour it onto the eggs inside the bowl.
- Once the eggs are completely immersed in the water, place a lid over the top of the bowl. Leave for a short while until the water’s temperature has cooled a little.
- After a while, take off the lid and inspect the eggs.
- Test one egg. If the yolk is still too runny and not to your taste, leave the rest in hot water for another one or two minutes.
- If all you want to do is warming a pre-cooked egg, it only needs to soak in hot water for about one minute.
- When done to your satisfaction, remove the eggs from the water with a tablespoon, place them onto the working surface on a sheet of paper kitchen towel, and gently pat dry.
Notes:
what happens when you re-boil eggs?
When you re-boil eggs, a couple of things happen.- Firstly, the eggs will become harder and will be thoroughly cooked through.
- Secondly, the shell softens.
Please note that all nutrition information are just estimates. Values will vary among brands, so we encourage you to calculate these on your own for most accurate results.

