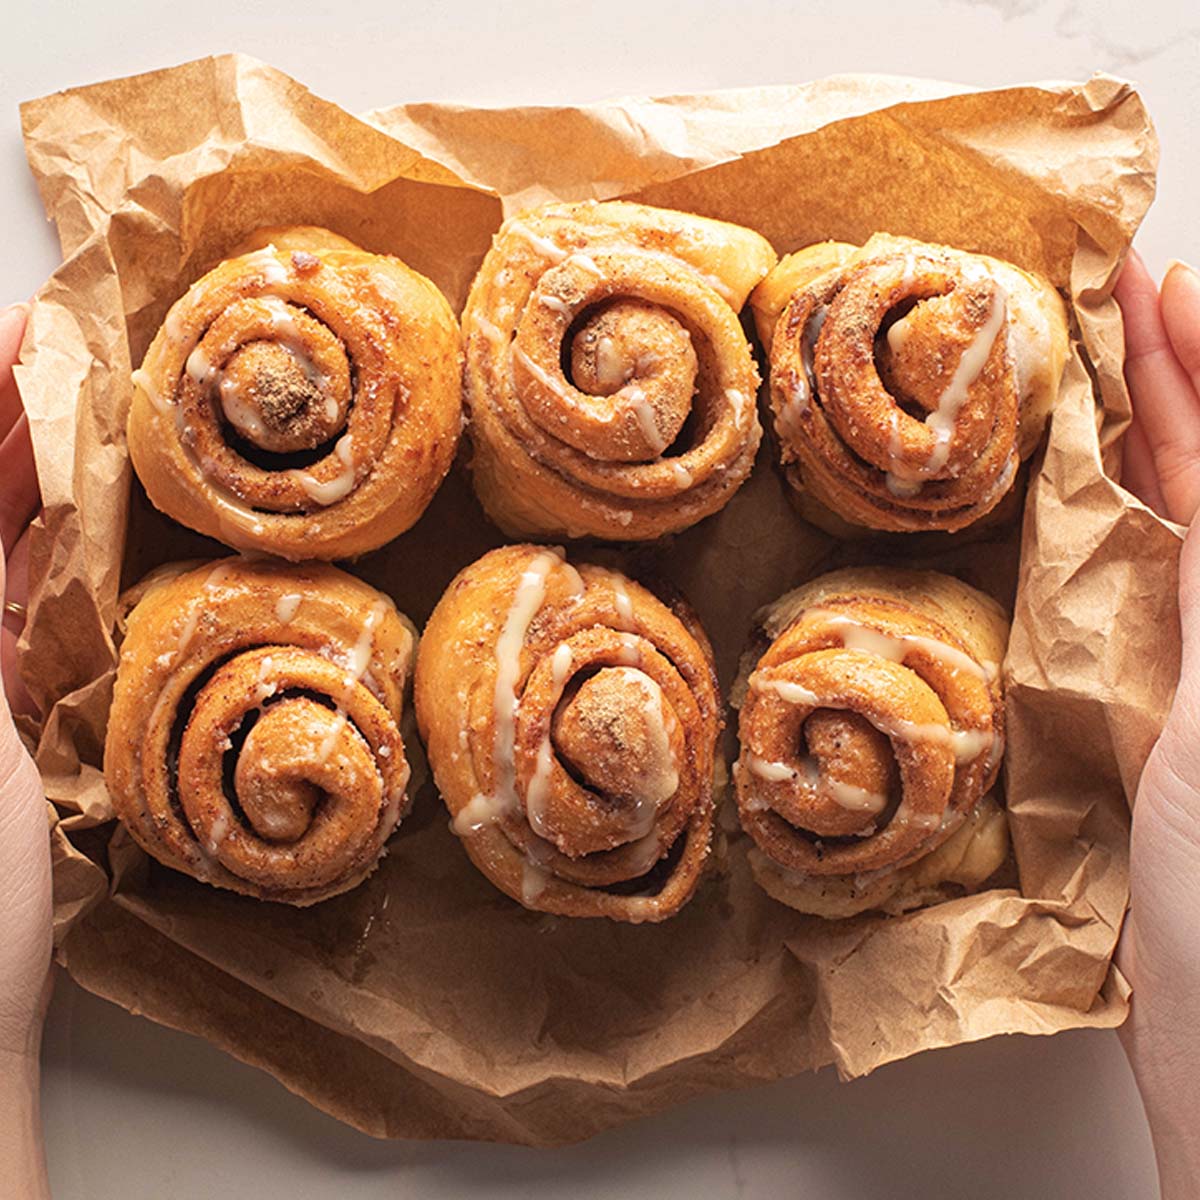
Would you like to know the correct way on how to reheat cinnamon rolls? If you're looking for a nice accompaniment with your morning cup of coffee or a tasty dessert that isn't too sickly sweet, then cinnamon rolls are for you.
The only problem is that no one cares to get up four hours earlier than they have to make a batch of cinnamon rolls so that you can have a slice of one for breakfast.
As far as making cinnamon rolls are concerned, it's not rocket science. However, it does mean that you ought to make a large batch if you want to get the best results. But that is no problem in as much as it means you'll have plenty for reheating when the mood takes you.
Watch the video
How to keep cinnamon rolls from getting hard?
Did you know that you can store cinnamon rolls at room temperature for as long as 3 days without them drying out?
The secret to keeping the cinnamon rolls moist is to store them in an airtight container and don't expose them to too much air, storing them for three days is no problem.
If three days isn't enough and you'd like to store them for longer, then you will need to put them into the fridge, where you can then keep them for up to a week.
- If that's not long enough, then it probably means you need to freeze them. You can do so by wrapping each roll individually in foil and placing them in a freezer bag or airtight container before moving them to your freezer.
- Stored in this way, they will be good for up to 4 months.
3 ways on how to reheat cinnamon rolls
When you finally get around to reheating your cinnamon rolls, the most important thing is to preserve their moisture. It means that you mustn't overheat them, or they will dry out.
1 Reheating in Microwave
If all you need to do is reheat only one or two rolls, then microwaving them is the best option.
- Put your cinnamon roll or rolls onto a microwave-safe plate or into a micro-safe container.
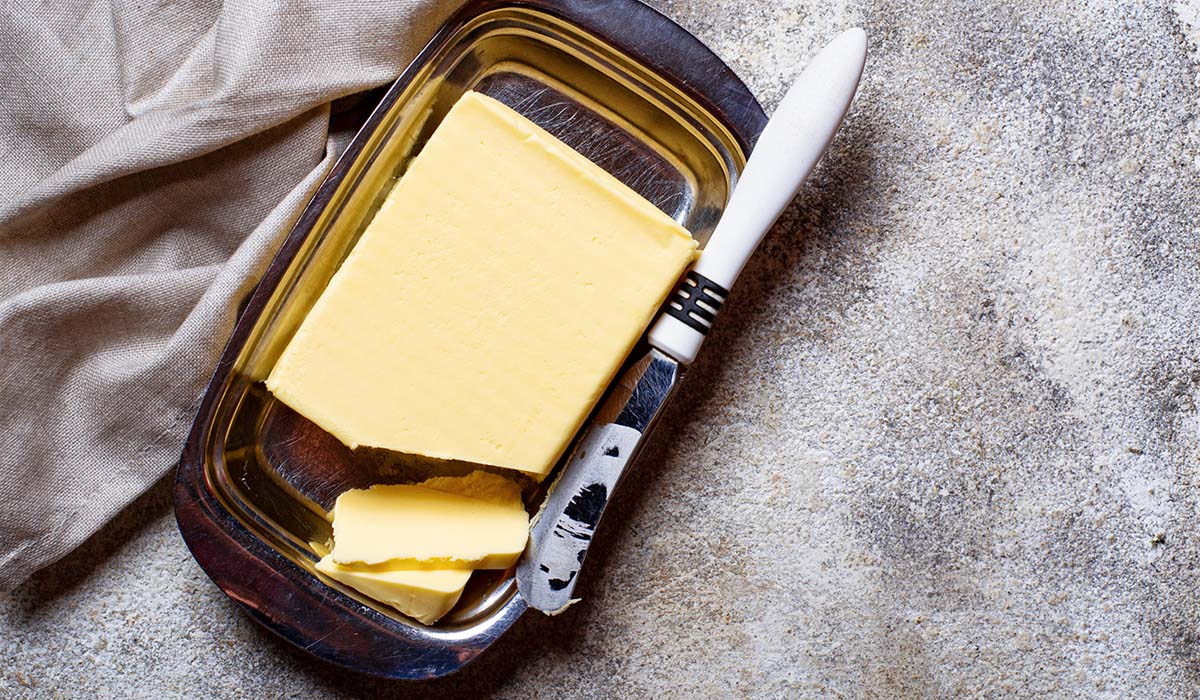
- Spread some butter over the rolls avoiding the icing as much as possible.
- Place them into the microwave, cover on top with a damp paper towel, and select a medium heat setting.
- Note: If the rolls are frozen, allow some time to thaw them first in the fridge.
- Heat for 30 seconds. Check to see if they are heated to your satisfaction. If not, heat in 30-second bursts to get them to your preferred temperature.
- When ready, take them out of the microwave, serve, and enjoy.
2 Using the Oven
If you've made a big batch of cinnamon rolls and you've got plenty of time available, then the oven is your best option for reheating. If reheating from frozen, I find it's best to allow them time to thaw in the fridge.
- Preheat your oven to 250°F.
- Position the cinnamon rolls on a baking sheet.
- Cover them with a single layer of aluminum foil.
- Heat in the oven for between 15 and 20 minutes. If heating from frozen, allow an extra five minutes.
- Check if the rolls are warmed through. Remember that larger size rolls will take longer to heat up.
- When ready, remove from the oven, serve, and enjoy.
3 Using a Pan
Although you might not think it, pan heating is a good way of warming cinnamon rolls.
- Position your pan on the stovetop over a medium-to-low flame.
- Allow a few seconds to warm the pan.
- Place the rolls in the pan and put the lid in place.
- Allow approximately 10 minutes to heat through.
- When 10 minutes are up, check to see they are heated to your satisfaction. If not, cook for a few minutes longer, keeping a careful eye on them to make sure they don't burn.
- When ready, remove, serve, and enjoy
Tips on making the cinnamon buns
I've lost count of how many times I've made cinnamon rolls. Sometimes, I just follow my recipe for basic cinnamon rolls, and at other times I make variants according to how the mood takes me.
I know many people like to make their own cinnamon rolls at holiday times, so I have a few hints and tips I would like to share with you.
1 Loose versus Firm Dough
A frequent question that pops up regarding the making of cinnamon rolls concerns the dough's looseness and stickiness.
- When you make the dough, if you then go straight into forming the rolls, the mixture will be loose and sticky. This will result in the rolls being less uniform in shape, and whatever shape they are in, they will be less likely to hold. I often bake my cinnamon rolls like this because it's the taste and texture that matters most and not the shape when it comes to eating them.
- Lightly dust them with flour, both on top and underneath, as this will help make them less sticky and easier to handle.
- If you prefer your dough to be more on the firm side, the best thing to do is to chill it in your fridge overnight. Not only will your dough be much firmer, but it will result in a neater shape.
- When you roll the chilled dough out and form the rolls, they will be of a more uniform shape and size and less likely to misshapen.
NOTE:
If you will be using a chilled, refrigerated dough, it is to allow it longer to rise before putting the rolls into the oven.
To be frank, I have to say that I don't have a particular preference when it comes to the dough. Most of the time, I tend to use the dough as soon as I finish making it without bothering to chill it in the fridge.
If, however, you are a little more concerned about the aesthetics in terms of the size and shape, especially if you're going to be serving them at a shower or party, then chilling the dough will give you a more consistent batch.
For everyday use, however, I find chilling an unnecessary delay to the process.
2 Amount of Butter
The quantity of butter you use when making the dough will impact the consistency.
I tend to add as much butter as I think, erring on the conservative side, and if it turns out to not be quite enough, I can always add a little more. If I roll out the dough and butter doesn't ooze out, that tells me that I haven't used enough.
But if you're not a butter freak like me, modifying the amount of butter you use isn't a problem. You can always pour over a little more icing over to ensure that your cinnamon rolls are gorgeously moist.
3 What are my options for the icing?
It's up to you if you use the traditional type of icing or not. If you want something a little more special, you can opt for pour-over maple icing.
This tends to run into every little crack and crevice of the cinnamon roll, turning it into a heavenly piece of pastry.
I also love to add a little maple extract and brewed coffee to my icing. I find it tastes terrific and doesn't overwhelm the flavor of the cinnamon. It simply ends up being a beautiful tasting icing that finishes the rolls off to perfection.
Of course, if maple and brewed coffee don't sound good to you, you can leave it out, and your cinnamon rolls will still be delicious. Alternatively, you can try this:
Rather than maple extract, you can use a pinch of vanilla. Be a little careful with the quantity, though, as vanilla is much stronger in flavor than maple.
You can leave the coffee out of your icing altogether, and instead, just pour a little more milk into the mixture to make your icing thin and easy to pour.
4 Freezing Rolls: When?
At what stage in the preparation process can cinnamon rolls be frozen? Answer …. whenever you like.
- The dough can be frozen before it's risen. Put the uncooked roles into the pan and cover them nice and tight with plastic film and aluminum foil. However, before you start to cook them, you will need to take them out of the pan and give them time to thaw and rise, after which you can carry on with the baking and icing.
- You can also freeze cinnamon rolls after they've been baked but before you ice them. Later on, when you thaw them out, you can then pop them into the oven for a few minutes, take them out, and add the icing while they're still warm.
- You can also freeze cinnamon rolls once they've been finished and iced. Allow them to cool down, and then wrap with plastic film and aluminum foil. This is what I usually do, and they always turn out okay.
5 Now, make the buns!
Cinnamon rolls are made to be shared. There's nothing better; your family will adore them.
For me, nothing tastes better than a perfectly cooked cinnamon roll. You can, of course, buy some delicious cinnamon rolls in restaurants and from street vendors, but if you follow this recipe, you'll be able to make a large batch of your own and eat them straight out of the oven at the very height of their deliciousness.
Most pantries will have the necessary ingredients, although if you haven't got any cream cheese for the icing, you may need to go and buy some.
These sumptuous cinnamon rolls should be made with plentiful amounts of cinnamon, brown sugar, and butter, all mixed and spread inside the soft dough. When baked, they turn into lovely light golden brown rolls, which you then finish off with a generous layer of indulgent, buttery, cream cheese icing on top.
My cinnamon rolls are divine to eat at breakfast time. But they're also great to eat for brunch, during holidays, or at family or social get-togethers.
Suppose anyone around when you take these beautiful cinnamon rolls out of the oven and lavish them with your buttery cream cheese icing. In that case, your efforts will be greeted with a chorus of appreciative "mmms" from the onlookers.
Ingredients:
For the Dough
- 4 eggs
- ½ cup sugar
- 1 teaspoon salt
- 2 cups milk, lukewarm
- 1 stick butter (melted)
- 7 cups all-purpose or bread flour
- 1 cup whole wheat flour
- 2 tablespoon active dry yeast
Fillings
- 4 ounces butter (½ stick)
- 2 cups brown sugar
- 3 tablespoons ground cinnamon
- 2 tablespoon sugar
Icing or Frosting
- 2 8-oz. packages cream cheese, softened
- 8 oz. (2 sticks) butter, softened
- 4 cups confectioners' sugar
- 2 teaspoon vanilla extract
- 2 tablespoons milk
For Maple Frosting - *Optional
- 1 bag powdered sugar
- 2 tsp. maple flavoring
- ½ c. milk
- ¼ c. melted butter
- ¼ c. brewed coffee
- ⅛ tsp. salt
Step by step instructions
Step 1. Mixing the Dough
a.) Electric Mixer Method
- Rather than using your electric mixer mixing bowl, take a large mixing bowl, and by hand, mix the all-purpose and the whole-wheat flour. Using your electric mixer, whisk the eggs, salt, and sugar.
- Now, mix some warm milk with melted butter, and add it to the egg mixture. (You can heat the milk until it's lukewarm, and the butter until it melts, in your microwave if you're careful, or if you prefer, in a saucepan on top of your stove).
- Take the whisk attachment off the electric mixer and, instead, insert the bread kneading attachment. Carefully pour four cups of the pre-mixed flour, and mix at low speed until adequately blended.
- Pour in the yeast and carry on mixing at low speed until everything is perfectly blended.
- Now add the last 4 cups of flour and mix for another five minutes or so at low-speed until completely smooth.
b.) Bread Machine Method
Put the ingredients into your bread machine as follows and in the order shown.
- Eggs
- Sugar
- Salt
- Milk and butter
- Flour mixture
- Yeast
- Set your bread machine on its "dough setting" feature and press start.
- Let your bread machine run through the complete cycle, by which stage the dough should have doubled in size.
- Your bread machine may be the sort that beeps once the dough is ready.
Step 2. Dough - 1st Rising
- Take the dough out of your mixing bowl or bread machine and put it onto a pre-floured working surface. Kneed it firmly and briefly and shaped into a ball.
- Place into a large pre-oiled bowl (I prefer to use glass and recommend you do too, if possible) and cover with a layer of plastic film.
- Leave for approximately an hour until the dough has roughly doubled in size.
Making Cinnamon Rolls & 2nd Rising of Dough
Step 1.
- When the dough's doubled in size, transfer it to a pre-floured working surface and gently but firmly knead for approximately one minute, forming the dough into a ball.
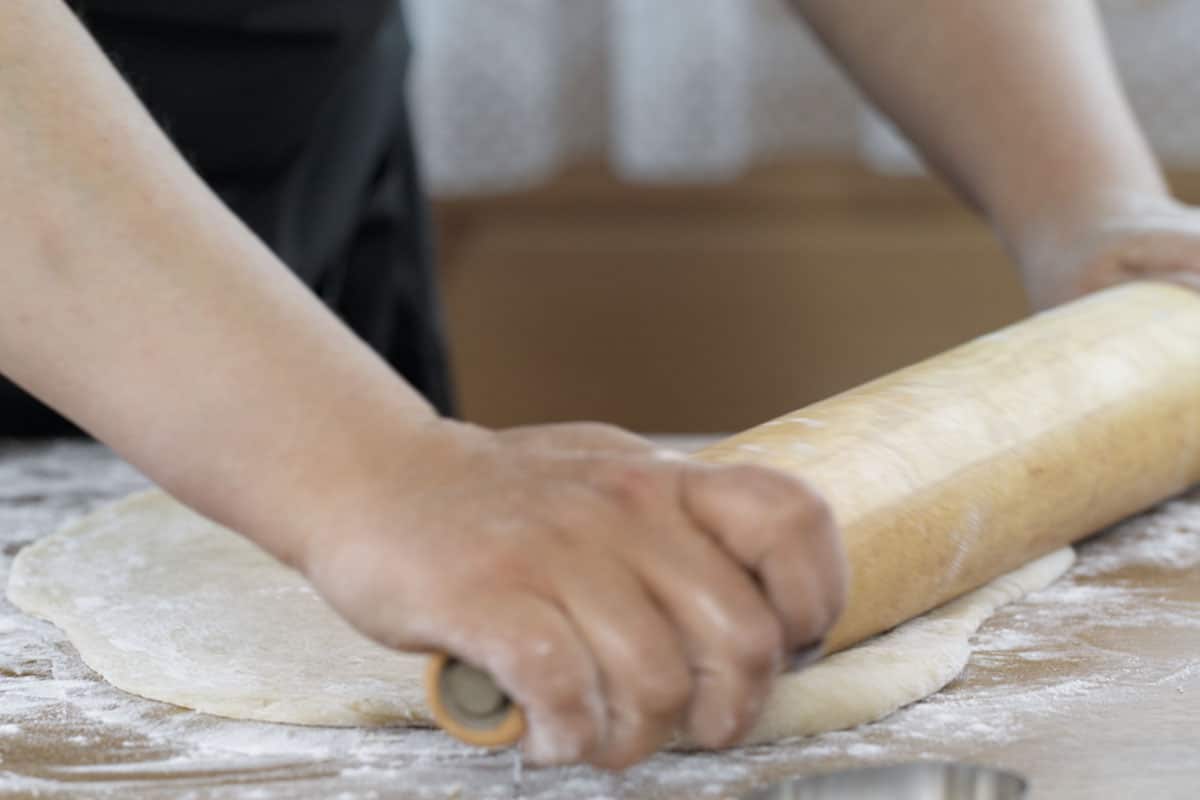
- With your hands, flatten the dough, and then taking a rolling pin, roll it out to form an 18" x 24" rectangle. When complete, the dough should be about ⅛" thick.
- To end up with similar-sized cinnamon rolls, try to ensure that the dough's thickness is even throughout. Don't rush; take your time. It's worth doing to get it right.
Step 2
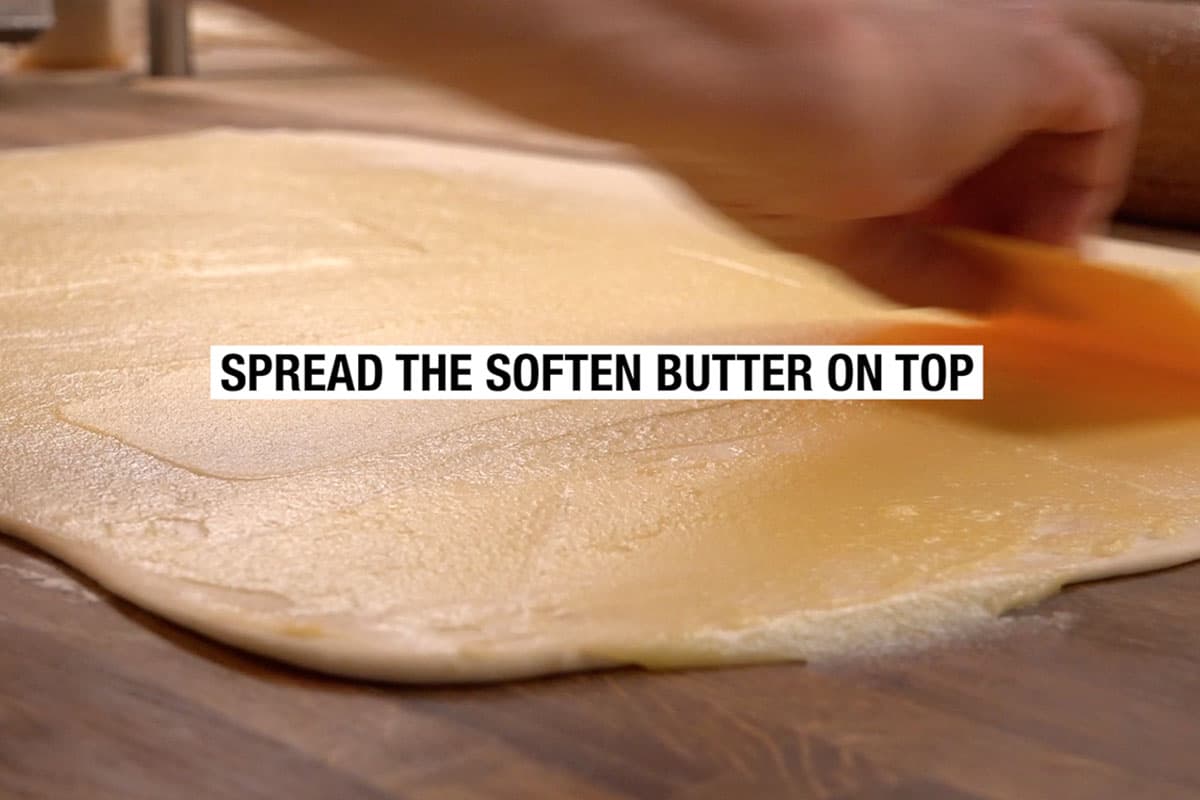
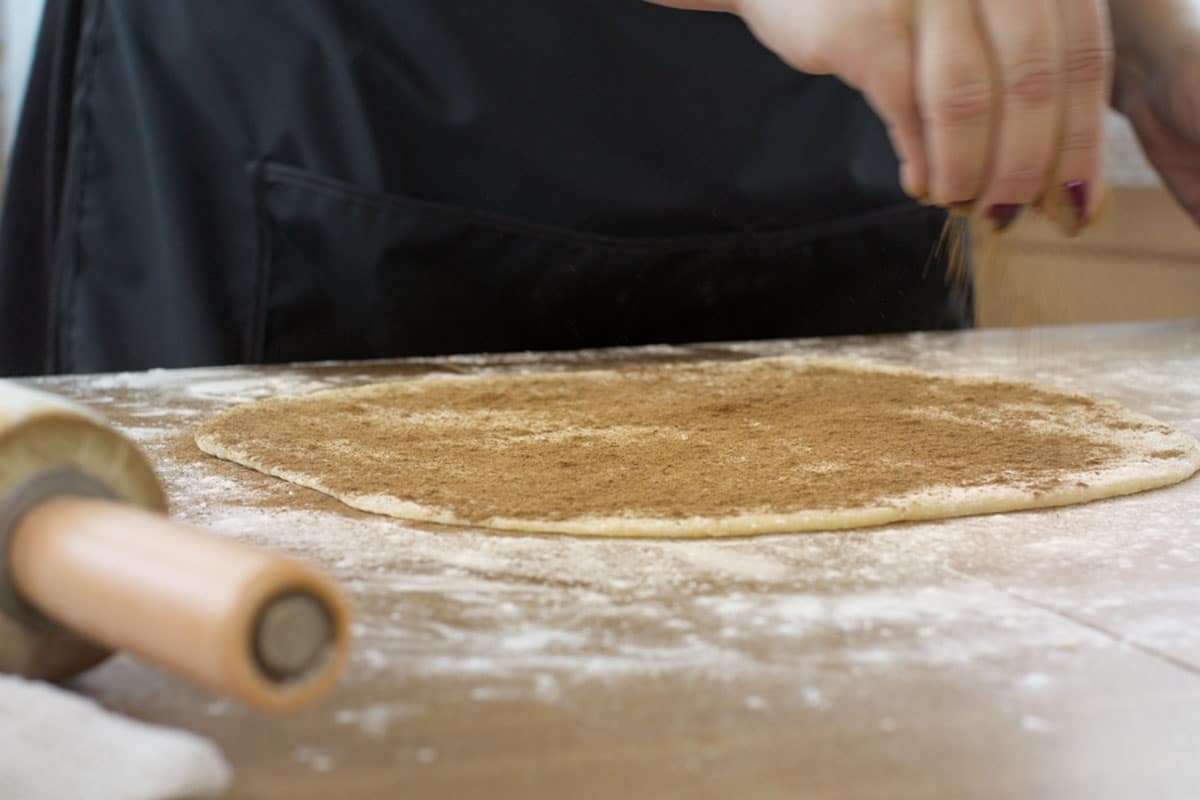
- Using a rubber spatula or knife, gently spread the soft and butter across the entire surface of the rolled out dough. Sprinkle evenly with brown sugar and cinnamon.
- Position the dough, so the long sides are facing you, and roll it up. There is a knack to this, which you will come easier with practice.
Try and make sure that the thickness is even across the dough. If it is not, you will end up with different sized rolls. It's nothing to lose any sleep over, however, because it won't affect the taste.
They will still be great to eat even if some of them are thicker at one end than the other.
Step 3
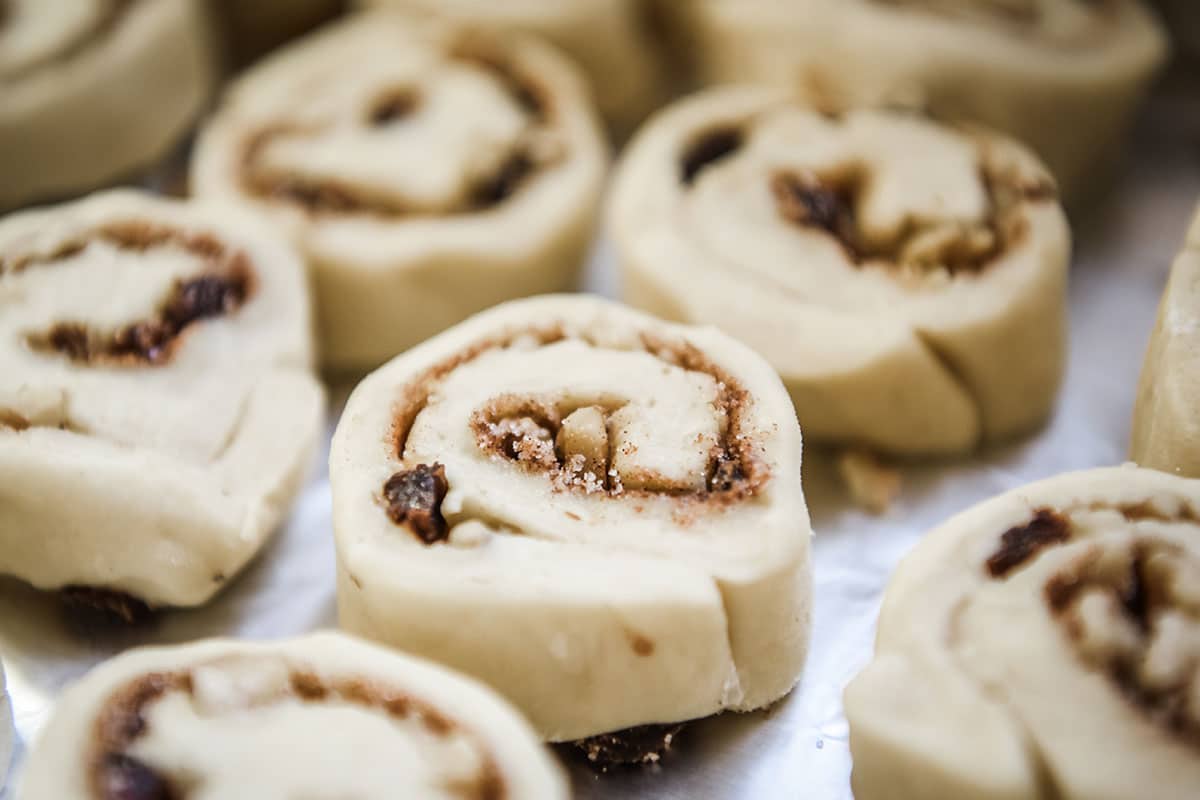
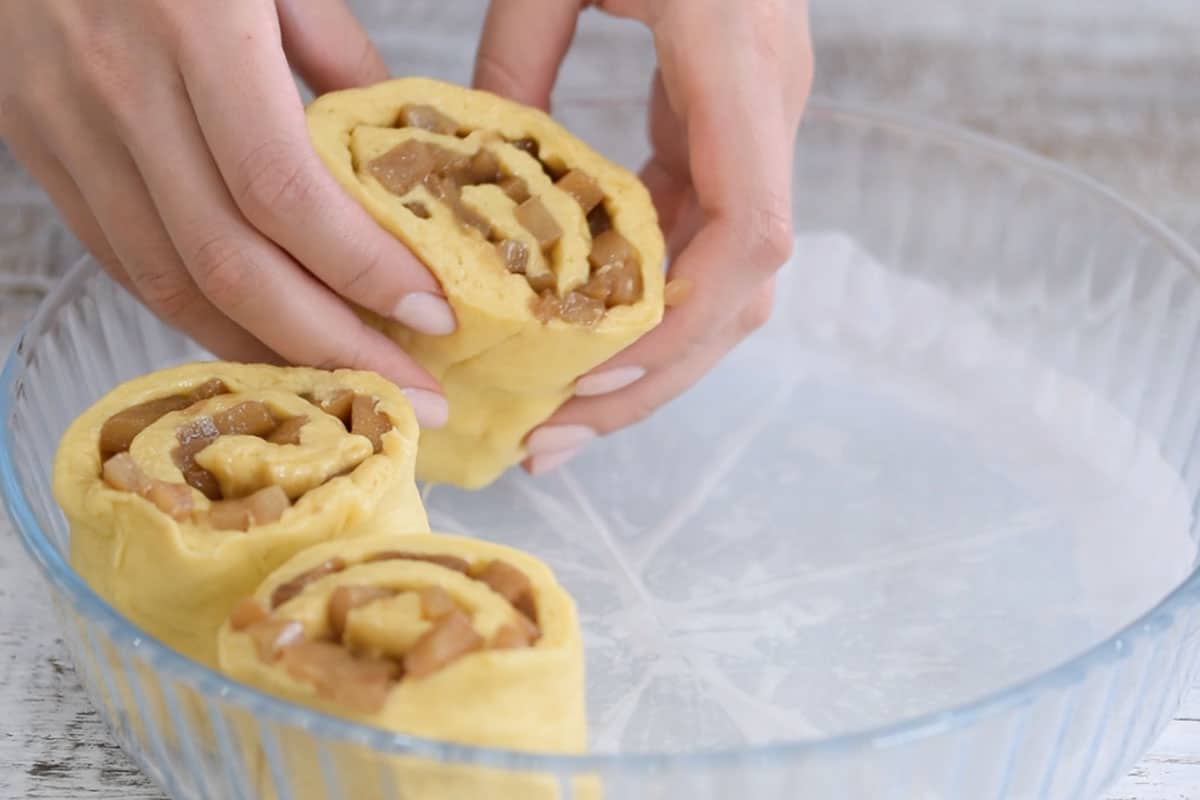
- Slice the roll into approximately 1½ inch thick slices, producing about 12 roles in all. Place each roll onto a pre-greased baking sheet. (A quick tip: the rolls will double in size as they rise, so bear this in mind when you're laying them out on the baking sheet).
- Ideally, as the rolls rise during baking, they should end up touching each other to avoid the ends drying out. Don't worry if they brown a little; they will still be delicious.
- Drape a lightweight towel over the baking sheet and leave the rolls for 20 minutes to let them rise.
Step 4
- While your rolls are rising, preheat your oven to a temperature of 350°F.
- Once risen, bake the rolls between 13 and 18 minutes until the outer edges begin to turn light, golden brown.
- It's essential to allow the rolls to cool before you start to apply the icing.
Preparing the Icing:
- Using either a surface mounted or handheld electric mixer, whisk the cream cheese and butter until it's smooth and silky. Add the other icing ingredients and mix well.
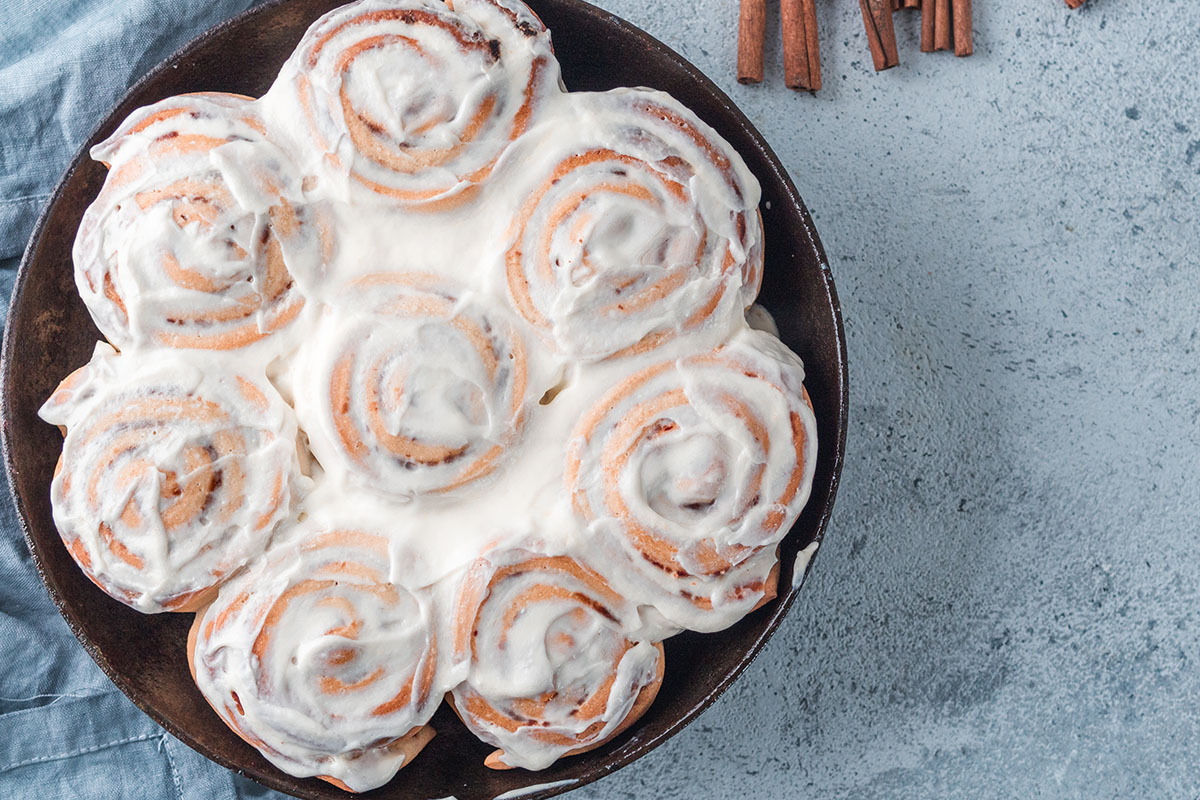
- Using a knife or, if you prefer, a spatula, spread the icing mixture generously on the rolls' tops and sides.
Prepare the Maple Frosting/Icing
This is another option to use for frosting cinnamon rolls. You can choose either one of them, both as so yummy.
- Using a large bowl, mix the milk, powdered sugar, butter, salt, and coffee.
- Then, add the maple flavoring and whisk until smooth and well combined. You can add extra maple, butter, or sugar as needed until the frosting reaches the desired consistency.
- Ensure that the frosting/icing is kinda thick but still pourable.
Storing leftover
You should only apply icing to the cinnamon rolls you are going to serve.
It will make the storing and reheating of the remainder that much easier. However, if you have already applied the icing at the end of the day, it's not the end of the world.
Follow the second set of instructions below.
You might be thinking of eating the remainder of the batch of cinnamon rolls inside three days or so, in which case you can store them (un-frosted) in an airtight container for three days at room temperature. The icing can be left in the fridge until the milk or cream cheese's expiration date is up.
Cinnamon rolls that have already been iced are best kept in your refrigerator. However, to avoid them sticking together, do not stack them. If you need to keep them longer, then freezing is the way to go. See below.
Freezer Storage
Cinnamon Rolls Before any Icing is Applied.
- The frosted cinnamon rolls should be stored in an airtight container or a properly sealed food storage bag.
- To stop them from sticking to one another during the freezing process, insert pieces of waxed paper between each roll to keep them apart.
- Store any leftover icing in an airtight container also in the freezer.
Storing with cream cheese frosting
- After the icing has been applied, cinnamon rolls can be stored in an airtight container in your fridge for up to 3 to 4 days. Be sure not to stack them.
- When freezing them, put the rolls into an airtight container (not stacked) and separate with strips of waxed paper in between each roll to prevent them from sticking to each other during the freezing process.
Defrosting and Reheating
When it comes to reheating any frozen leftover cinnamon rolls, you need to allow them to defrost. This will do if left out at room temperature for an hour or so. Alternatively, you can defrost them in your fridge overnight or your microwave by using its defrost setting.
- To reheat defrosted cinnamon rolls that have reached room temperature (iced or un-iced), heat in your microwave for between 20 and 40 seconds.
Related dessert recipes
Full Recipe
Homemade Cinnamon Rolls Recipe
Pin RecipeIngredients:
For the Dough:
- 4 eggs
- ½ cup sugar
- 1 teaspoon salt
- 2 cups milk (lukewarm)
- 1 stick butter (melted)
- 7 cups all-purpose flour (or bread flour)
- 1 cup whole wheat flour
- 2 tablespoon active dry yeast
Fillings:
- 4 oz butter (½ stick)
- 2 cups brown sugar
- 3 tablespoon ground cinnamon
- 2 tablespoon sugar
Icing / Frosting:
- 16 oz cream cheese (2 x 8oz. pack)
- 8 oz butter (2 stick butter) (softened)
- 4 cups confectioner sugar
- 2 teaspoon vanilla extract
- 2 tablespoon milk
Maple Frosting (this is optional):
- 1 bag powdered sugar
- 2 teaspoon maple flavoring
- ½ cup milk
- ¼ cup butter (melted)
- ¼ cup brewed coffee
- ⅛ teaspoon salt
Watch the Video:
Instructions:
Mixing Dough: Electric mixer method
- Rather than using your electric mixer mixing bowl, take a large mixing bowl, and by hand, mix the all-purpose and the whole-wheat flour. Using your electric mixer, whisk the eggs, salt, and sugar.
- Now, mix some warm milk with melted butter, and add it to the egg mixture. (You can heat the milk until it’s lukewarm, and the butter until it melts, in your microwave if you’re careful, or if you prefer, in a saucepan on top of your stove).
- Take the whisk attachment off the electric mixer and, instead, insert the bread kneading attachment. Carefully pour four cups of the pre-mixed flour, and mix at low speed until adequately blended.
- Pour in the yeast and carry on mixing at low speed until everything is perfectly blended.
- Now add the last 4 cups of flour and mix for another five minutes or so at low-speed until completely smooth.
Dough: 1st Rising:
- Take the dough out of your mixing bowl or bread machine and put it onto a pre-floured working surface. Kneed it firmly and briefly and shaped into a ball.
- Place into a large pre-oiled bowl (I prefer to use glass and recommend you do too, if possible) and cover with a layer of plastic film.
- Leave for approximately an hour until the dough has roughly doubled in size.
Making Cinnamon Roll and 2nd Rising of Dough:
- When the dough’s doubled in size, transfer it to a pre-floured working surface and gently but firmly knead for approximately one minute, forming the dough into a ball.
- With your hands, flatten the dough, and then taking a rolling pin, roll it out to form an 18″ x 24″ rectangle. When complete, the dough should be about ⅛″ thick.
- To end up with similar-sized cinnamon rolls, try to ensure that the dough’s thickness is even throughout. Don’t rush; take your time. It’s worth doing to get it right.
- Using a rubber spatula or knife, gently spread the softened butter across the entire surface of the rolled out dough. Sprinkle evenly with brown sugar and cinnamon.
- Position the dough, so the long sides are facing you, and roll it up. There is a knack to this, which you will come easier with practice.
- Try and make sure that the thickness is even across the dough. If it is not, you will end up with different sized rolls. It’s nothing to lose any sleep over, however, because it won’t affect the taste.
- Slice the roll into approximately 1½ inch thick slices, producing about 12 roles in all. Place each roll onto a pre-greased baking sheet. (A quick tip: the rolls will double in size as they rise, so bear this in mind when you’re laying them out on the baking sheet).
- Ideally, as the rolls rise during baking, they should end up touching each other to avoid the ends drying out. Don’t worry if they brown a little; they will still be delicious.
- Drape a lightweight towel over the baking sheet and leave the rolls for 20 minutes to let them rise.
Bake the cinnamon dough:
- While your rolls are rising, preheat your oven to a temperature of 350°F.
- Once risen, bake the rolls between 13 and 18 minutes until the outer edges begin to turn light, golden brown.
- It’s essential to allow the rolls to cool before you start to apply the icing.
Prep the Icing:
- Using either a surface mounted or handheld electric mixer, whisk the cream cheese and butter until it’s smooth and silky. Mix in the other ingredients until well combined.
- Using a knife or, if you prefer, a spatula, spread the icing mixture generously on the rolls’ tops and sides.
Notes:
- The iced cinnamon rolls should be stored in an airtight container or a properly sealed food storage bag.
- To stop them from sticking to one another during the freezing process, you should insert pieces of waxed paper between each roll to keep them apart.
- Store any leftover icing in an airtight container also in the freezer.
Storing cream cheese frosting:
- After the icing has been applied, cinnamon rolls can be stored in an airtight container in your fridge for up to 3 to 4 days.
- Be sure not to stack them. When freezing them, put the rolls into an airtight container (not stacked) and separate with strips of waxed paper in between each roll to prevent them from sticking to each other during the freezing process.
Defrosting and Reheating the Cinnamon Rolls:
- When it comes to reheating any frozen leftover cinnamon rolls, you need to allow them to defrost. This will do if left out at room temperature for an hour or so.
- Alternatively, you can defrost them in your fridge overnight or your microwave by using its defrost setting.
- To reheat defrosted cinnamon rolls that have reached room temperature (iced or un-iced), heat in your microwave for between 20 and 40 seconds.
Prepare the Maple Frosting/Icing: This is another option to use for frosting cinnamon rolls. You can choose either one of them, both as so yummy.
- Using a large bowl, mix the milk, powdered sugar, butter, salt, and coffee.
- Then, add the maple flavoring and whisk until smooth and well combined. You can add extra maple, butter, or sugar as needed until the frosting reaches the desired consistency.
- Ensure that the frosting/icing is kinda thick but still pourable.
Nutrition Information:
Please note that all nutrition information are just estimates. Values will vary among brands, so we encourage you to calculate these on your own for most accurate results.

