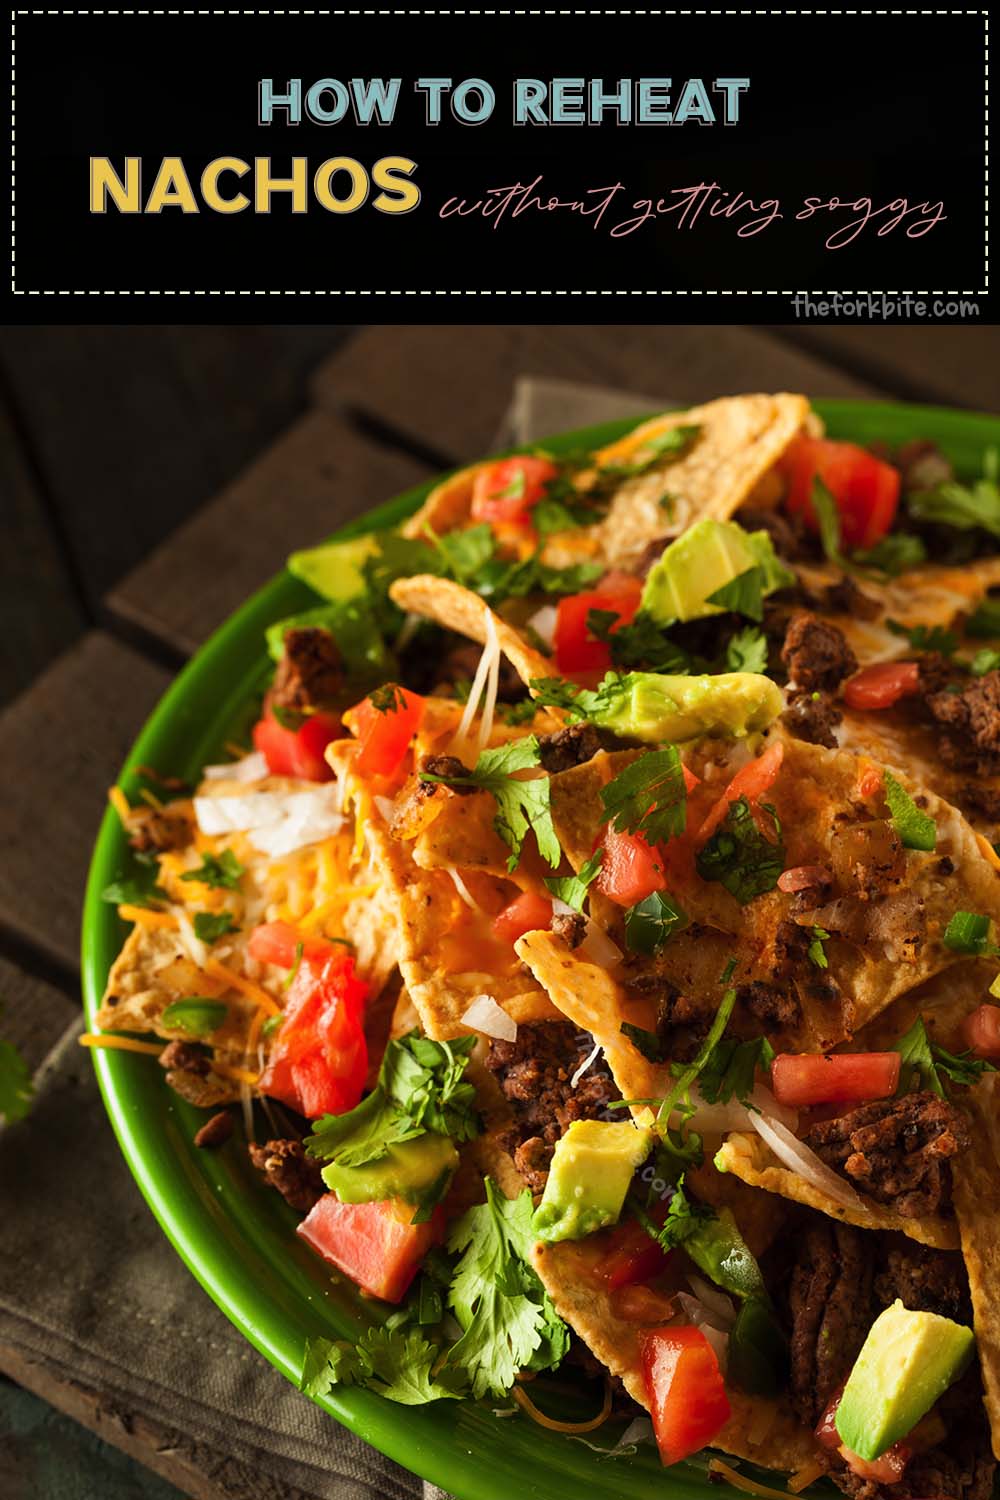
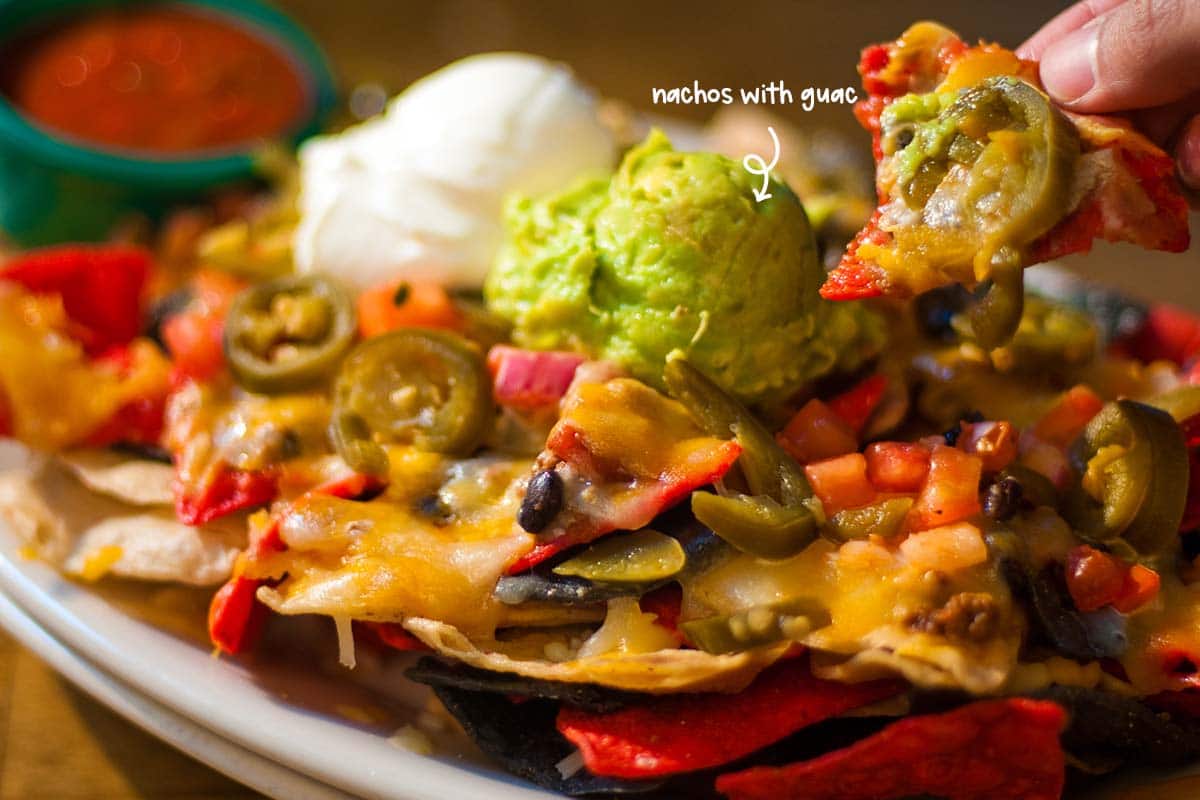
Are you into nachos? This wonderful Mexican dish of topped tortilla chips is a delight on the tongue with its crispy, corn chips, and delicious semi-gooey toppings. It's one of my all-time favorite snacks and far too good to leftovers go to waste by throwing them away.
To make sure I never have to do that, I experimented with the best way of reheating nachos, and because I am such a generous and thoughtful person (and modest too), I thought I would share my findings with you.
If you've got guests coming round, you can wow them out by serving up the best leftovers ever. All you need to know is the best way of reheating nachos.
Like anything, there is a knack to it, and knowing how to avoid dishing up a plate of sogginess is a skill you should acquire as far as reheated nachos is concerned. Get it right, and you can have them just as great tasting as they were original - a real treat for all.
Okay, you're probably worrying about reheating nachos with toppings. Don't be. I have come up with not one, but several different ways you can rehat this crispy tortilla dish, and any of them will be just what you need. So, let's get started.
How to Reheat Nachos in the Oven
This is the ultimate choice. A mountain of nachos piled on a plate is a thing of wonder. Corn chips, topped with cheese, sour cream, salsa, beef, and other yummy ingredients - it's the king of snacks or a tasty main, whichever way you look at it.
A lot of people, when faced with leftover nachos, would have reluctantly scraped them into the refuse bin. But if you wouldn't do it with leftover roast beef, why do it with the remains of nachos? Once you've finished reading what I have to tell you, you'll be setting them aside for future reheating.
To ensure your reheated food stays crisp and the cheese retains its flavor and texture, follow these next steps for reviving nachos in the oven.
-
- Warm the oven up to 225°F.
- Remove the nachos from the fridge. Spread them evenly onto a baking sheet or dish or oven-safe plate.
- Cover with aluminum foil.
- If you have a convection oven with an adjustable fan, set it on low, place the nachos into the oven and heat for 15 minutes. The level of crispiness is a matter of taste, so the right time for you might be from 5 to 20 minutes.
- Remove them from the oven, set aside, and allow a few minutes to cool. Eat and enjoy it.
- For faster reheating, preheat the oven to 300°F and reheat the nachos for between 5 and 10 minutes. Ten minutes is the maximum.
- As nachos burn very quickly, you will need to keep your eyes on them. As soon as they are warm right through and the cheese has melted, the cooking time is ended.
- If your nachos dish contains beans, cook at 250°F so that they don't dry up.
How to Reheat Nachos in the Toaster Oven
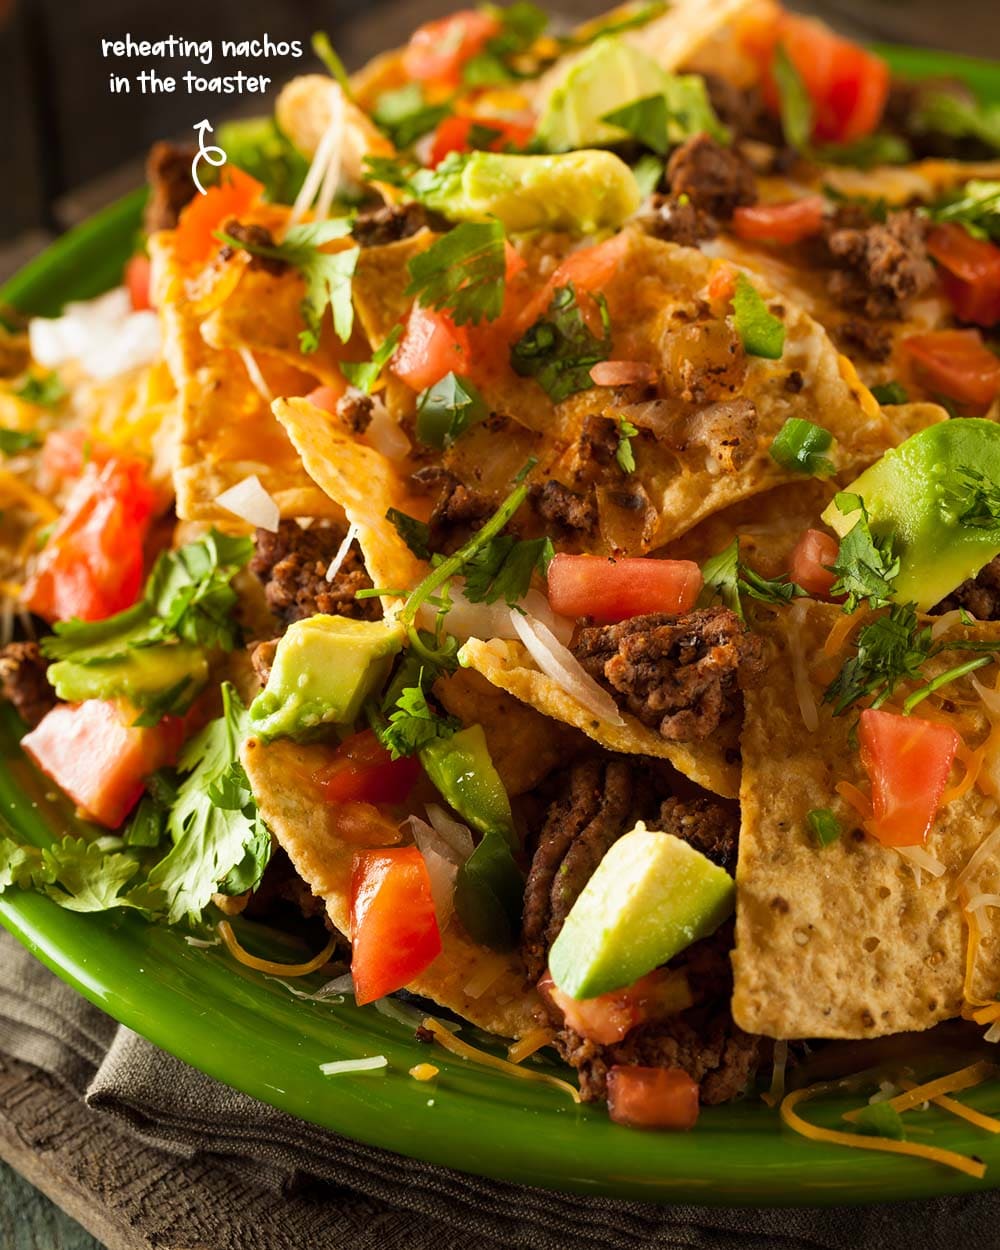
You can also reheat nachos in a toaster oven—this a convenient method to use if you are reheating a small portion.
A toaster oven is in effect a smaller version of a conventional oven, so reheating nachos with cooked toppings still on is okay, providing you remove any cold toppings first.
You follow similar steps with the toaster oven method as you would with the ordinary oven. The only thing to bear in mind is that as a toaster oven has a smaller capacity than its larger cousin, you won't need such a big plate. Unless, of course, you are trying to achieve a "less is more" presentation technique.
Here are the steps to follow when you want to reheat nachos in the toaster oven.
-
- Warm the toaster oven to 225°F.
- Take the nachos from the fridge and spread out evenly on a small dish or plate that is oven-proof, and that will fit into the smaller toaster oven.
- Cover with aluminum foil.
- Cook for 15 minutes.
- Take the nachos out of the oven and set aside to cool for a few minutes before eating.
How to Reheat Nachos in a Skillet
On those winter nights when you arrive home from work well after sundown, you want something for dinner that is fast and easy to prepare.
If you happen to have some leftover nachos in the fridge, one convenient option is to reheat then in a skillet. Reheating nachos in a skillet is not my preferred way of cooking leftover nachos, but it comes in a close second.
If you don't have the time to spare waiting around while the oven warms, try this skillet method.
If waiting around for the oven to preheat is not an option, use these steps to reheat nachos in a skillet.
-
- Check your skillet is big enough to spread the nachos out evenly. If some of the nachos are spread more thickly in places, the extra thickness will result in soggy nachos, whereas thinner areas will be cooked or even possibly overcooked. Evenness is the key. If you have too much for one skillet, reheat in batches.
- Cut a piece of aluminum kitchen foil to the right size to cover the skillet with a slight overwrap, and cover accordingly. With the foil in situ, put the lid of the skillet in place over the foil. This will help to concentrate the heat, thus ensuring the reheating process is fast and efficient.
- Set the heat to medium and reheat the nachos for 5 minutes, or to the point where the cheese melts. Remember to keep a watchful eye out to make sure they don't burn. A medium heat setting works best, but you still need to keep checking to avoid burning.
- Remove the nachos from the skillet, set aside and allow to cool before serving.
How about nachos with cold toppings?
As I explained at the beginning of this article, you should remove any cold topping from your nachos before heating them. But with the skillet method, because the heat source is underneath the pan rather than all around like it is in an oven, you can leave any cold toppings on if you want to. When you serve, you can then add some salsa and sour cream if you so wish.
If you are going to turn your leftover nachos into chilaquiles, a popular Mexican breakfast dish, reheating with a skillet is the way to go, as confirmed by Katsuji Tanabe, one of the top chefs at Barrio of Chicago. It's a lot quicker than starting from scratch.
Tanabe advises that you can turn nachos into chilaquiles by adding oil to your skillet, reheating your nachos on medium heat, and adding two eggs that you cook in the skillet with the nachos until they are satisfactorily scrambled.
Reheating Nachos in the microwave
Everyone loves microwaves for reheating things because they are so fast. But how do they fare with reheating nachos? The answer is - not very well.
The fact of the matter is that when you reheat nachos in a microwave, you will almost certainly end up with a sticky, sorry mess. If you leave the sour cream on, it gets even worse.
The problem with microwaves is that they heat unevenly. That is not good for many foods - including nachos. That soggy mess foretold will turn into reality.
However, it can be done -you just need to know how - and I am about to tell you.
-
- Start by placing a sheet of paper towel on a microwave-safe plate or container. Once that is in place, spread the nachos out evenly on the paper.
- Microwave for 1 minute. If it is not as you like it, heat for another 20 seconds. Keep heating at 20-second bursts until you are happy with the outcome.
How to Reheat Nachos in a Broiler
If you own a broiler, this is another way you can reheat nachos with toppings.
Having said that, it is not my or Tanabe's favorite method. He says that he doesn't recommend it, pointing out that the top of the nachos burn, while the center remains ice-cold.
If you want to see for yourself, these are the steps to follow:
-
- Choose an oven-safe plate large enough to accommodate your nachos leftovers.
- Spread the leftovers evenly across the plate.
- Place the plate with the nachos into the broiler.
- Heat for between 1 and 3 minutes. Check them as they cook. If the tortilla chips appear to be burning, remove the plate from the appliance.
- Cool and serve.
So, know you know of five ways to go about reheating nachos. That leaves only one thing to consider before you go ahead.
Can you reheat nachos with sour cream?
In theory, yes, you can reheat nachos with sour cream. What's to stop you? Nothing. However, what you will end up with is a sorry, sloppy mess. But hey, if that's your thing - go for it.
5 Mistakes to avoid when making nachos
Surely, everyone loves nachos? Crispy tortilla chips, savory meat topping, beans, guacamole, sour cream, melted cheese, etc. It's Tex-Mex paradise. You can share it, so it is sociable and put your own unique twist on it. Who can say no?
Making good nachos is not a particularly difficult thing to do, but to construct the dish well, you need to know what to avoid.
Buying the wrong kind of chips
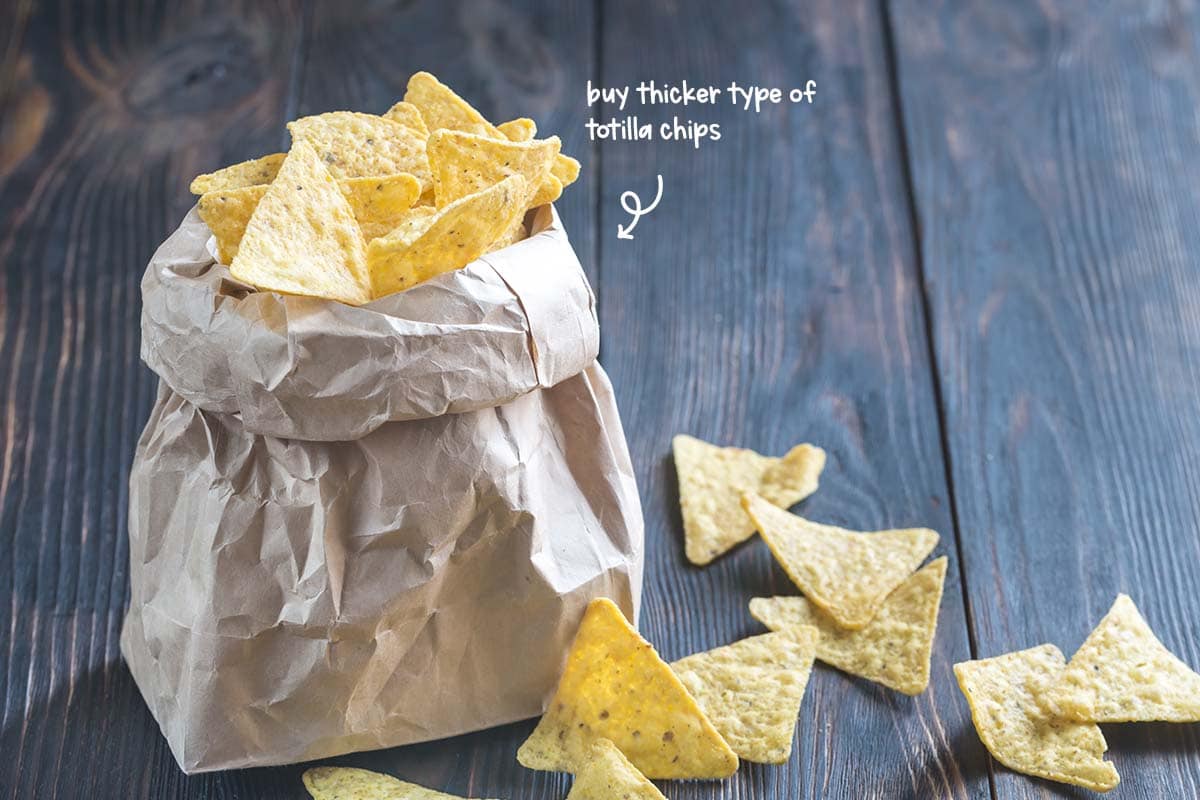
If you buy restaurant-type tortilla chips which tend to be thinner, they will break or become soggy when you heap them with various toppings. As a dish to eat, nachos are messy enough without having to worry about the chips falling apart and spilling their load when you lift them off the plate.
Buy the thicker, more sturdy type of tortilla chips that will perform their load-bearing task better. Don't go for the thickest kind, as they feel as if they are ripping the roof of your mouth asunder.
Bear in mind that "Restaurant-style" does not equal thick and sturdy. I have to admit that I like tortilla chips because of their flavor, and they are gluten-free. But whether you buy flour or corn chips is entirely up to you.
How to make nachos
The traditional way to make nacho crisps is to deep fry them. But, if you are health-conscious, there are other ways of making them that doesn't involve so much oil.
Here are a few alternatives.
-
- Take 6-inch tortillas (corn, or flour - your choice) and cut them into four, roughly equal-sized triangles or wedges.
- Shallow fry in a few inches of oil in batches until they are gold-brown.
- Place in a rack to drip dry and salt generously.
If you prefer to buy ready-made tortillas, do so and cut into the same triangular wedges.
- Place the wedges onto a baking sheet, brush them with a little sunflower oil, and add some herbs and spices. My favorites include cumin and paprika.
- Add salt and bake in a 400°F oven until they turn a beautiful golden brown color.
- Another option is to use store-bought fried tostadas and snap them into small pieces.
Buying the wrong kind of cheese
Buying some of the more fancy cheeses like gruyere and feta, for example, is a waste of time. These types of harder cheeses have a lot of oil in them.
The oil separates during cooking and imparts too much of its flavor, negatively affecting the taste of the others toppings. So, keep it simple.
Best cheese tips:
-
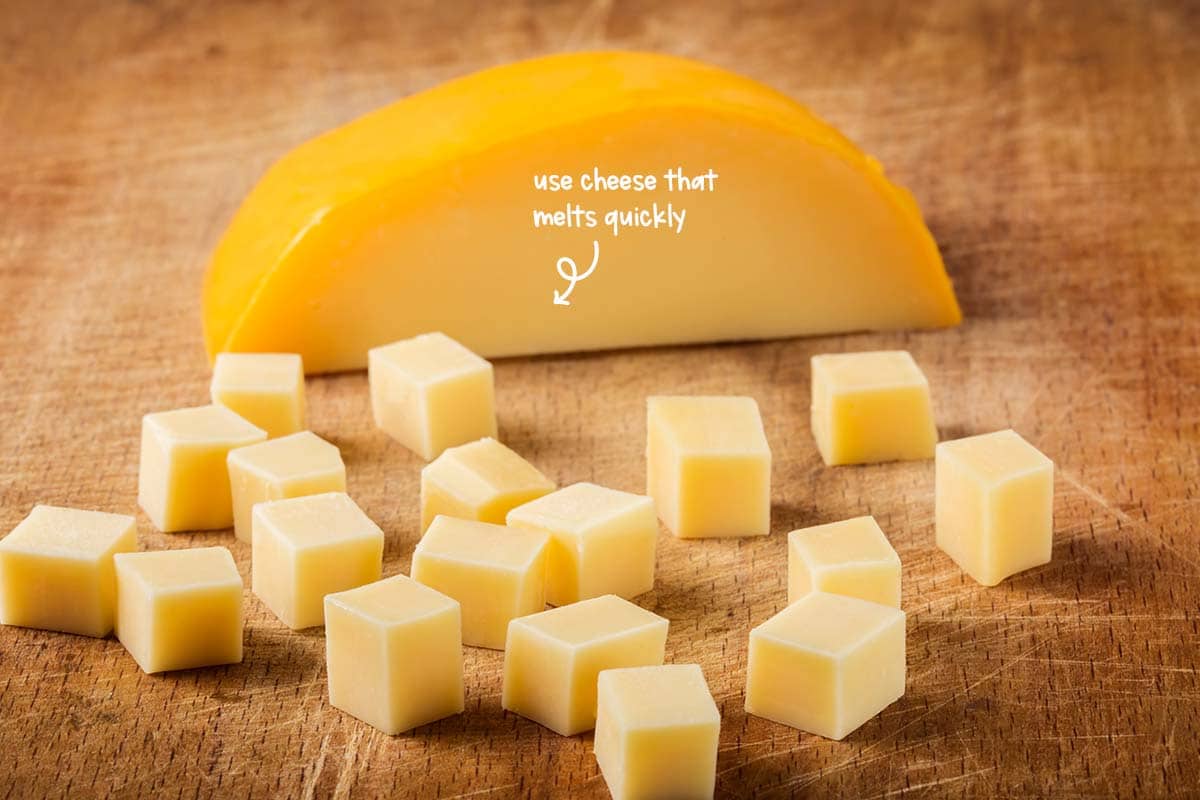
- Use cheeses that melt quickly. Cheddar, Colby, and Monterey Jack are all perfect. It's best to but them in block form and grate only when you need to prevent them from drying out too quickly.
- The other advantage of these types of cheese is that they are normally coated with starch, and they contain agents like cellulose powder, which prevent clumping.
- As an alternative to shop-bought cheese, if you are up to it, try making your own cheese sauce. Keep the sauce thin, though, so it will coat the chips nicely without congealing. It is also easier to keep warm in a slow cooker. Another thought - why not flavor your cheese sauce with a pepper puree?
- US cheese melts nicely and evenly. If you wish, you can serve a fresh and crumbly queso-fresco cheese, which you can either sprinkle over the top of the nachos or serve separately for people to add if they wish.
Skimping on toppings
Never skimp on the topping for your nachos. Chips and cheese are all you need for the basics, but the real fun and culinary delight comes with the variety of toppings you can apply. So, don't hold back. When you make homemade nachos - really go for it!
Top tip for you to follow:
-
- The fun is in the toppings, so to make each mouthful of nachos as great tasting as the last, make sure you have a sufficiency of meat and chili beans for the depth of flavor; cilantro, guacamole, onions, scallions, and tomaGuacmole.
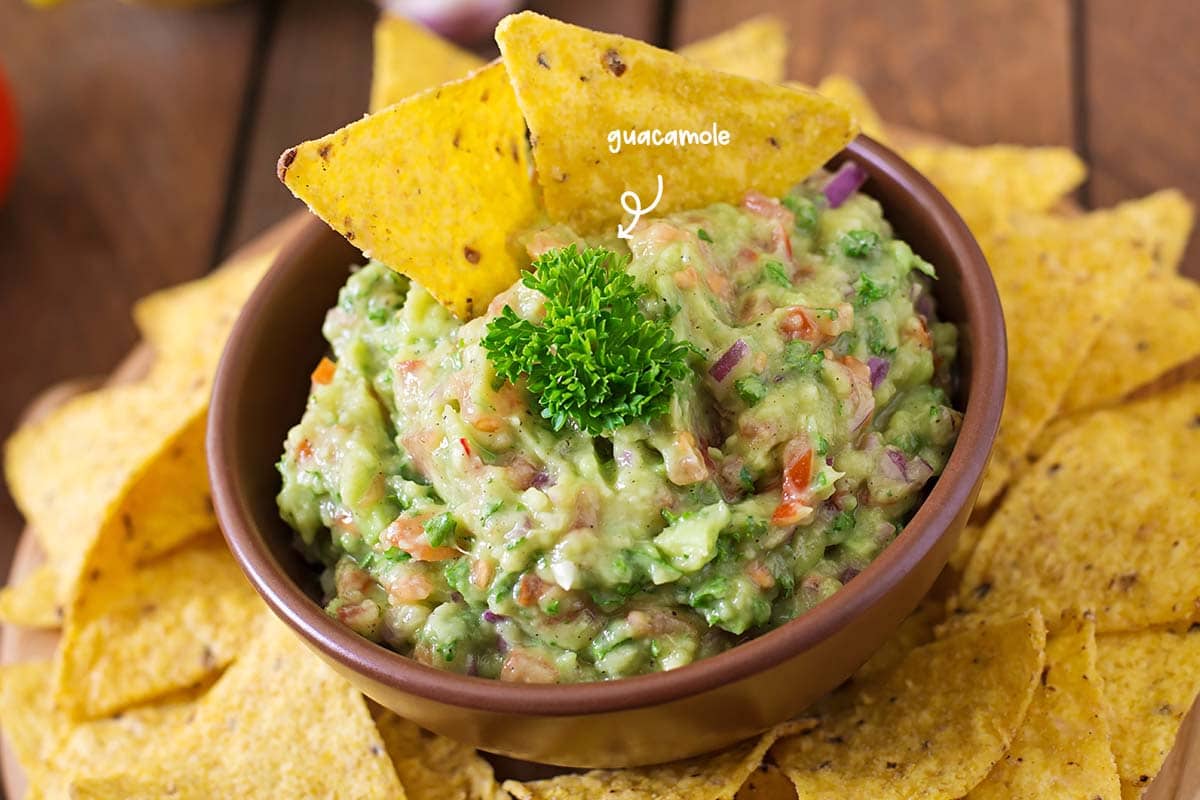
- Guacamole and sour cream should be served as an optional side. For something different to guacamole, why not lightly grill salted chunks of avocado. Tastes great when served al little charred.
- While slices of pickled jalapenos add a lovely acid hit, fresh jalapenos bring a nice hot spiciness. For color and crunch, you can add roast, salted pepitas. I love cilantro, but not everyone does. As an alternative, you can use chopped, curly-leaf parsley instead. Flat-leaf parsley is also good, but it will wilt under heat.
- To give extra acidity, you can add slices of pickled onion or a dash of lime juice on each layer of cheese.
- If you make fresh salsa, don't add until you serve; otherwise, it will make your nachos too soggy. It's good to apply the salsa with a slotted spoon, so it loses any excess liquid.
How to make pickled onion in 10 minutes
Despite what you might think, it doesn't take months to make a pickled onion. "Quickles," as I like to call them, can be made is as little as 10 minutes.
Here's how to do it:
-
- All you have to do is gently heat approximately 100ml of white wine or apple cider vinegar with a 1 tablespoon of sugar and some spices such as a cinnamon stick, some black peppercorns, some cloves or star anise.
- Add some thinly sliced red onion and let the whole thing sit for anywhere from 10 minutes to 1 hour - job done!
Make your own refried beans.
You can make your own refried beans quickly and easily, and they taste even better than the stuff you buy in tins.
-
- Chop some onion and garlic, fry until soft and transparent, then add a little cumin, paprika, and a squirt of tomato puree.
- Open a tin of red kidney beans (pinto beans will do too), add to onion and garlic with a splash of water. Lightly mash with a fork, warm through, and there you have it.
Not layering evenly - How do you assemble nachos
A pile of tortilla chips might look interesting, but to bring it to life and make it look tempting, you need to add some toppings.
It makes a whole world of difference. Without them, all you have is a pile of Mexican chips.
Assembly tips:
Homemade nachos are usually assembled over the base area of a baking tray. Before you do anything, line the bottom of the tray with parchment paper. It makes it so much easier to transfer the nachos to a serving platter. Plan plenty of toppings.
Follow these steps:
-
- Start with a layer of tortilla chips. To this, add a thin layer of the cheese of your choice. Ensure the cheese covers the edges of the dish too.
- Bake in an oven at 300°F until the cheese melts.
- Next, scatter the top with meat, beans, and any veggies you might be adding. Allow it to stand for 2 or 3 minutes and carry on layering in a similar fashion until the ingredients are all used up. Hopefully, if you do it right, each bite of deliciousness will be the same.
- Take it out of the oven and before serving, sprinkle over some fresh cilantro, scallions, tomatoes, and pickled jalapenos. My mouth is watering already!
Extra tip:
If you are pouring over a homemade cheese sauce (or shop-bought), the layering is not as important as building your nachos pile strategically to ensure that half of each chip, minimum, is coated. Then add the toppings evenly.
This secret cheese and beans layering is genius.
Layer the beans and the cheese sauce on the bottom of the dish, then add the nachos, but stand them upright and lean them against each other for support. Fiddly but easily doable.
It gives the nachos height, and as a result, you don't end up with that disappointing dry chip moment when you get to the bottom of the pile.
Add your toppings and grill. Then just to make it even better, add another layer. When your guests find the cheese and beans hidden below, they will be well impressed.
Smothering it with sour cream, salsa, and guacamole
I am not a big fan of nachos served with huge dollops of sour cream, guacamole, and salsa on the top.
I find that the heat reduces everything to an evil puddle of goo that slithers down, turning the once-crisp chips, nasty and soggy.
Because the topping is uneven, someone unlucky individual will end up with a mouthful of sour cream. Not my idea of heaven. The other problem is that such wet toppings will cool the whole thing down too quickly too.
Follow this tip:
-
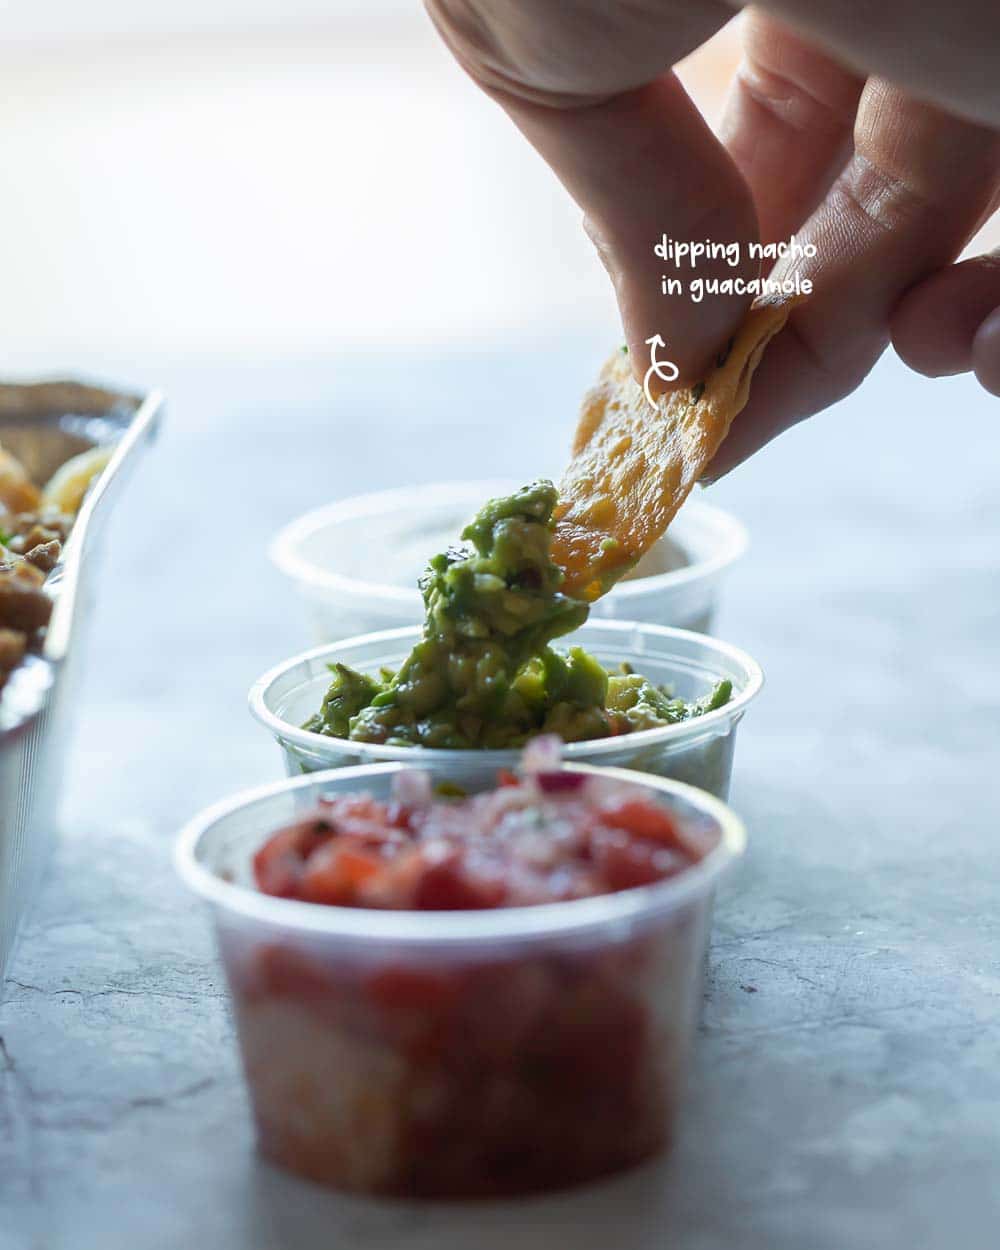
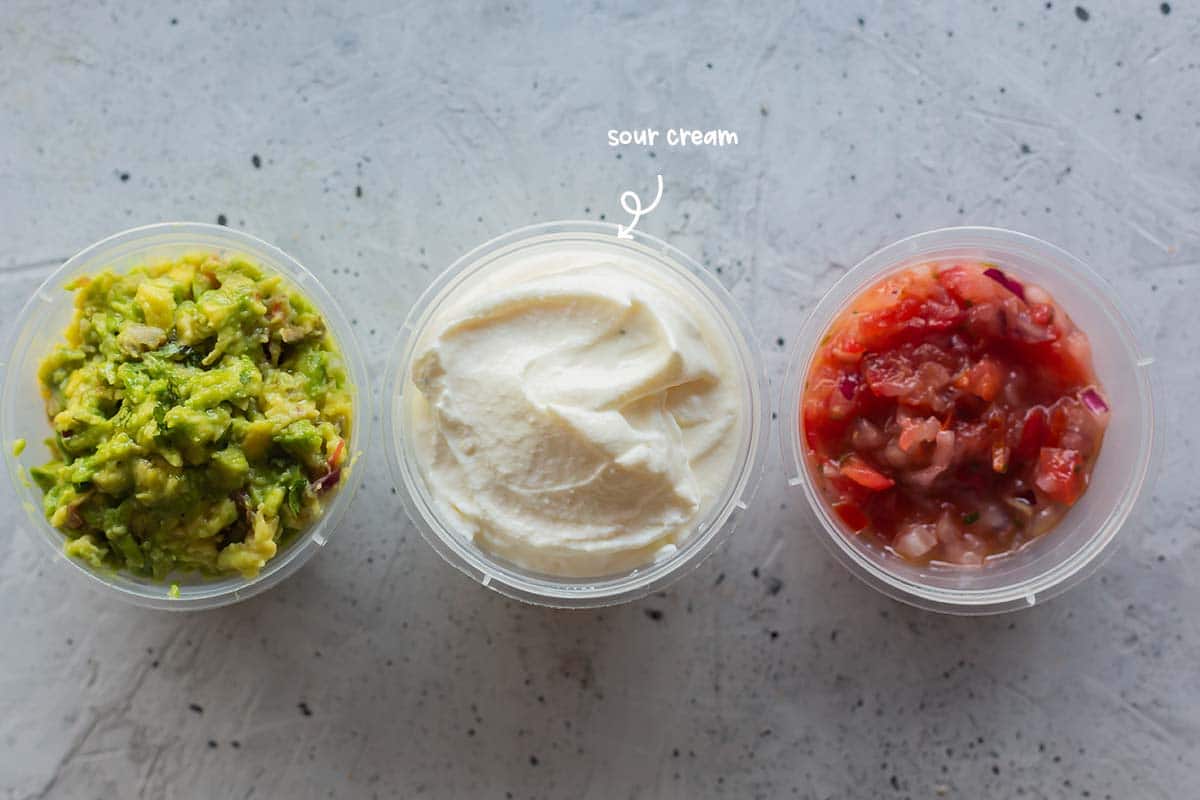
- Saucy type things that you don't use during baking. (guacamole, salsa, and sour cream), ought to be served as sides.
- Put them into small bowls so that everyone can help themselves as they like.
How to keep nachos from getting soggy
To avoid being the king of soggy, use good quality thicker chips that won't suck up the liquid too quickly. I also think it is best to oven bake first, then finish the nachos off under the grill.
It means that all of the chips are heated through properly, and they don't become a sorry, soggy mess.
Make your guac go further
It is quite acceptable to thin the guacamole and sour cream with a little water. It helps the sauces to cover the chips nice and evenly so that no chip is left out. What good is a naked chip, anyway?
Pimp your sour cream
To pep up your presentation, why not add a little sriracha sauce to your sour cream. It gives it a lovely little pink swirl. You can also top off with a sprinkling of fresh herbs and caramelized onion. It looks fantastic and gives everyone an excuse for making pigs of themselves.
Do you like avocado? I do, and I love whisking it up with sour cream to turn it into a stunning, green dressing.
Pink or green, it's a great way to serve your nachos to rapturous applause.

