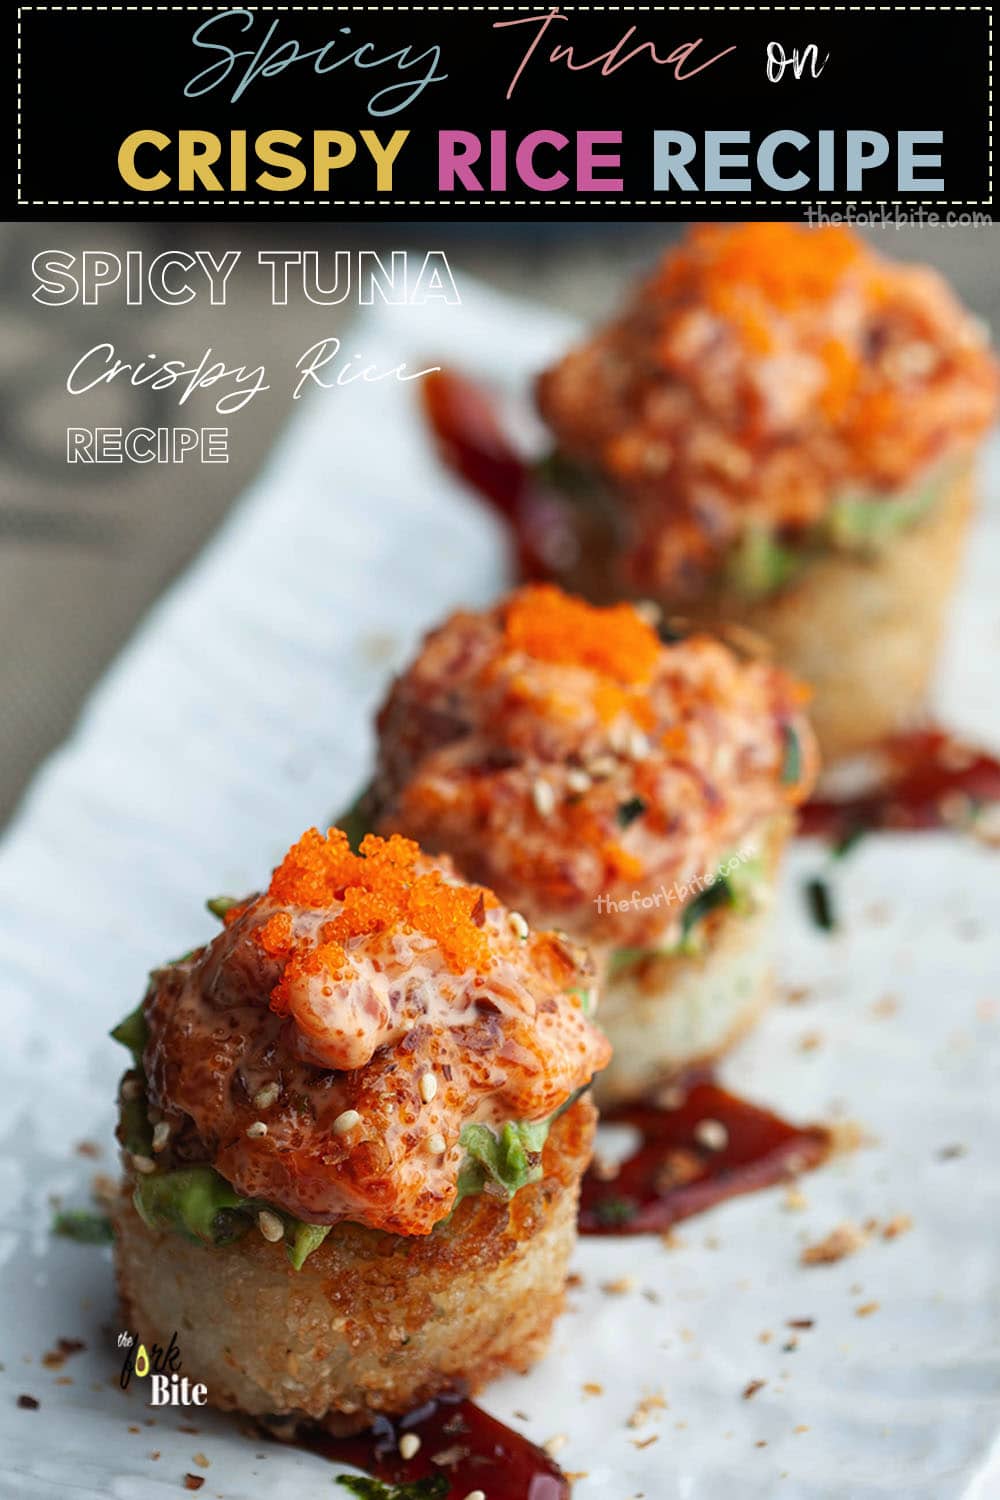
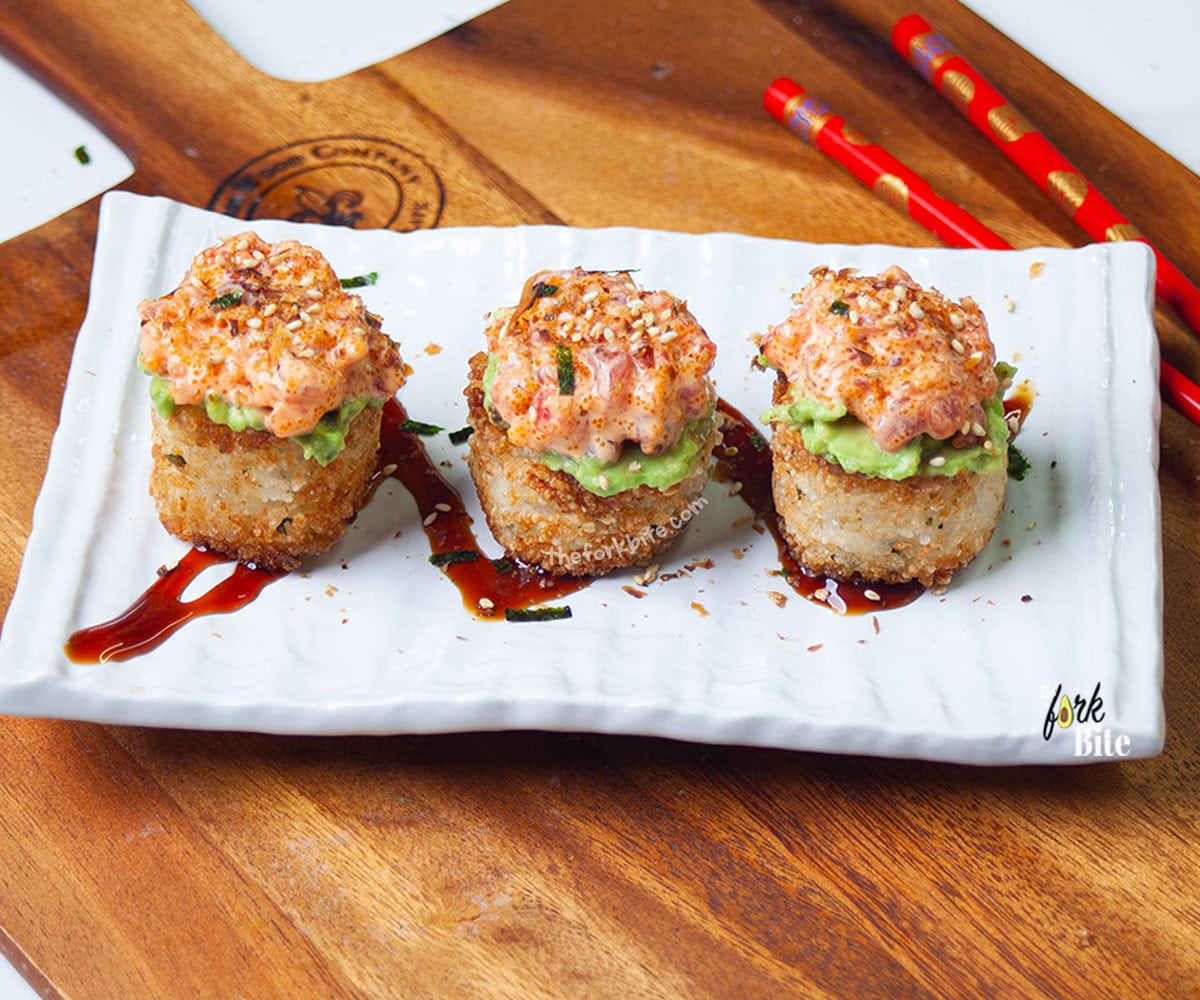
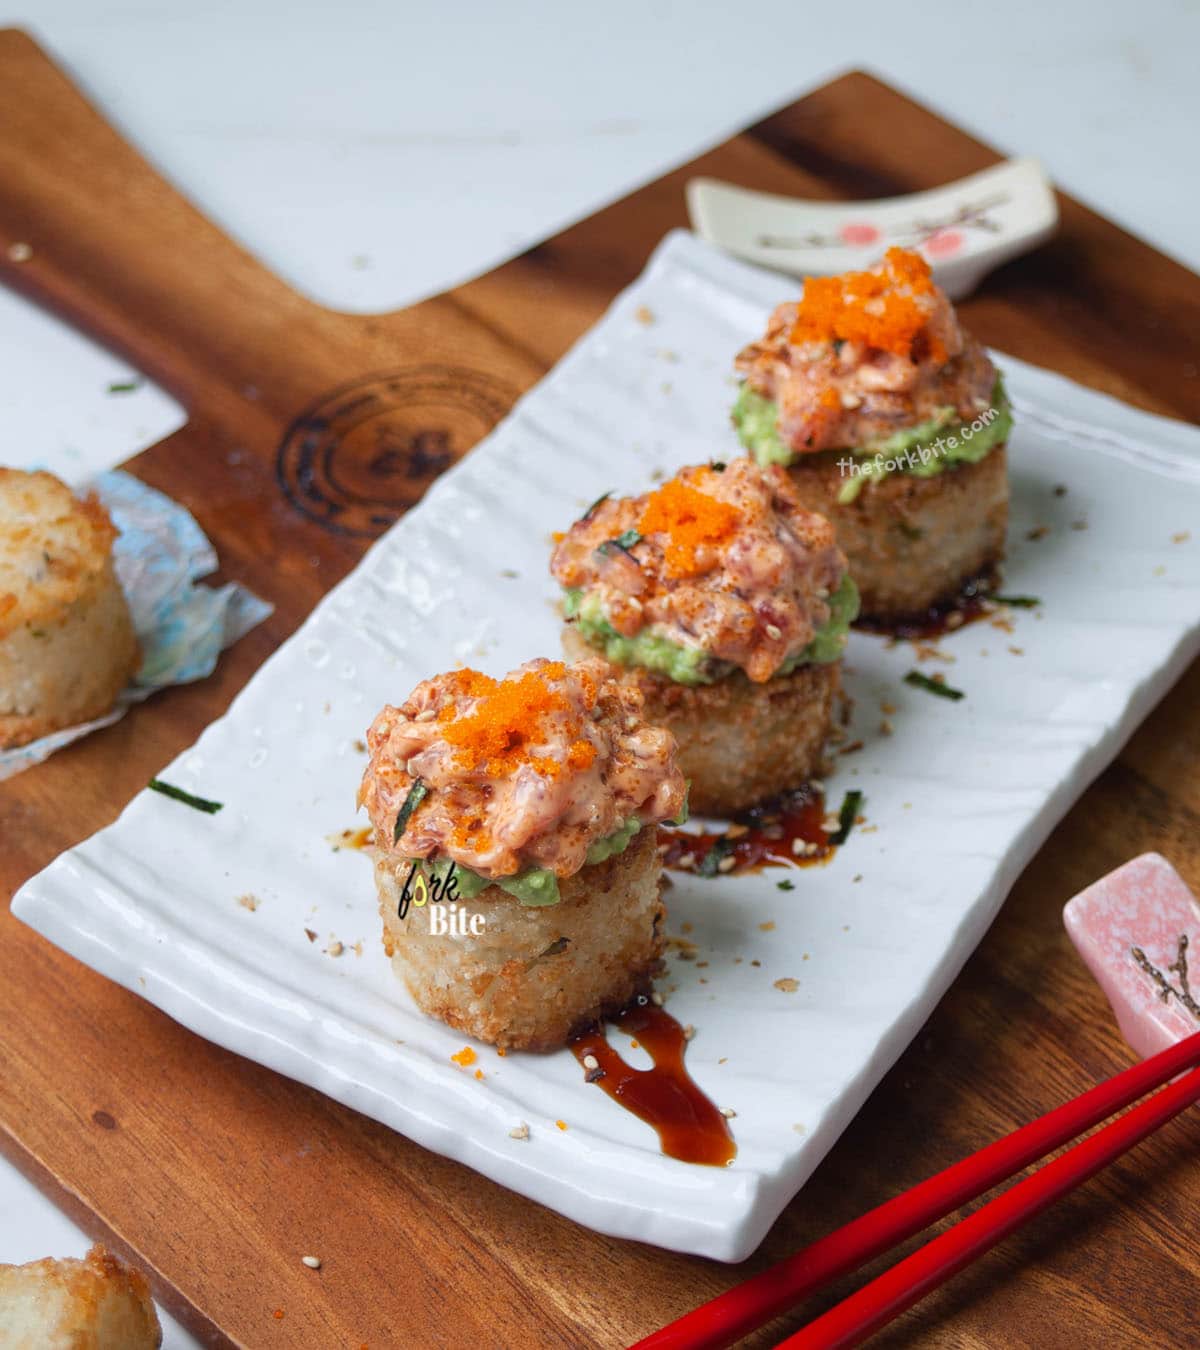
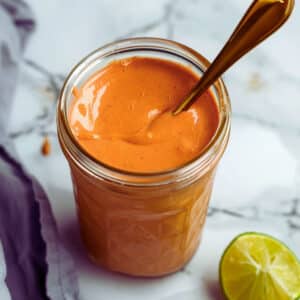
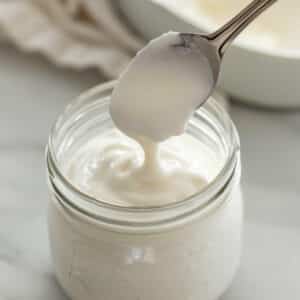
If you haven't yet tried them, you are sure to love Spicy Tuna on Crispy Rice Tartare Poppers. Once you sample the delights of these deliciously spiced party pieces, you will want to serve them at your next dinner party or soirée.
It's a great way of using up any leftovers from making sushi, and guess what? - Your guests will love them. It's all about the great homemade mayo. Intrigued? - Read on to find out more.
Watch the video
Grab these ingredients
These delicious little parcels of yumminess are utterly different from the ordinary party fare that most people drum up. They marry together the gentle sweetness of sushi rice, succulent sushi-grade tuna, and a stunning spiced mayonnaise, and they are so simple to make.
1 Sushi-grade tuna
There is tuna, and there is tuna. Only the very best will do for this dish, which means Ahi tuna. Ahi is a Hawaiian word that refers to two types of tuna - Yellowfin and Bigeye.
If you want to make the best crispy rice spicy tuna balls, you have to use Ahi tuna. There is no substitute.
You can buy sushi-grade Yellowfin or Ahi tuna from most quality grocery stores. If you have any difficulty tracking any down where you live, you can always buy it online.
2 Spicy mayonnaise sauce
This spicy mayo is what makes this dish to the next level. A creamy delight with tangy notes and undertones of garlic, this dressing is not only great to use when making any sushi or sashimi, but it can also be served on the side as a dip.
The recipe I will be laying out for you is Japanese, but you can make it with just a few basics from your kitchen cupboard, and it goes well with a wide variety of snacks.
3 Creamy Avocado
The coolness and creaminess of the avocado are unparalleled when served with something spicy. Its subtle flavor, luxurious creaminess, and natural coolness are amazing.
You'll need:
- An avocado - more depending on how may you're preparing for.
- Some fresh lime juice
- Salt to taste
4 Crispy Rice
All the other ingredients are sort of squidgy, so crispy rice gives this dish a great kick of texture.
You will need:
- Rice - medium or short-grain. If you try making this recipe with long-grain rice, you'll find it just will not stick together when you fry it.
- Sushi vinegar - you can make this yourself or use store-bought.
Salt to taste - Oil for frying- Best to use oil with a high-temperature rating, such as avocado, canola, peanut, or sunflower.
Prepping the Rice
Remember that we are using sushi leftovers to make this dish, but you may need to make some more if you haven't got enough leftover rice.
Don't worry; I'll go over the process of making sushi rice with you a little later.
Assuming that you're using leftover rice, follow the steps below.
One option to prep the rice disks or patties:
- A simpler option is to put the rice into a baking sheet (lined with parchment paper), and level out.
- Let the rice cool down so that they become nice and firm before frying.
- Then, with a cookie cutter, cut out as many rice discs as you need.
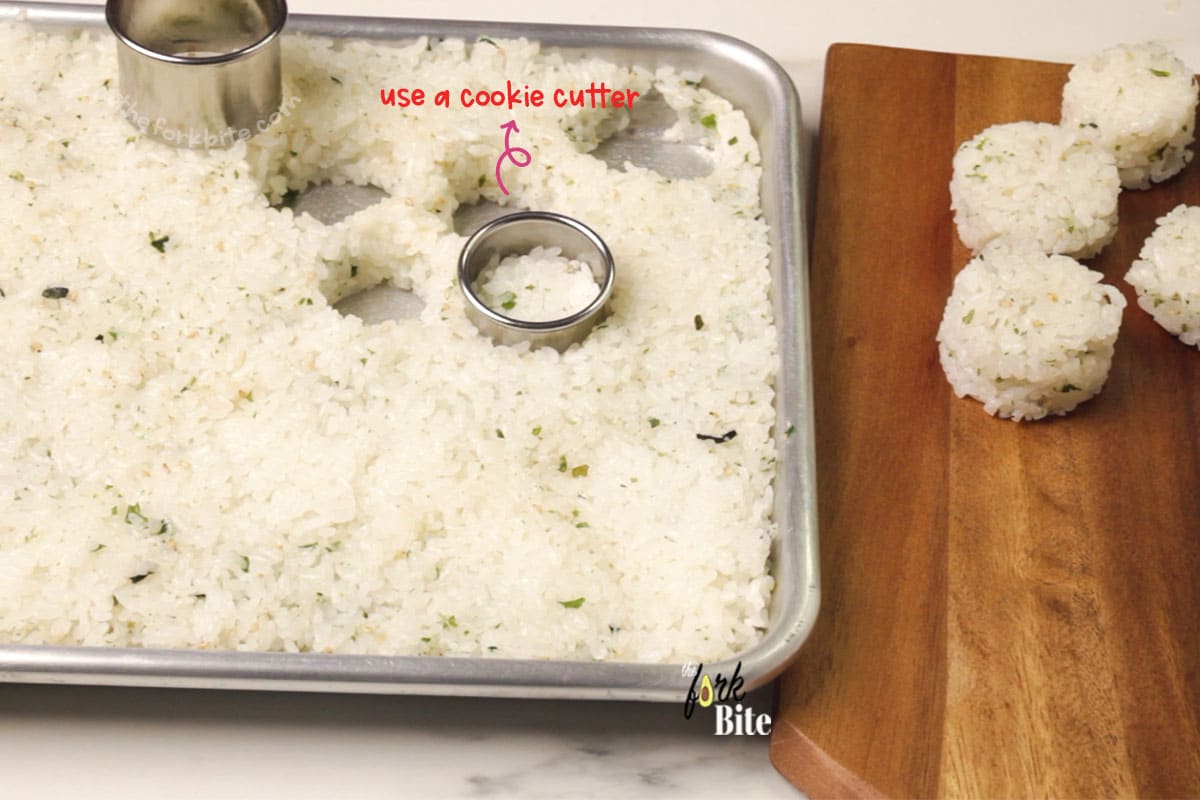
But if you're using freshly made sushi rice, you'll need to let it cool first.
2nd option to make the rice log.
Follow the steps below:
Step 1
To make it easier to mold the rice, before starting, moisten your hands with a little water, then transfer a fistful of sushi rice onto a chopping board.
Step 2
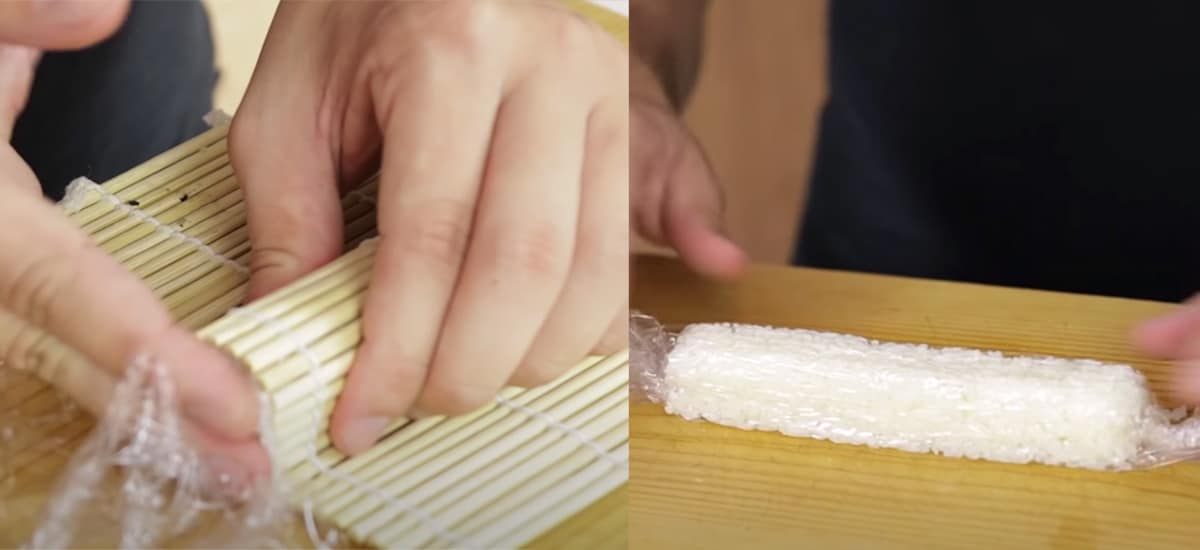
Gently mold the rice into a sort of sausage or log shape with your moistened fingers. Cover the rice log with a sheet of plastic cling film.
Step 3
Cover the rice log with a bamboo sushi rolling mat. If you're a regular sushi maker, you've probably already got one. It's not essential, but it does make the next part of the job a lot easier. You can buy them online.
Step 4
Using the rolling mat, now turn the log-shaped rice into an elongated four-sided square section. You do this by applying gentle pressure through the mat to create two vertical sides and a flat top with defined edges and corners.
Step 5
With the rice still covered, press each end with your fingertips to square them off. Then turn the rice log over and repeat the pressing process until you are happy with the overall shape. Refrigerate for 3 hours before use.
Prepping the tuna tartare topping
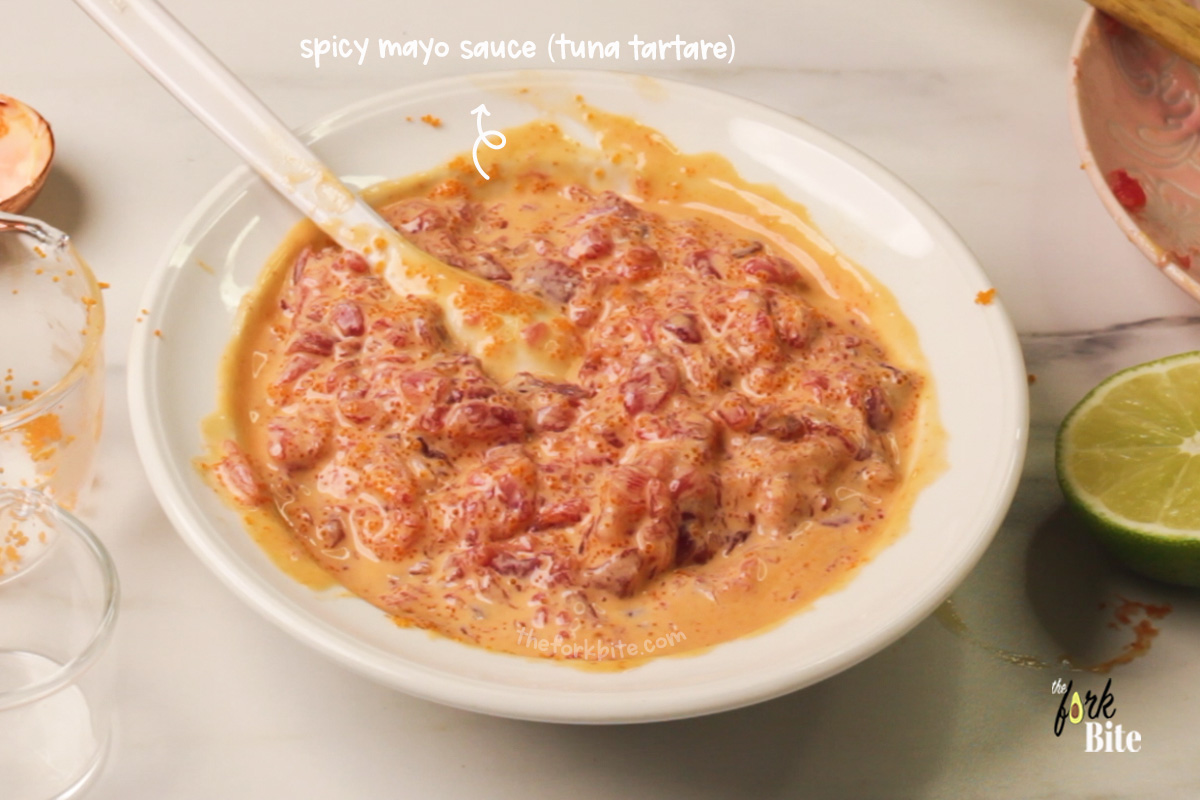
- Using a sharp knife and a chopping board, cut the Ahi tuna into strips approximately 0.5 cm wide and then cut the strips into small cubes.
- Then chop the tuna into small pieces to create a tartare.
- Scrape the tartare from the chopping board and put it into a glass bowl using the blade of your knife.
- Spoon two tablespoons of your homemade spicy mayo into the bowl along with 4 to 5 g of fresh finely chopped chives.
- Take a spoon, combine all the ingredients, and set it aside.
How to fry the rice
Now for frying your sushi rice.
The frying pan method
This method is for those who don't have a deep fat fryer or who prefer to use a frying pan anyway.
Step 1
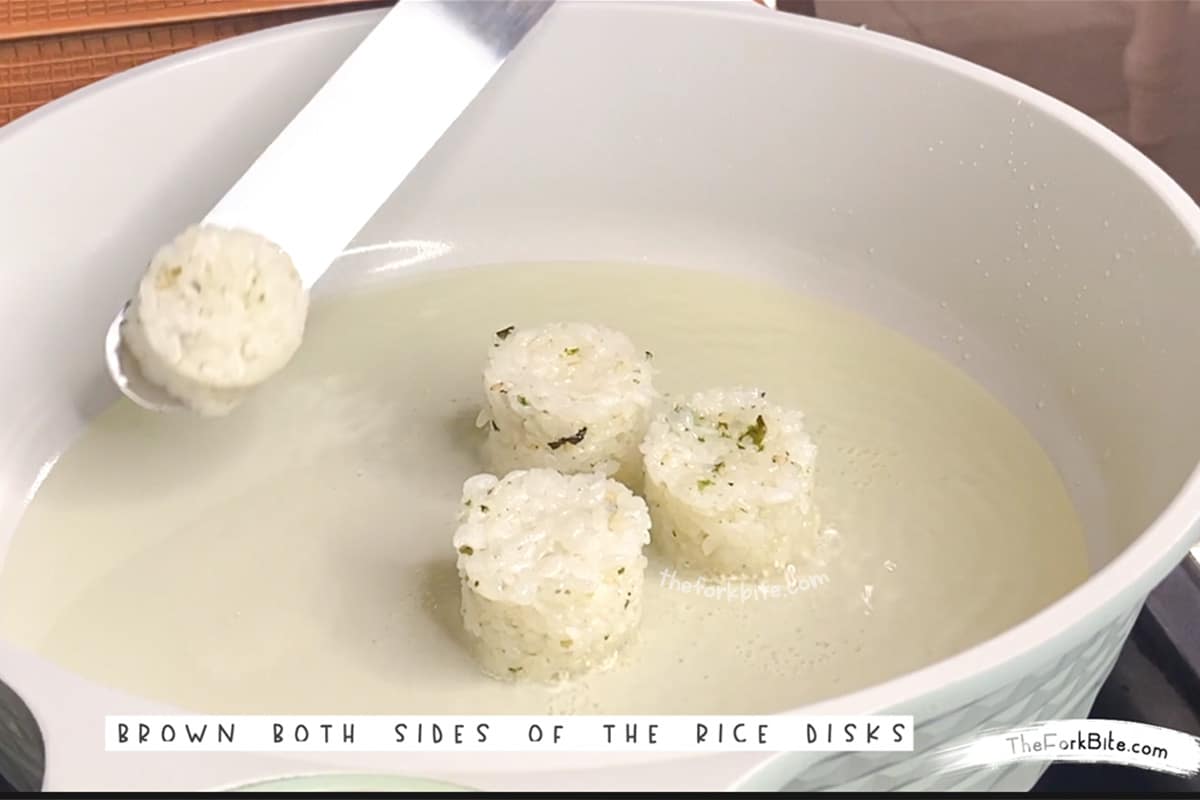
Take a large frying pan, split in 4 tablespoons of oil, and heat on a high setting for approximately 30 seconds.
Step 2
With a thin spatula, carefully lower the rice patties into the hot oil. Watch out for any oil splatter.
Step 3
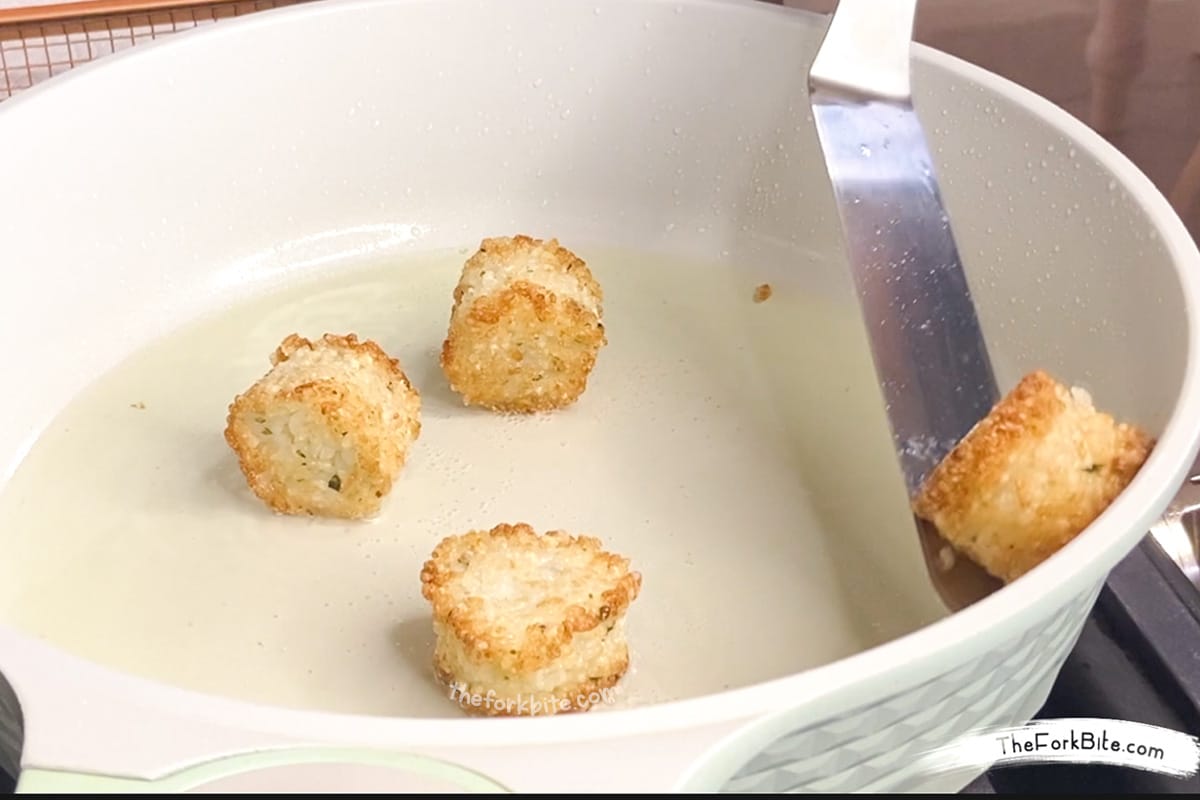
Fry the patties on one side for approximately 1 or 2 minutes. You want the underside to be a light goldy brown.
Step 4
Flip the patties, and having done so, add two more tablespoons of oil into the frying pan.
Step 5
The second side also needs to be cooked for 1 or 2 minutes until goldy-brown.
Step 6
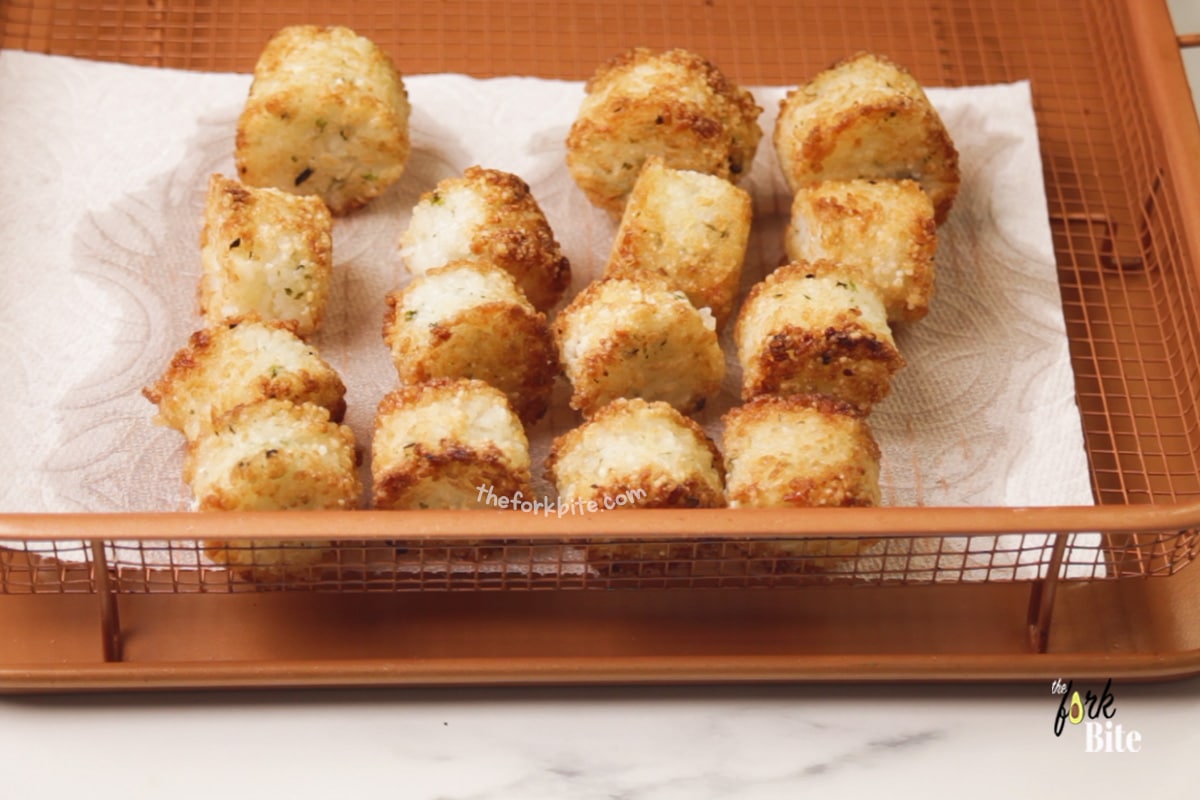
Remove from the frying pan with the spatula. Transfer to paper kitchen towel-lined plate to drain off any excess oil.
If you chose the simplified disc-type rice patties, cooking them in the frying pan using the same technique described above is the way to go.
The deep fryer method
Step 1
Take the square-sectioned rice log out of the fridge (or your rice disks) and, with the cling film still in position, lay it onto a chopping board. Take a sharp knife, wet the blade, and slice the log into six or so similar-sized cubes.
Step 2
Gently remove the cling film from each of the cubes. Take the first cube between your thumb and fingers and insert a cocktail stick (optional) through its center.
Step 3
Fill your fryer to the recommended level with whichever oil you prefer to use, bearing in mind that it needs to be a high-temperature oil, and preheat to a temperature of 374°F (195°C).
Step 4
Carefully transfer a cube or the rice disk into the hot oil and fry for 1 or 2 minutes until it is a light golden color. If frying several at a time, try to keep them separated to avoid them sticking together.
Step 5
Lift the basket out of the fryer and set it aside to allow the cooked rice to cool. Transfer to a paper kitchen towel-lined plate to drain off any excess oil.
How to make the spicy mayo sauce
Okay, now for the Japanese style mayo I referred to earlier.
Here is what you will need:
- 2 tablespoon Kewpie Mayonaisse
- 1 tablespoon Sriracha Sauce
- 1 teaspoon honey
- ½ Fresh lime juice
- 2 teaspoon Tobiko fish roe (Fresh)
This spicy mayo is so easy to make.
Here's what to do.
Step 1
Take a small mixing bowl, and into it, spoon two tablespoons of the Kewpie mayonnaise, one tablespoon of the Sriracha chili sauce, and one teaspoon of raw honey (optional).
You can make your own Japanese or Kewpie mayo using Dijon mustard, egg yolks, lemon juice, rice wine vinegar, salt, sugar, and vegetable oil.
Homemade is best, but if you don't have time, shop-bought will do.
Step 2
Squeeze in the lime juice. Adjust according to your preference. Any more, and you will unbalance the flavors.
Step 3
Now add the two teaspoons of Tobiko fish roe and mix everything well. We all have different tastes, so taste what you've concocted so far, and if necessary, add a little more mayo or chili sauce according to your taste preference.
Finish your poppers off with the topping
- Take a serving dish and cover with one or two serviettes to absorb any excess oil or grease and place the patties onto the dish, spacing them out nicely for presentation.
- Spoon a small amount of the spicy tuna tartare topping on to each to turn the patties into delicious, zingy party poppers.
- Have some cocktail sticks (optional) ready for guests who prefer to keep their fingers clean.
- As an optional extra, add a small ramekin of soy sauce on the side.
Making sushi rice
Sushi is nothing without sushi rice. The word "sushi" is only used concerning rice, and it means "sour-tasting rice."
Initially, this sour-tasting rice was produced using a fermentation process. Nowadays, most people tend to make sushi rice using vinegar.
When you make it yourself, you can make as little or as much as you like because it is vinegared. You can keep it for quite a while.
Homemade sushi rice vinegar recipe:
Here are the ingredients you will need if you intend to make your sushi rice vinegar.
- Rice wine vinegar - 200 ml
- White sugar - 90 g
- Kombu dried seaweed
- Sea salt - 20g
Kombu seaweed is usually sold in large pieces. For this recipe, take one large "leaf" and break it into small pieces. Then add all the other ingredients and leave to stand until the seaweed completely dissolves.
It will take about an hour for this to happen, so it is best to make this a few days before you need it. Those few days will also allow the vinegar's flavor to develop appropriately.
The equipment you will need:
- cloth or small towel
- pan or pot to cook the rice in
- Hangiri or Oke (optional)
- bowl
- non-stick stirring implement
- electric fan (optional)
5 steps needed to cook the best sushi rice
If you're cooking sushi rice regularly, I recommend getting a rice cooker or Instant Pot. It makes the job so much easier. They are quite affordable.
However, if you don't want to go down that route, you can use a pan instead. The choice is yours.
Step 1 wash the rice
- First, you need to measure out how much rice you're going to use. You can reckon on needing approximately 80 g of uncooked sushi rice for each sushi roll.
Bearing in mind that cooking sushi rice is quite a long process, you don't want to end up short, so err on the generous side. If there's any leftover, so be it.
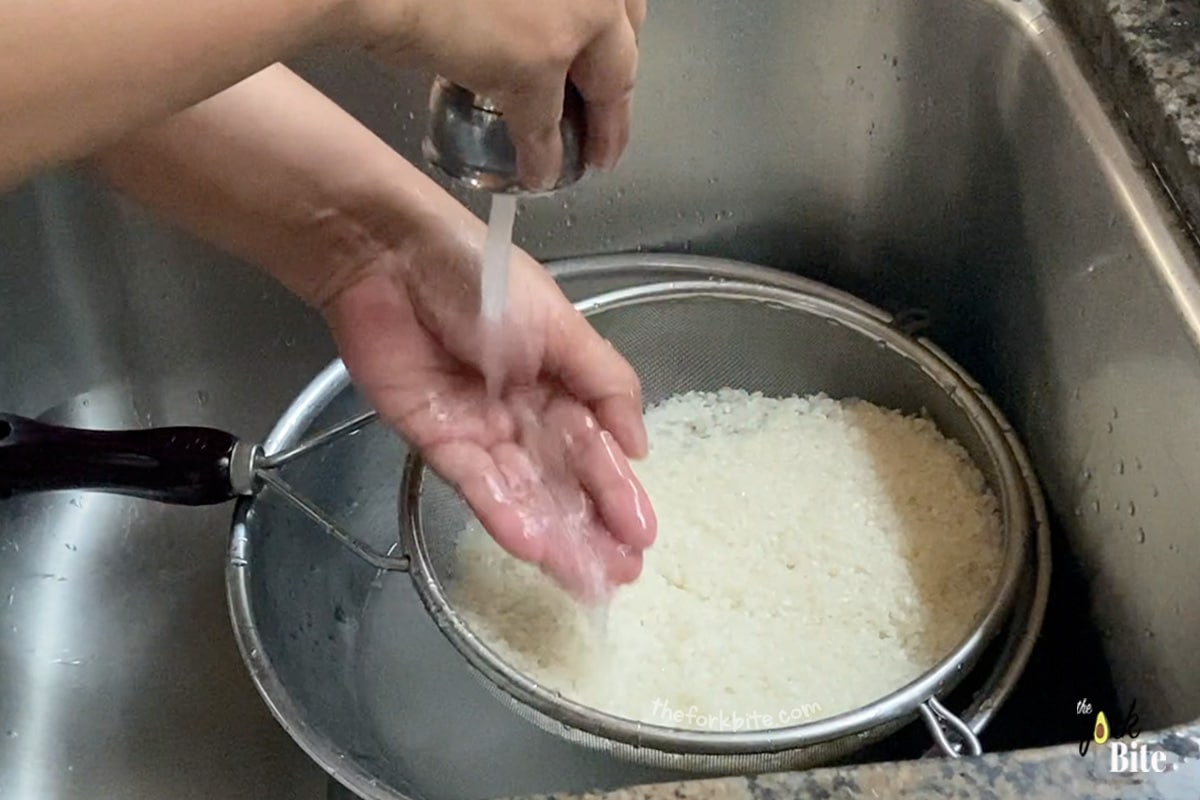
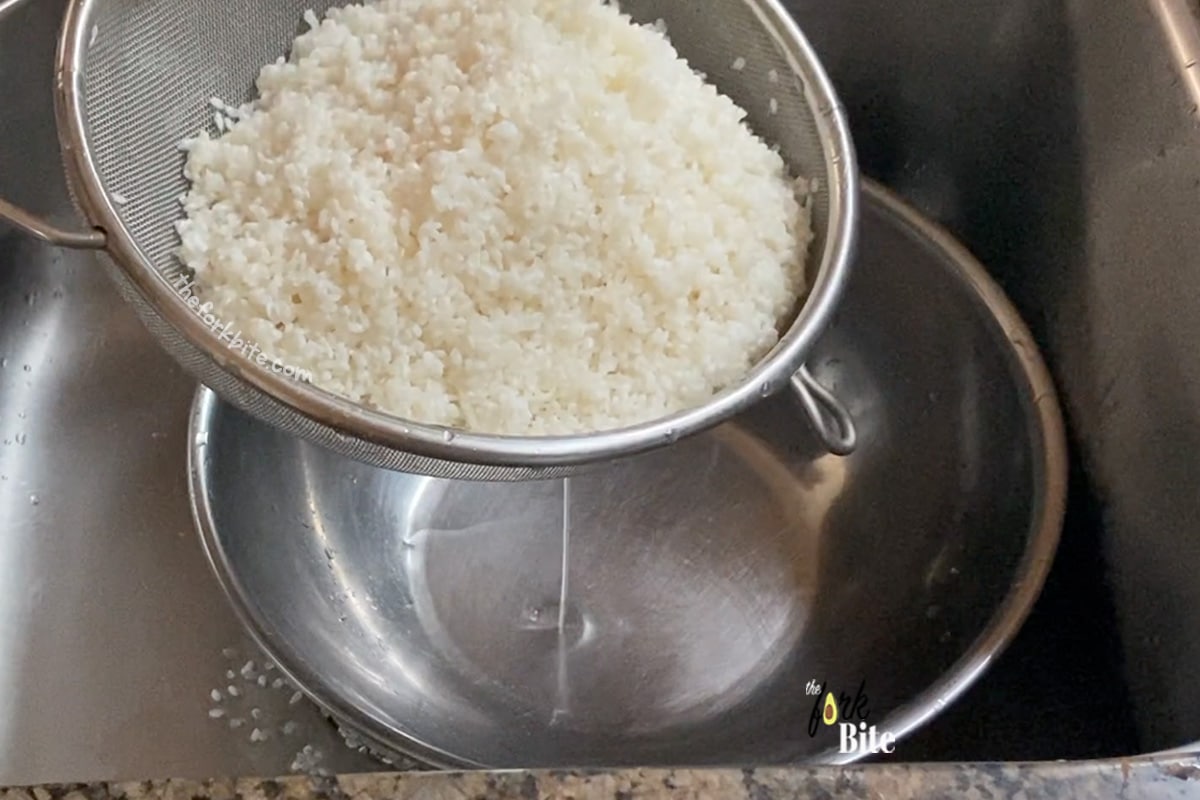
- Tip the rice into a sieve and wash it thoroughly under the cold water tap in your kitchen sink. This is to wash out the excess starch.
You don't want the water to hit the rice too strongly as it might break some of the grains, thereby releasing even more starch.
I usually put a hand between the tap and the sieve so the waterfalls on the rice more gently.
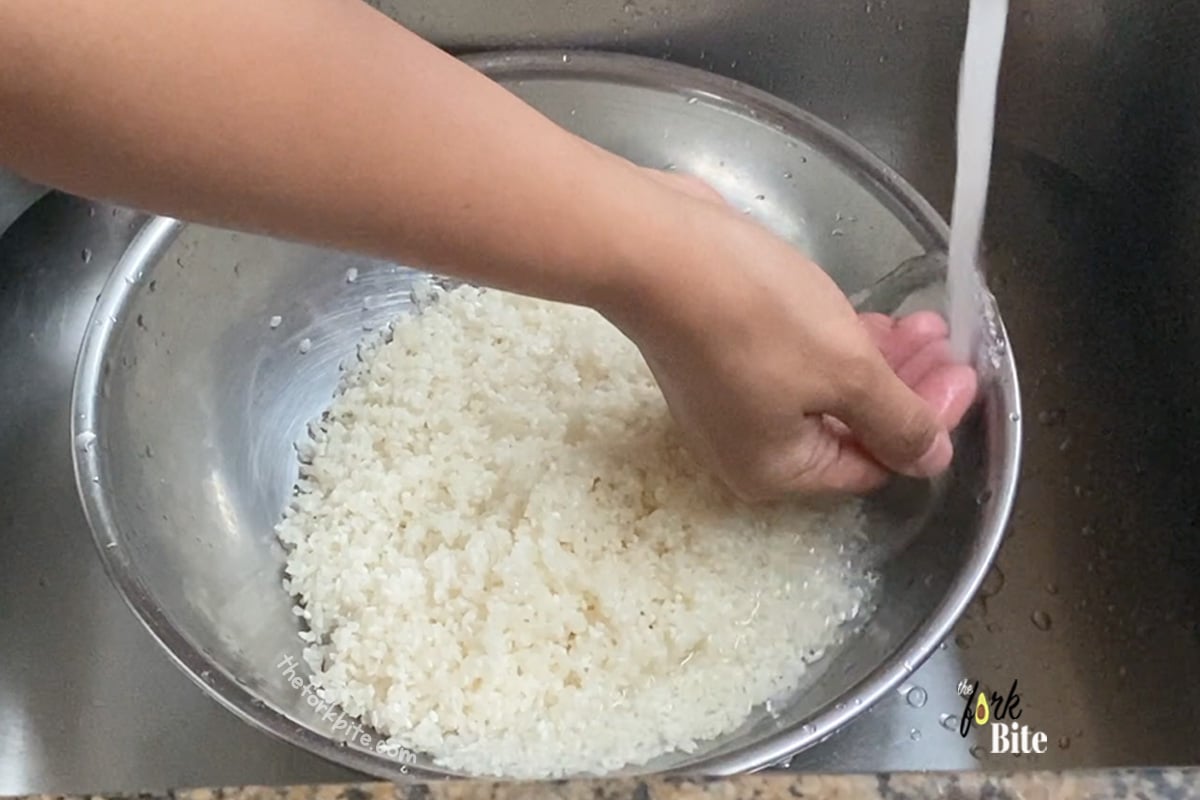
- Transfer the rice into a large bowl, and fill the bowl with cold water.
Remember, don't pour the water onto the rice too forcefully. Gently rub the rice between your fingers or use your fingers to stir it.
- You'll need to repeat this until the water remains clear. It can take up to 7 or 8 washes. Bear in mind that the water will never be crystal clear, so don't overdo it.
Unfortunately, this is not a process that you can rush. If you do, you'll end up with what the Japanese refer to as "smelly rice."
It won't be suitable for making sushi rolls, or in this case, Crispy Rice Spicy Tuna Tartare Poppers. You need the rice to have a fresh, clean taste.
- Drain all the excess water and let it sit for about 5 minutes before adding water for cooking.
Step 2#A - Using an instant pot
Instant pots are great convenience gadgets and can be used to cook rice.
If you're using one to cook your sushi rice, here's how.
- Pour the rice into a sieve, ensuring that the holes in the sieve are not so large that the rice can fall through them. Give the rice one more rinse.
- Transfer the rice into your instant pot and add cold water. Allow one cup +1 tablespoon of water per cup of rice.
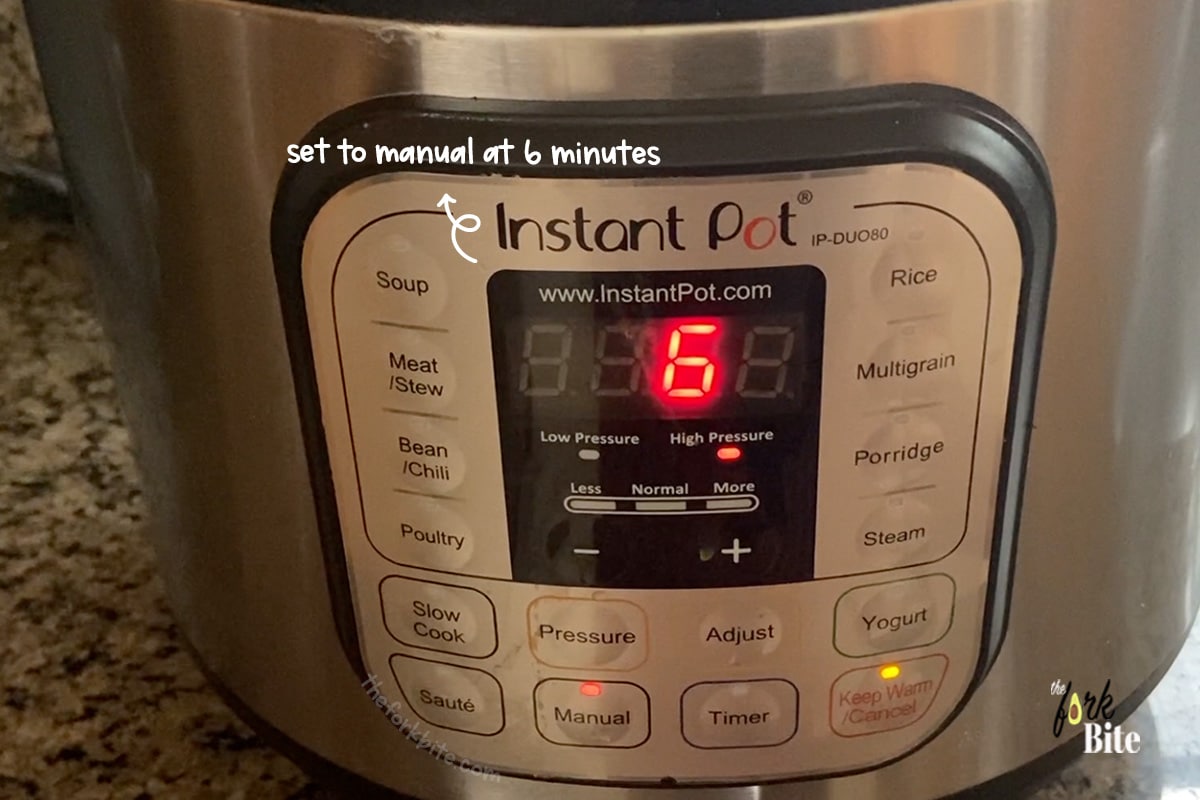
- Set your instant pot to "manual" cook for six minutes.
- When the cooking time is up, allow the pressure to release naturally, which will take approximately 10 minutes.
Step 2#B Cooking rice on a stovetop
- Pour the rice into a sieve, ensuring that the holes in the sieve are not so large that the rice can fall through them. Give the rice one more rinse.
- Tip the rice into your pan or cooking pot, and add cold water. Allow 120 ml of water per 100 g of uncooked rice.
- Now allow it to stand for 30 minutes to absorb some of the water.
- Put a lid on the pan and heat it on your stovetop on a medium heat setting for approximately nine minutes.
- When the nine minutes is up, increase the heat setting to maximum, and cook for a further four minutes with the lid still in place.
- Take the pan off the heat and allow the rice to stand, still in the pan, with the lid still on, for 15 minutes.
Additional note.
If you think that the rice is too dry or too mushy, you will need to change the water you use. If you're talking too mushy, then next time, use a little less water.
If the rice is too dry, you'll need to add a bit more water next time. Whatever you do, don't try cooking it again because you only make the situation worse.
Step 2#C - Using a rice cooker
- Pour the rice into a sieve, ensuring that the holes in the sieve are not so large that the rice can fall through them. Give the rice one more rinse.
- Transfer the rice into your rice cooker and add cold water.
- Allow 150 ml of water per 100 g of rice. Put the lid in place and turn the cooker on.
A rice cooker is great because all you have to do is to turn it on. You don't have to worry about the cooking time; your rice cooker will heat the contents to the correct temperature, monitor the steam and pressure inside it, and turn itself off automatically when the rice is cooked.
- When the cooking cycle is finished, let the rice stand inside the cooker with the lid still in place for about 10 minutes. Don't remove the lid during cooking as this will interfere with the cooking time.
Step 3 Seasoning your sushi rice
Scoop the rice gently out of the cooking appliance and into a large bowl using a non-stick paddle or wooden spoon. Avoid using a metal implement as this can damage the delicate grains.
Professional sushi rice cooks tend to use a Hangiri or Oke, as the wood is great for absorbing any excess rice vinegar.
Don't worry. If you don't have one, you can use a large plastic bowl, providing it's big enough and has a flat bottom.
If there's any rice left behind on the bottom of your cooking appliance, don't scrape it out and add it to the rice in the bowl. You only want the best soft, cooked rice when you're making sushi or Crispy Rice Spicy Tuna Tartare Poppers.
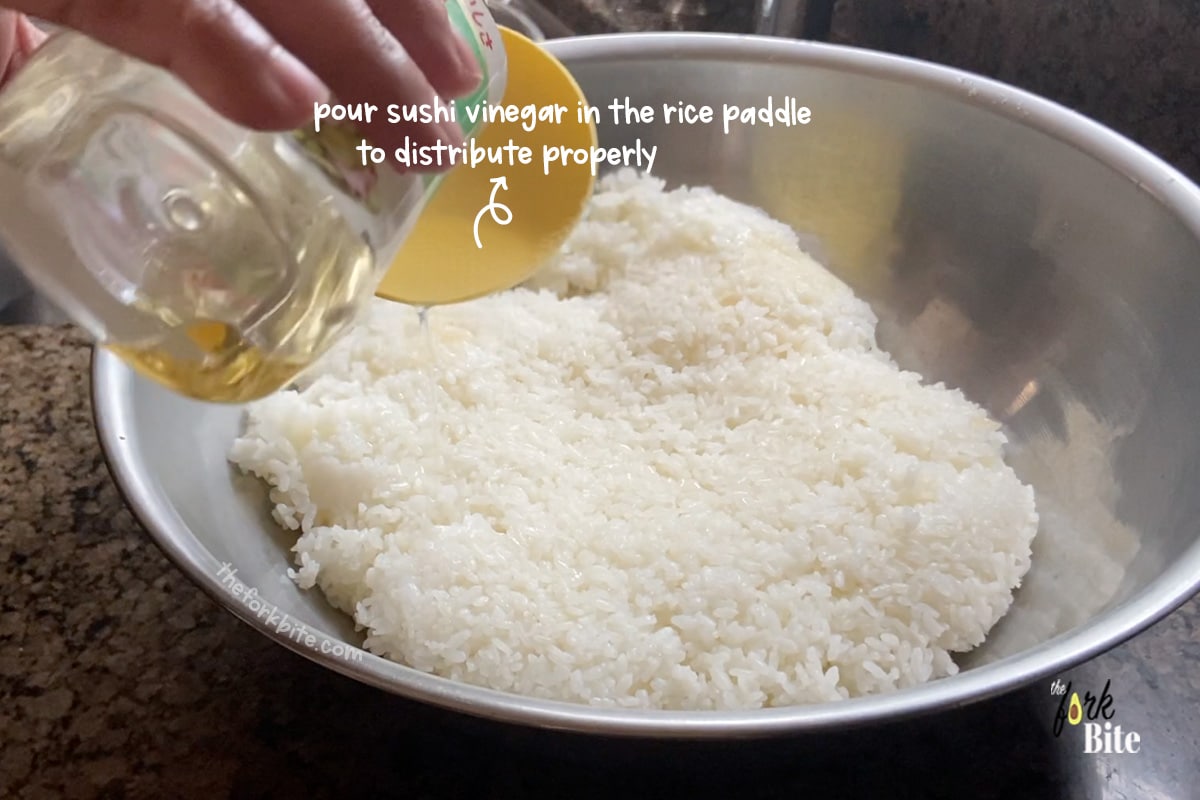
- Now is the time for adding the sushi rice vinegar. This is what will impart that characteristic slightly sour taste to your sushi rice. Allow adding approximately 20% of the volume of the rice when it was uncooked.
- So if you started with 500 ml, or 500 g, of uncooked rice, you would add 20% or 100 ml of vinegar when adding the sushi vinegar.
It's best to add the sushi rice vinegar while the rice is still warm.
If you pour the vinegar straight into the rice, it won't distribute properly, so it's best to use your non-stick paddle or wooden spoon and pour the vinegar over the back of the implement, spreading it evenly across the top of the rice.
- Then give the rice a gentle stir. That way, you can be sure that each grain of rice will be properly coated and flavored.
Step 4 Allowing the rice to cool
You don't want the rice to become too cool; otherwise, it will have an adverse effect on the texture and the flavor. It's best handled when it's around body temperature, i.e., between 35 to 40°C or 95 204°F.
This is also the best temperature in terms of forming the rice while keeping it nice and soft.
If you're pushed for time, you can accelerate the cooling process with a fan. As the rice is cooling, carefully turn the rice over to allow it to coll evenly.
Step 5 - How to store your sushi rice before using
Move the rice to one side of your bowl (or sushi hangiri/sushi oke), and cover with a damp cloth. Push the cloth against the rice compressing and a little and allow it to set, which will take about five or 10 minutes.
This ensures that the rice sticks to itself more readily, which will make it easier when you come to mold it. It also helps to stop the top layer of rice from drying out too much.
Stored like this, you can mold it into whatever shapes you need up to 3 to 4 hours afterward. Remember to keep the rice at body temperature, so it's important to store it in a relatively warm place, perhaps even in your oven at a low temperature.
Top tip:
To prevent the rice from sticking to your hands when you come to mold it, coat your hands with a mixture of one part water to one part rice vinegar.
Frequently asked questions
As per my experience, these rice types are not very good at sticking together and won’t give you the right texture or consistency that you need to make good sushi or good Crispy Rice Spicy Tuna Tartare Poppers.
It’s good using short or medium-grain sushi rice – especially for this spicy tuna tartar popper recipe. It contains more starch which will make better, further rice balls, ideal for frying.
As I explained earlier, a thorough washing removes any excess starch and any debris there might be in the rice. The more starch left in the rice, the mushier it will become when cooked.
Adding the sushi vinegar imparts a subtle sweet flavor. It also makes the rice a little stickier, perfect for making sushi rolls or spicy tuna tartare poppers.
Lots of grocery stores stock sushi-grade tuna. Be careful, though; if it doesn’t say should sushi-grade on the packaging, it probably isn’t. If push comes to shove, you can buy the best ahi tuna on the Internet.
Other interesting sushi recipes:
- Sushi Baked Recipe
- Sushi Salad in a Jar
- Stacked Sushi Recipe
- Costco Cilantro Lime Shrimp Copycat Recipe
Full Recipe
Crispy Rice Spicy Tuna Recipe
Pin RecipeIngredients:
- 0.44 lbs chopped tuna (sushi grade)
- 2 cups sushi rice (leftover )
Spicy Mayo Sauce:
- 2 tablespoon Kewpie Mayonnaise
- 1 tablespoon Sriracha
- 1 teaspoon raw honey
- ½ lime juice
- 2 teaspoon Tobiko fish roe
Creamy Avocado:
- 2 pcs avocado (mashed)
- 2 tablespoon lime juice
- salt to taste
Toppings:
- 1 tablespoon Eel sauce (optional)
- 1 teaspoon Furikake seasoning (optional)
- 1 teaspoon chives (chopped)
Watch the Video:
Instructions:
Prep the Spicy Mayo Sauce:
- Take a small mixing bowl, and into it, spoon two tablespoons of the Kewpie mayonnaise, one tablespoon of the Sriracha chili sauce, and one teaspoon of raw honey (optional).
- Squeeze in the lime juice. Adjust according to your preference. Any more, and you will unbalance the flavors.
- Now add the two teaspoons of Tobiko fish roe and mix everything well. We all have different tastes, so taste what you’ve concocted so far, and if necessary, add a little more mayo or chili sauce according to your taste preference.
Finish with Toppings:
- Line your plate with some eel sauce (this is optional).
- Arrange your rice disks or sushi rice log over the plate.
- Top with mashed avocado.
- Spoon 1 tablespoon of spicy mayonnaise sauce over the crispy rice.
- Sprinkle some of your favorite Furikake seasoning (this is optional) or you can sprinkle some chives / scallions.
- Serve and enjoy.
Nutrition Information:
Please note that all nutrition information are just estimates. Values will vary among brands, so we encourage you to calculate these on your own for most accurate results.

