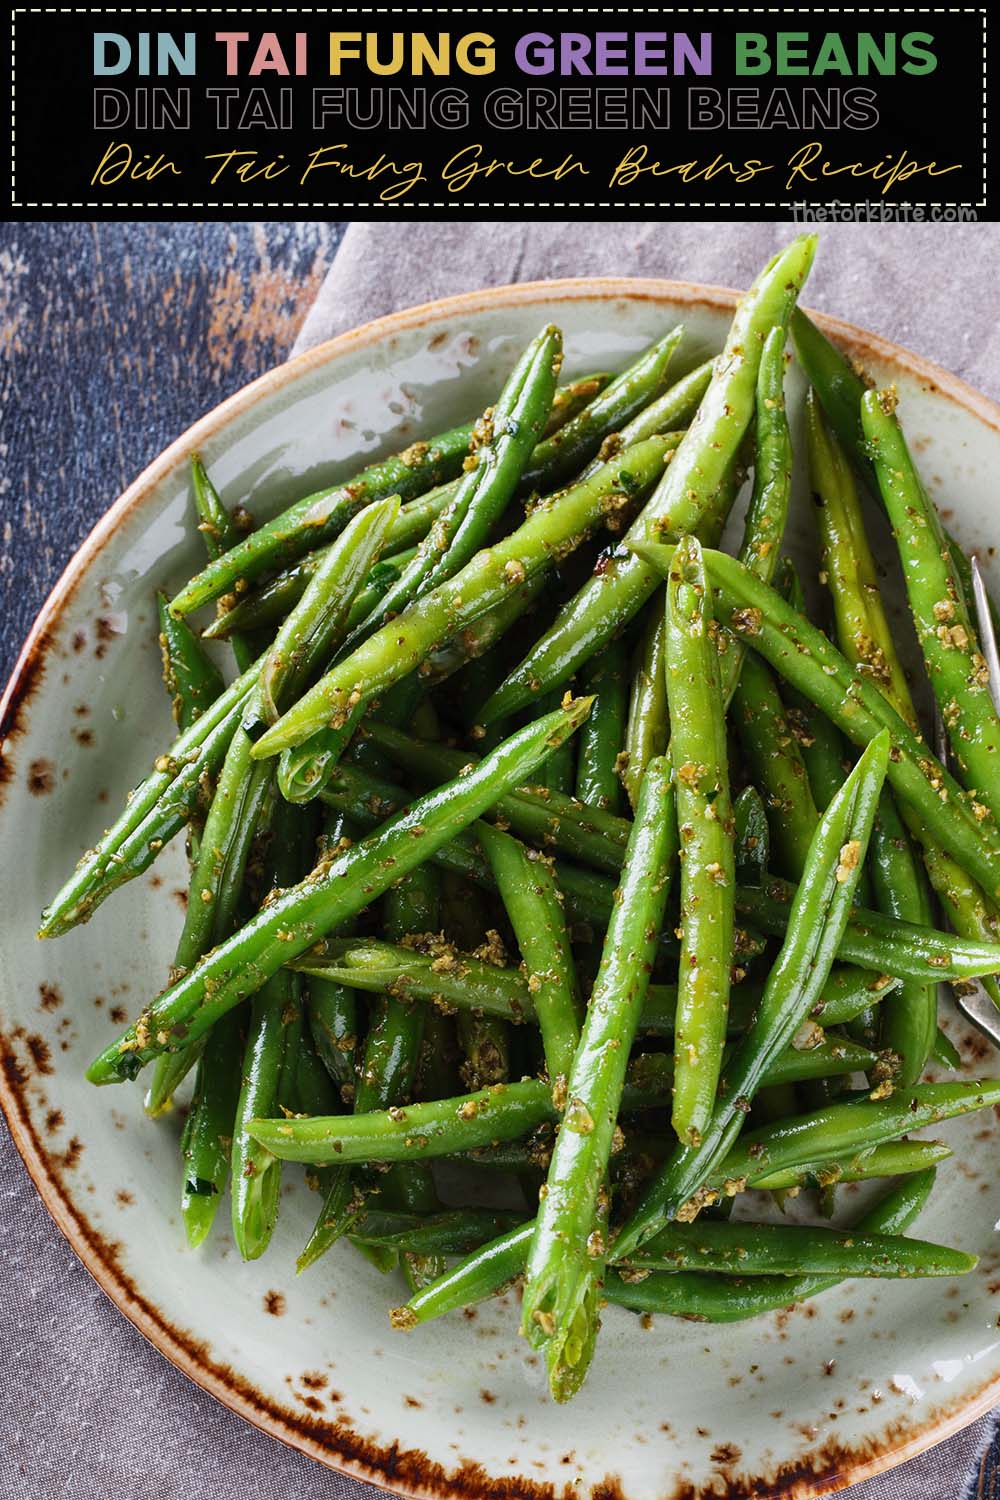
Din Tai Fung green beans are crispy and loaded with lots of garlic flavor. It's one of our favorites for a perfect Asian side dish. This recipe is flash-fried until they blister, and then you sauté them with tons of garlic. The origin of this dish is inspired by the Din Tai Fung Taiwanese restaurant chain, which has outlets in California, Nevada, Oregon, and Washington.
It creates a side-dish to end all side-dishes. Beautiful, fresh, cut green beans, lavishly smeared with finely chopped garlic, stir-fried at high heat to create a superb, umami-flavored delight.
Jump to:
I have lost count of how many times I've visited a Taiwanese restaurant and ordered this dry-fried, green bean, garlic-infused dish. The green beans are blistered to perfection, whereby they wrinkle to produce a crispy texture smothered with garlic's flavor. As a dish, it couldn't be simpler, but the taste is out of this world.
Although it might sound simple to make, getting it right is never quite that easy, and it took me several attempts to achieve what I wanted. With inspiration from Din Tai Fung, I aimed to match the taste and spice as closely as possible.
I use only four ingredients, and the whole thing takes me less than 15 minutes to prepare and cook. If you want to personalize the dish a little, you can adjust your taste's flavor by adding a little extra seasoning and some different spices.
There are lots of Chinese-style garlicky, green bean recipes, but with this creation, I've kept it simple as could be by adding garlic, salt, and pepper to taste. But if you'd like to add a little kick to this side-dish, feel free to drizzle in some Szechwan chili oil or sesame oil.

What are Din Tai Fung green beans?
As you now know, this recipe is a simple green bean and garlic concoction. Many Chinese and Taiwanese restaurants serve it, but it's quite easy to make it yourself at home. I'm about to share two variants of this dish with you in this article.
The first mimics the restaurant's dish, while the second is a more healthy version that you can cook and eat as many times as you like.
Green beans that are ordinarily stir-fried are nice and crispy and keep their bright green coloring, very similar to the dish mentioned above you'll come across at many restaurants.
But with the DTF version, the beans' skins are a little wrinkled, which is rather a giveaway as to how they are fried.
A typical Szechwan recipe calls for dry-frying the beans to make them wrinkly, then wilting them in a small quantity of oil. The dry fry technique produces soft, succulent beans whose color turns to a slight yellowy-green since they have been cooked for a while.
But the dish I am accustomed to eating at my local Din Tai Fung is always vibrantly green.
Reasons we love these sautéed string beans with garlic
- The dish takes no longer than 13 minutes to prepare and cook.
- The recipe only includes four ingredients.
- It's simple and tasty.
Can I make this recipe using frozen green beans?
Regrettably, you cannot make this dish with frozen beans. If you do, you will end up with a soggy mess. Personally, my recommendation is to use frozen beans in the skillet and soup recipes whereby a softer bean is acceptable.
Can I make this recipe vegan?
To make this dish vegan-style, instead of butter, substitute coconut or olive oil. You may need to adjust the amount of salt.
Can I use these green beans meal prep?
This garlicky, green bean dish can be reheated if you have leftovers. Unfortunately, the beans will lose their crispiness, but none of their flavor.
Tips for Chinese style, dry-fried garlic green beans
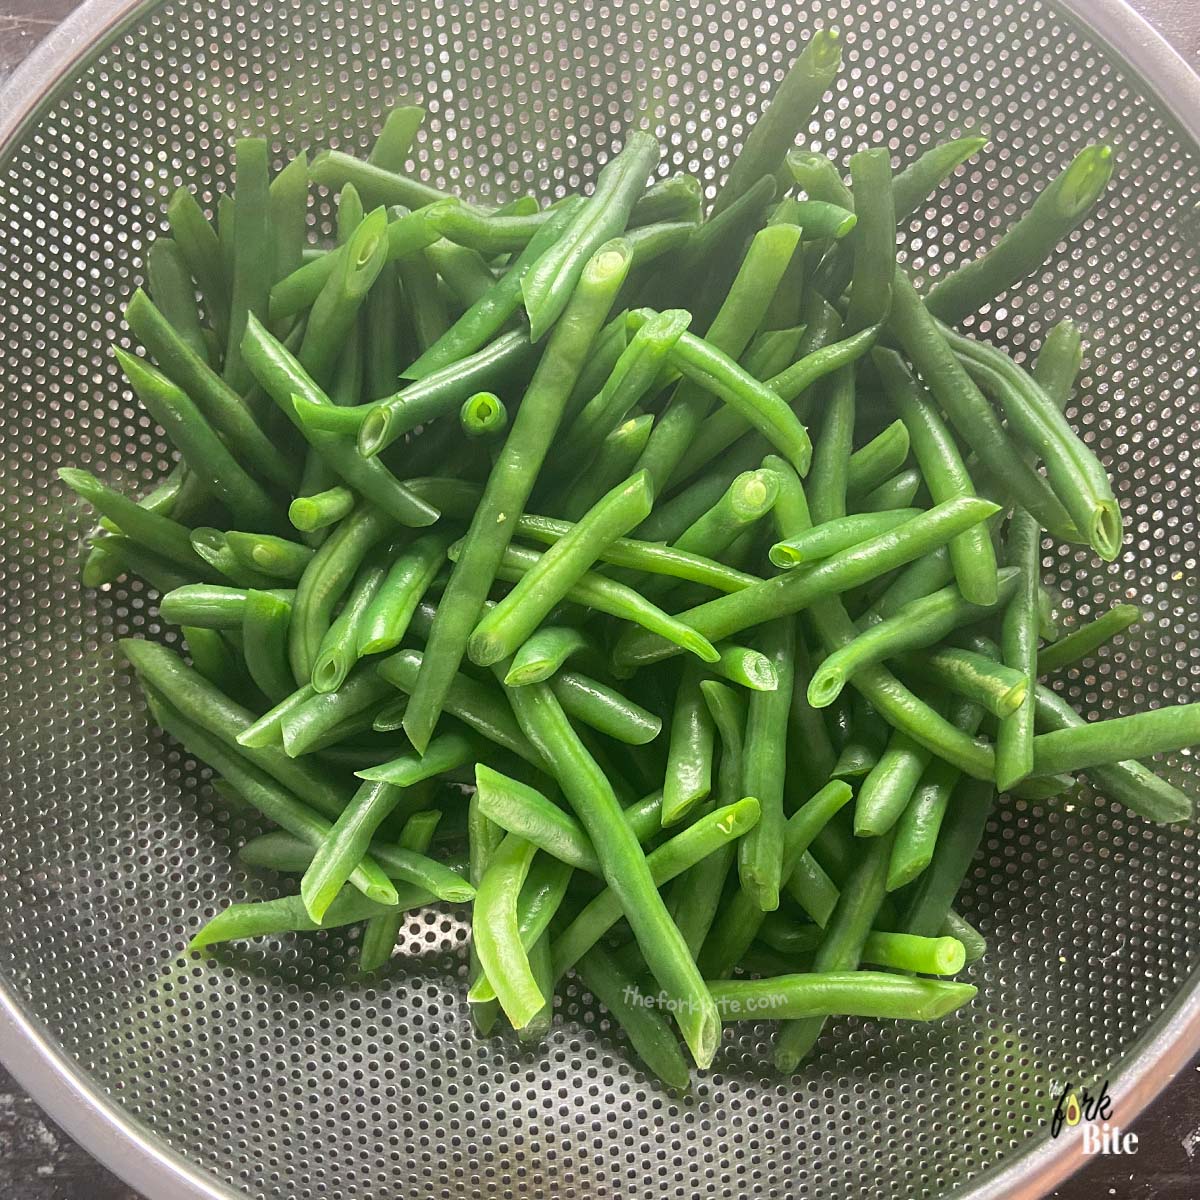
#1 - You must trim the beans
Trimming green beans couldn't be easier. You need a sharp knife or some kitchen shears and a cutting board. All you have to do is to chop off the ends. If you can't be bothered, you can often buy already trimmed beans at your local grocery store, but of course, they will be that much more pricey.
#2 - Steaming or blanching the green beans
Having trimmed the beans, you next need to either blanch or steam them before frying them with the finely chopped garlic. I prefer these methods as it keeps the beans nice, crispy, and colorful and it also reduces the amount of time for which you need to sauté them.
You don't have to follow this step before frying - they can be added "au-naturel" but trimmed, straight into the hot oil.
I'll explain this a little later on.
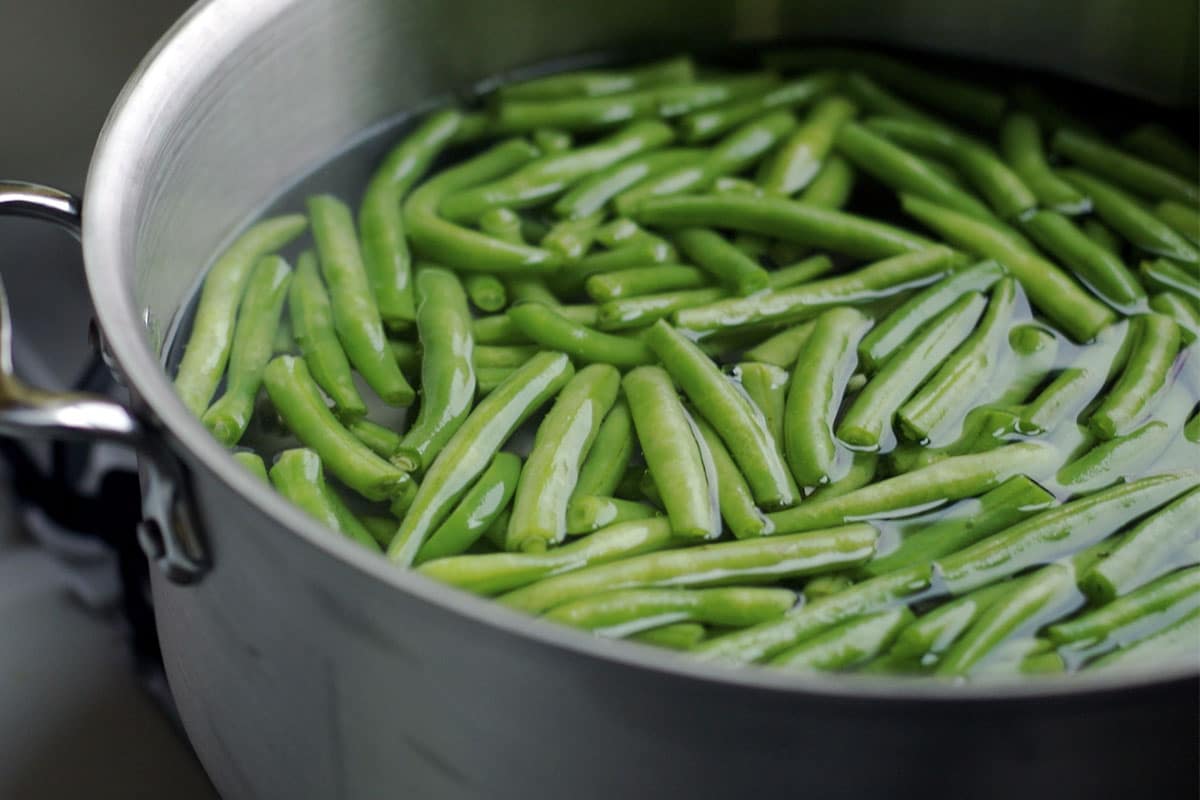
What is blanching?
You blanch veggies by immersing them in boiling water for a short while, after which you transfer them immediately into a bowl or container of iced water.
It brings the cooking process to a straight stop, and you are left with brightly colored veggies that have a great crunchiness to them.
How can you make green beans taste good?
The way I blanch my veggies is to drop them carefully into boiling water, then tip them into an ice-filled colander. The hot water drains off, and I add more ice on top of the veggies pouring the pour cold tap water over to cool the whole thing right down.
You can get an "okay" result by skipping the ice, but if, like me, you seek perfection, then give your ice-maker free reign.
- When you blanch the beans first, you reduce the amount of time your need to sauté them for, and you retain their great flavor. It a little bit of a pain in the butt, but believe me, it's well worth that extra effort.
Grab these ingredients
- 500 g Green beans (or 2 cups)
- 2 tablespoon unsalted butter
- 5 cloves garlic (minced)
- 1 teaspoon garlic powder
- 2 teaspoon chili flakes (optional)
- 1 tablespoon avocado oil
- salt and pepper to taste
- 1 teaspoon sesame oil or Szechwan oil (optional)
Step by step instructions
Blanching
- First things first. Take a nice big pan, probably the biggest you have, fill it with water (enough to cover the veggies completely when you put them in without the water overflowing), and bring it to the boil. It would be best if you had a big pan because being sold by the pound, you've probably bought loads of beans, although you might not plan on eating them all straight away.
- While the water is coming to a boil, you can get on with the bean trimming.
- When the water reaches boiling point, carefully drop the green beans in and boil them for 2 ½ minutes. Use a timer to ensure you get the timing right. You don't want to overcook them. This time is right for about 2 pounds of beans. If you're blanching less, reduce the time a little.
- When the timer bell rings, spear a bean and test it; if you bite into it, you say, "Yeah, okay, but it needs a few more minutes," for this dish, they're done.
- Remove the pan from the stovetop and bring the cooking process to an immediate halt; you then pour the pan's contents into a colander you prefilled with ice.
- To make sure the beans cool thoroughly, add some more ice over the top, and rinse under the cold water tap.
- Once the batch is cold all the way through, pour it onto some folded paper kitchen towel, then pat dry with more paper towels until dried to your satisfaction.
Sautee the Green Beans
- Heat a deep pan or wok over medium heat and add 1 tablespoon oil and 2 tablespoon unsalted butter.
- Add the chili flakes (if you want extra spice), but this is optional. Add 1 teaspoon garlic powder. Stir and mix well.
- Now, you can drop the blanched green beans. Give them a quick stir/sautee fry. Sprinkle salt and pepper to taste.
- Continue to stir and toss for about 1 or 2 minutes or until done according to your preferred texture.
- Turn off the heat and serve immediately.
- Garnish with fried garlic and drizzle with sesame oil or Zsechuan oil (optional).
To blanch or not to blanch
What I am going to describe now are the results you get when using blanched or unblanched beans. It's slightly different. Okay, you might think I'm stretching things a little, but I am something of a perfectionist, as I said before.
When you blanch green beans
- You will end up with wonderfully bright green colored beans. They look even more vibrantly colored than they did in their raw state.
Whether you dry-fry blanched or un-blanched beans
- Both will blister and wrinkle, and both will be bright green.
- However, you'll notice a slight difference in surface texture.
Din Tai Fung green beans
If you aim to create Din Tai Fung green beans, blanching is essential. It is this process that gives them a wrinkly, blistery look.
Underneath, on the left-hand side of the page, you will see an image of the blanched version. The opposite is the unblanched version. Yes, the color is similar, but the blistering and wrinkling aren't quite the same.
Blanching leads to smaller, more even blistering. This is the one that more closely resembles DTF green beans. The beans in the other photo display bigger, more uneven blistering.
The choice is yours as the taste and crispiness are very similar, But if you have that perfectionist bug, blanching is the way to go.
A word of advice
- First, before you do anything else - wash and trim the beans.
- If you go down the blanching route, be sure to pat the cooled beans as dry as possible.
- Wet beans will cause the oil to spatter when you put the beans into it, and you could get burned.
- I find frying a little scary. Instead of frying all the green beans in one big batch, I fried them in two smaller batches. I allow each batch to fry for about three or four minutes before scooping them out of the oil and putting them into a colander where I leave them for a few minutes to allow the oil to drop off.
- It doesn't matter if they go cold because you will be cooking them again.
What is dry frying?
Dry frying doesn't mean not using any oil, which many people first assume. It means not coating the food you are frying in the batter. Frying it batter-free dries up any moisture on the surface of the food. You need to put enough oil into the pan to cover the food using. Make sure you use an oil that has a high smoke point. My favorite is avocado oil.
- The green beans will become blistered and wrinkled and will be wonderfully crispy when fried this way.
- The next part of the process is to saute your beans with lots of garlic for a short time.
- Don't sauté them for too long otherwise, that lovely crispy texture you're trying to produce will vanish. Add a little salt, and it's job done.
Because my inspiration for this recipe is DTF (aka Din Tai Fung) green beans, I copy their seasoning too. All I do is add a little salt and garlic. If you would like to experiment by adding some other spices or a little more seasoning, you can do so when you sauté the garlic,
These DTF garlicky green beans, with their wrinkled skins and crispy texture, are an exquisite Asian side dish. I like to serve them up with a DTF crisp Asian cucumber salad.
A Recap on How to make restaurant-style garlic green beans
To go over the process of creating these delicious restaurant-style garlicky green beans at home one more time, it's all about frying and then stir-frying.
- Trim off the beans' ends first; the next job is to blanch them to preserve their vibrant color and crispy texture.
- Fry the green beans briefly in a wok with a small amount of oil.
- Take the beans out and into the wok; you then add the finely chopped garlic. Sauté for a few minutes until the garlic flavor infuses itself into the oil.
- Return the beans to the wok to stir-fry with the garlic.
Healthier garlic green beans
To create a more healthy variation of garlicky green beans, you need to omit the first frying process.
- Blanch the beans, as in the other method, to preserve their lovely vibrant green color.
- Put the blanched beans into a wok with the finely chopped garlic and a little oil and stir-fry for a few minutes. The stir-fry process creates steam as the ingredients cook, allowing them to tenderize quickly.
Whichever version you decide on, you will find them both very tasty. I personally prefer the restaurant-style, but since I'm a little wary of frying, this dish is not something I cook too often.
Interesting recipes
Full Recipe

Din Tai Fung Sauteed Green Beans Recipe
Pin RecipeEquipments:
- Wok
Ingredients:
- 500 g Green beans (or 2 cups)
- 2 tablespoon unsalted butter
- 5 cloves garlic (minced)
- 1 teaspoon garlic powder
- 2 teaspoon chili flakes (optional)
- 1 tablespoon avocado oil
- salt and pepper to taste
- 1 teaspoon sesame oil (optional)
Instructions:
Blanching Steps:
- First things first. Take a nice big pan, probably the biggest you have, fill it with water (enough to cover the veggies completely when you put them in without the water overflowing), and bring it to the boil.
- While the water is coming to a boil, you can get on with the bean trimming.
- When the water reaches boiling point, carefully drop the green beans in and boil them for 2 ½ minutes. Use a timer to ensure you get the timing right. You don't want to overcook them. This time is right for about 2 pounds of beans. If you're blanching less, reduce the time a little.
- When the timer bell rings, spear a bean and test it; if you bite into it, you say, "Yeah, okay, but it needs a few more minutes," for this dish, they're done.
- Remove the pan from the stovetop and bring the cooking process to an immediate halt; you then pour the pan's contents into a colander you prefilled with ice. To make sure the beans cool thoroughly, add some more ice over the top, and rinse under the cold water tap.
- Once the batch is cold all the way through, pour it onto some folded paper kitchen towel, then pat dry with more paper towels until dried to your satisfaction.
Sautee the Green Beans:
- Heat a deep pan or wok over medium heat and add 1 tablespoon oil and 2 tablespoon unsalted butter.
- Add the chili flakes (if you want extra spice), but this is optional. Add 1 teaspoon garlic powder. Stir and mix well.
- Now, you can drop the blanched green beans. Give them a quick stir / sautee fry. Sprinkle salt and pepper to taste.
- Continue to stir and toss for about 1 or 2 minutes or until done according to your preferred texture. Turn off the heat and serve immediately.
- Garnish with fried garlic and drizzle with sesame oil (optional).
Notes:
Nutrition Information:
Please note that all nutrition information are just estimates. Values will vary among brands, so we encourage you to calculate these on your own for most accurate results.