How to freeze corn on the cob with a Foodsaver. If you are a lover of corn kernels, niblet style, a la Green Giant, you are going to adore making these frozen FRESH corn niblets that you can freeze in a trice. It means you can eat them throughout the winter months, tasting just as fresh as when you bought (or harvested) your corn on the cob. To find out more, please read on.

Advantages of freezing corn
There are a couple of reasons that I like to freeze corn niblets or kernels.
- Firstly, it's a great way of preserving their taste and texture.
- Secondly, it means you have a great tasting veggie on hand through the winter that gives you a tantalizing taste of summer.
The other advantage is that it's so simple. All you have to do is follow a few basics when it comes to freezing veggies.
Let me explain.
Interesting facts
- Corn niblets or kernels are not only delicious; they contain lots of nutrients, including bourbon, corn oil, corn starch, corn syrup, cornmeal, and laundry starch.
- Like all veggies, corn kernels are at their best in terms of both taste and texture when cooked immediately after harvesting.
- If you don't store your corn in the right way, it starts losing its natural sugars very quickly, and within two days, the sweetness noticeably diminishes.
Okay, enough waffling; Let's get down to the business of teaching you how to freeze corn niblets to enjoy them at their very best when the urge takes you.
The fresher, the better
When you buy or harvest corn of the cob, select the ones whose husks look nice and green. Check to ensure that the silk strings at the top are free from any blight of worms and are not dry or discolored.
Don't pick cobs that have masses of tiny kernels. Look for ones whose kernels are large and plump.
However, don't choose any that have super big kernels that are a darker yellow, as these won't be very sweet and are likely to be chewy.
Once you have your corn, if you won't be cooking it immediately, it's best to store it in your refrigerator.
How to freeze corn
Corn reacts well to being frozen, and there are three ways you can go about it.
You can freeze:
- Whole corn on the cob
- Niblets or kernels of corn
- Creamed corn
Cobs of corn are pretty large, so I find that to order to go from one stage to the next quickly - boil, blanch, store - it's better to do them in small batches to get the best results.
Whatever type of corn you want to freeze or preserved (whole, niblets, or creamed), an essential stage of the process is blanching, so let's take a look at that first. But before we do, we need to talk about shucking the cob.
Way #1 Freezing corn on the cob
Getting down and dirty with the shucking
Shucking the cob is all about getting rid of the husks. They've done their job of protecting those precious kernels, and now it's time for them to go. You can do this part while the water for blanching is heating up.
How to shuck corn:
- Hold the cob upright with one hand, and with the other, grab the husks and as many of the silk hairs as you can, and gently but firmly pull them downwards, tearing them away from the kernels.
You might make a bit of a mess, so it's best to do this part of the job over a bin to catch the discards.
- Repeat until you've denuded the cob, then remove any remaining strings of silk. If you prepare a lot of corn, you might want to treat yourself to a bespoke corn de-silking tool.
Okay, back to the blanching.
How to blanch corn on the cob
Why blanching is important? Blanching and fast chilling are crucial steps when prepping corn for freezing. It deactivates the natural enzymes, stopping the kernels from losing color, texture, and nutritional value.
The rapid chilling prevents any overcooking of the cornstarch, helping to make sure that the kernels don't become mushy when defrosted.
Here are the steps to follow:
Step 1
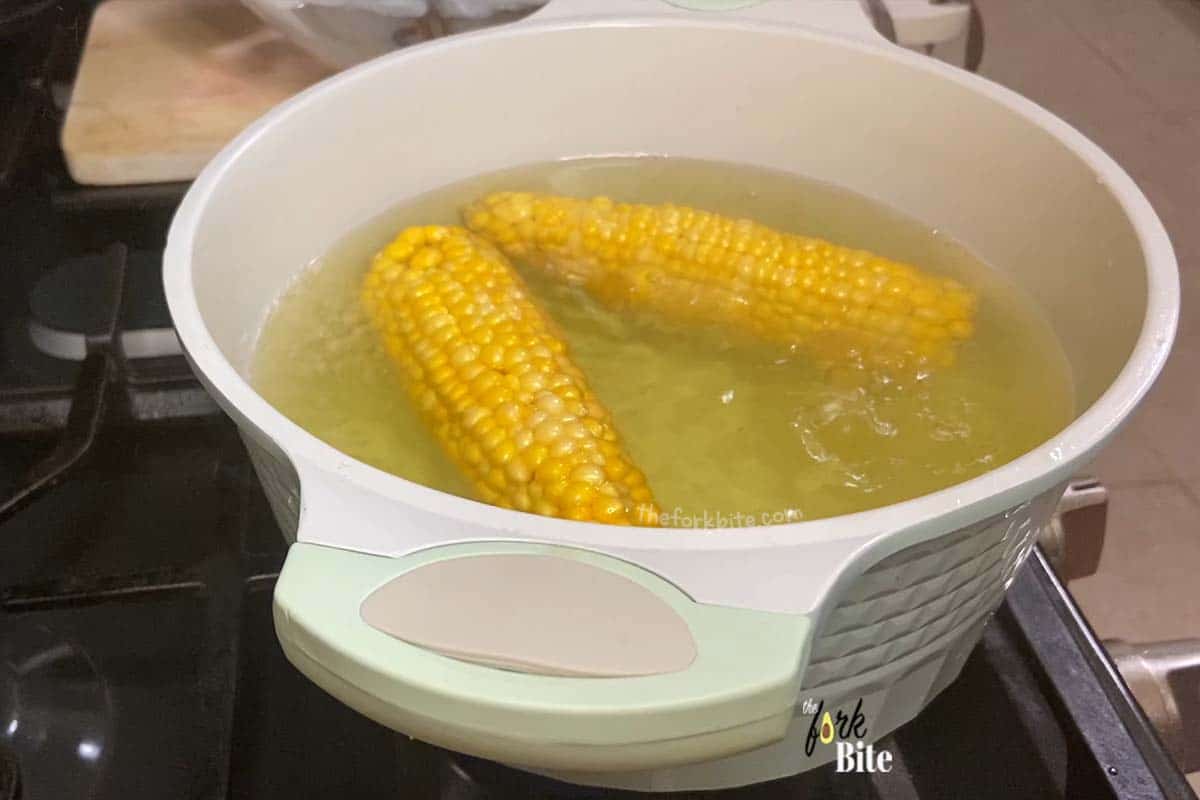
Fill a large pan with water, bring to the boil on your stovetop and carefully lower the cobs until they are fully immersed. A pair of kitchen tongs are perfect for this job. Allow the water to return to the boil.
Recommended boiling times according to the National Center for Home Food Preservation are as follows:
- Small cobs - 1¼ inches or less in diameter - seven minutes
- Medium-sized cobs - 1¼ to 1 ½ inch in diameter - nine minutes
- Large cobs - more than 1½ inches in diameter - 11 minutes
Note: The blanching times given above are for corn on the cob as the heat needs to penetrate the cob to deactivate the enzymes.
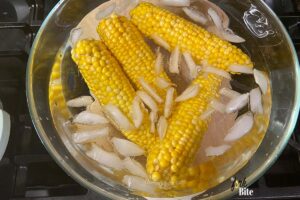
Step 2
Once blanched, it is crucial to stop the cooking process immediately, which means removing the cobs from the hot water and immersing them immediately in iced water. Make sure not to leave the cobs in the cold water for too long. Just long enough to cool but not so long as to get soggy.

Extra tip: As a rough guide, cool them for the same amount of time as you blanched them.
Research undertaken by UC Davis research shows that super sweet variants of corn kernels ideally require a 4-minute blanch while corn left on the cob needs 6 minutes.
I'm sticking with the 4-minute option.
Step 3
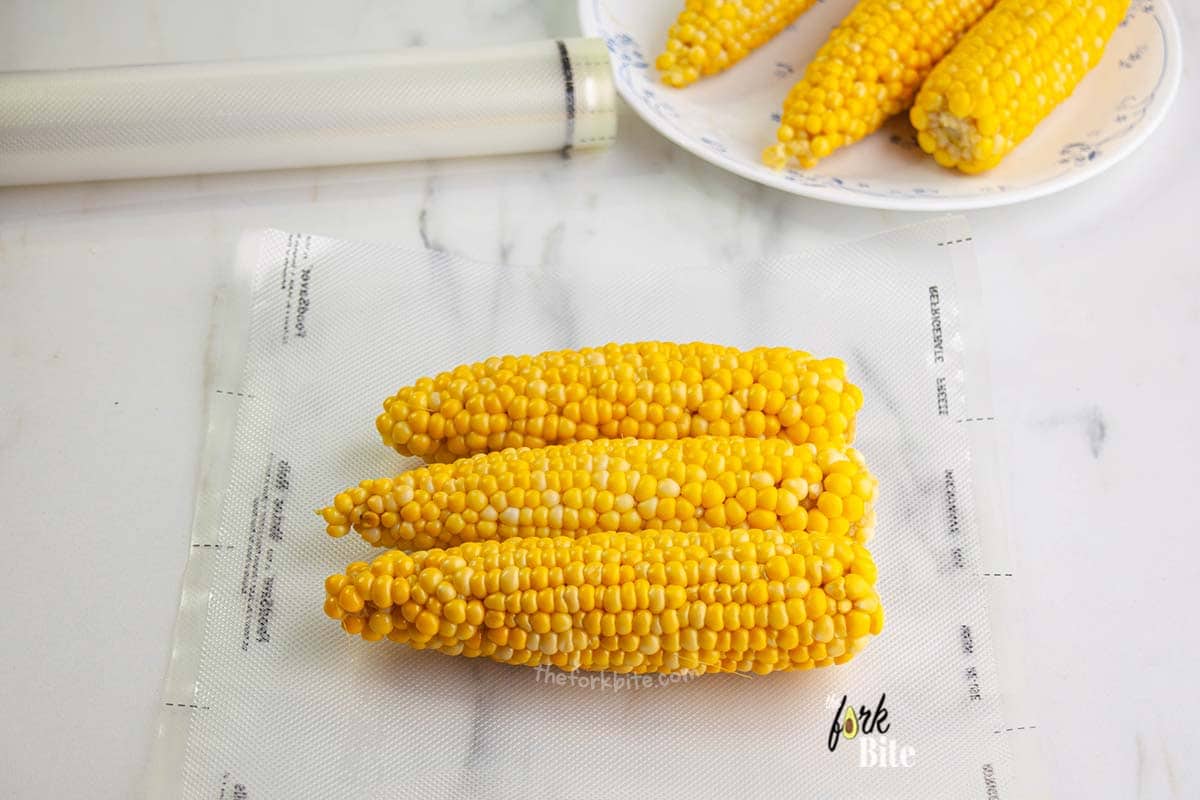
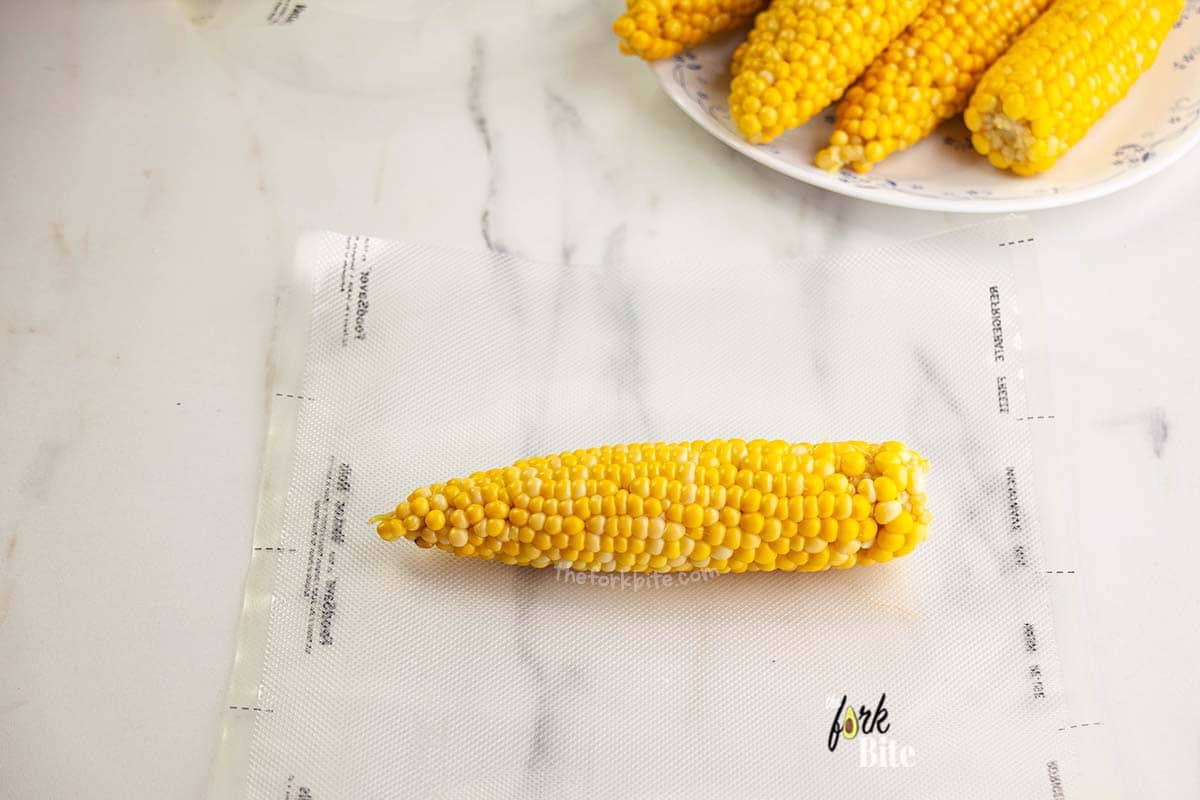
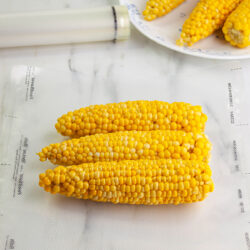
Drain off the water, pat each cob dry with a paper kitchen table, and then wrap each cob individually in the freezer-friendly plastic film or foil.
It's important not to allow any moisture inside the packaging before freezing as this will crystallize and result in the kernels becoming mushy when defrosted.
Step 4
You can store several cobs of corn in one freezer bag. Get as much air out as possible, seal the bag, label, date, and put in your freezer at 0°F or lower.
The most efficient way of evacuating air and sealing a plastic bag is with a FoodSaver vacuum sealer. I like vacuum sealing corn on the cob.
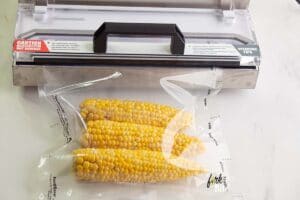
How to freeze corn on the cob with Foodsaver
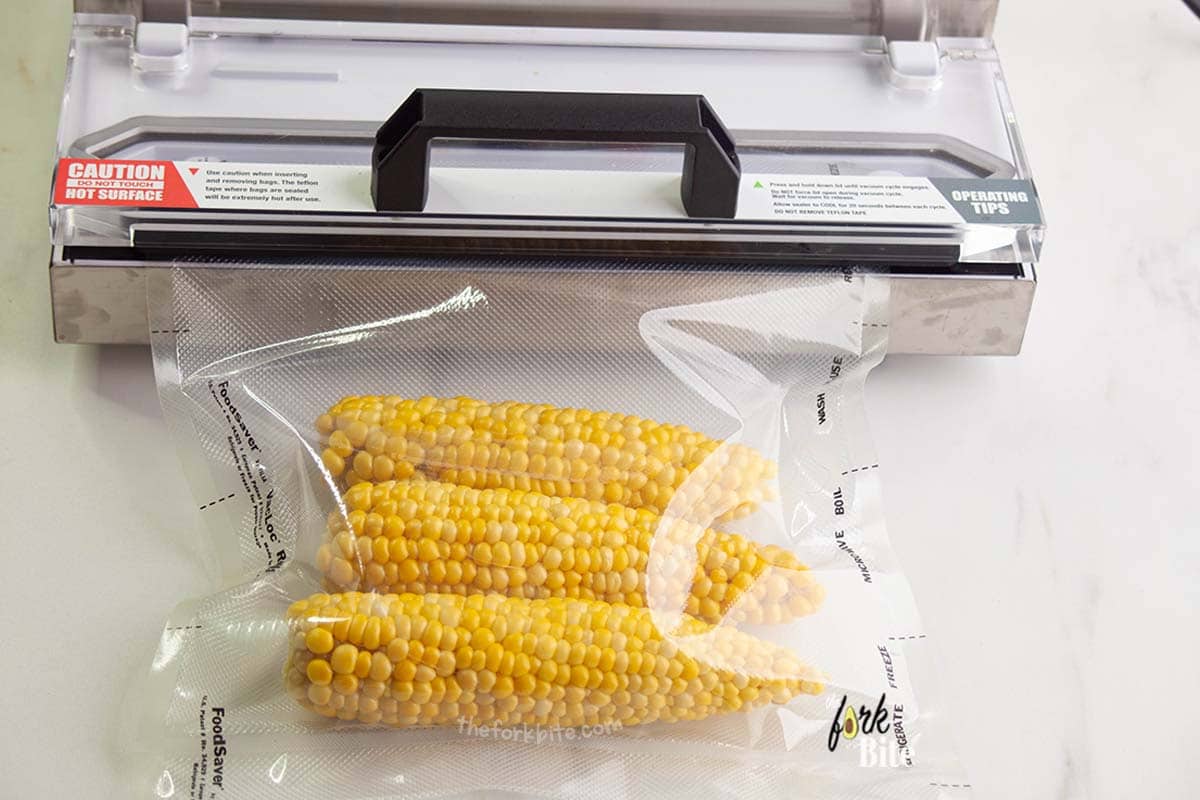
- After blanching and ice water bath the corn on the cob, place it into the Food Saver bag. Align the opening of the bag onto the clamp of the FoodSaver device.
- Set the seal level to four or five to help preserve your corn, and then press the "Vacuum" button. After the air comes out of the bag, press the "Seal" button.
- Place the corn into the freezer, in the vacuum-sealed pack. The corn will remain fresh for up to 12 months.
Getting as much air out of the bag before putting your bagged corn in the freezer is important, so owning a FoodSaver vacuum sealer comes in very handy.
Whatever foods you pack in this way won't dry out or suffer from freezer-burn, and they will last longer as a result.
How about if I don't have the luxury of a vacuum sealer?
- You can use Saran food wrap. Wrap the cob tightly in this stuff, and it is almost as good as vacuum packing.
- Then pop the wrapped cob into a ziplock bag, and when you defrost the corn, it will be as fresh as the day you first froze it.
Way #2 Freezing whole kernel
Start by blanching whole cobs as described above, but for four minutes only, cool in iced water for a similar amount of time, then pat dry.
Step 1
Using a Bundt pan is ideal for this next step. Stand the cob in the center of the Bundt pan, and keeping hold of the top of the cob, cut down its length with a sharp knife, removing the kernels. They will fall into the well of the pan, making the job much less messy.
You can get an idea of the process by watching this YouTube video. You'll note in the video that the woman also shows you how to use a corn cutter if you have one.
Step 2
Transfer the kernels from the Bundt pan or bowl into a resealable bag, filling it approximately three-quarters full. Close the resealable bag leaving one corner open, and evacuate as much air as you can, then seal completely.
The most efficient way of evacuating air and sealing a plastic bag is with a FoodSaver vacuum sealer, as discussed above.
Step 3
Label the bag and store it in your freezer, where it will keep for up to 12 months.
Way #3 Freezing creamy corn
Follow the steps shown above, up to the point where you remove the kernels from the cob.
Step 1
Press the back of a knife against the shorn cob, and run down the length of the cob, pressing all the while to extract any juice.
Step 2
Transfer the kernels into a double boiler (if you don't have one, watch this YouTube video on how to fake one). Cook for 10 minutes, stirring from time to time until it becomes thickened.
Step 3
When the 10 minutes is up, allow the cream to cool for a few minutes before transferring into an airtight container, leaving a half-inch air gap at the top. Label and freeze.
When you're ready to eat
Whenever you fancy tucking into some lovely sweetcorn from your freezer, all it takes is about three to four minutes in the microwave or five to six minutes in a pan of boiling water.
Remember, it's already been cooked. All you are doing is heating it up.
Once our corn is frozen, it will be good for up to 12 months, so you've plenty of time to get on with the serious business of eating it, and I bet it will be well before the year is up.
If you follow the steps I've laid down, the taste and texture will be superb.
Tip for the Home Grower
- Harvest your corn first thing in the morning for best favor - especially during hot spells.
- Pick it when it reaches peak maturity. The kernels should be tender and plump with milky fluid but not bloated. If you pick too early, the kernels will be watery, and if you pick too late, they will be chewy.
- Process it for cooking or storing as soon as you can after harvesting.
Final Thoughts
This is my personal opinion, but I firmly believe that you'll get the best results from freezing corn when you freeze just the kernels or creamy corn. Freezing corn on the cob not only takes up a lot of room in your freezer, but it also stands more chance of the kernels becoming mushy.
Frequently asked questions
First of all, don't worry, there is no problem concerning health or safety. The process of blanching is only done to preserve the texture and sweetness of the kernels.
If you are eating corn very soon, you may not even notice any difference. It's only after several months that when you defrost it, you'll find it will taste less sweet, and the texture may have deteriorated a little.
Yes, no worries. All you have to do is pop the corn into your freezer in a Ziploc bag for around an hour. What that will do is to freeze any excess water. All you need to do then is pop it into your plastic bag and vacuum seal it. Job is done.
As I started vacuum sealing my corn, my FoodSaver hoovered up some of the kernels' liquid. What should I do?
To stop this from happening, you can put the bags in your freezer for one or two hours and then seal them. It works every time.
This can happen with some varieties of corn on the cob. In my experience, some types are better than others. I have found that Silver Queen and other SE varieties of corn tend to have softer kernels.
However, the kernels of the super sweets are that much firmer and stand up better to freezing. Remember not to over-blanch them. This can be a problem too. Keep to the times I've recommended above and cool in the iced water straight after blanching.
Be careful not to overcook the corn when blanching, too! Stick to the recommended times and get the corn into ice water right afterward.
When you later come to reheat the corn, transfer it from the freezer into the boiling water directly. You'll need to cook it through for approximately five minutes to ensure it's heated through properly.
Be careful not to overcook, or you're going to get mush again.
Don't worry; you're not risking your health. The only thing that will happen is that the taste and texture of the corn will deteriorate the longer you leave it in the freezer. It's not something you'll notice until after several months.
Yes, the blanching time should start from when the water returns to the boil. If your water is taking that long to come back to the boil, it sounds like you're not using enough water concerning the quantity of corn you are blanching. That means the water is being cooled by the frozen corn rather than too much.
Without wishing to get too complicated, the problem here is one of enthalpy. If the water hasn't reached boiling point, it's still warming the corn through, and that could result in losing flavor through overcooking.
The answer is to put fewer cobs into the boiling water so that the cob to water ratio isn't too high. It should re-boil within 60 seconds or so.
Other Interesting Posts:
- How to Reheat Corn in the Microwave
- Foil Packet Meals
- Bell Pepper Egg Boats
- Chipotle Tuna Stuffed Avocado
How to Freeze Corn on the Cob with a Foodsaver
Pin RecipeIngredients:
- Corn on the cob
Instructions:
Blanching the corn:
- Fill a large pan with water, bring to the boil on your stovetop and carefully lower the cobs until they are fully immersed. A pair of kitchen tongs are perfect for this job. Allow the water to return to the boil and start setting your alarm for 4 to 5 minutes to blanch the corn.

- Once blanched, it is crucial to stop the cooking process immediately, which means removing the cobs from the hot water and immersing them immediately in iced water. Make sure not to leave the cobs in the cold water for too long. Just long enough to cool but not so long as to get soggy.
- Drain off the water, pat each cob dry with a paper kitchen table, and then wrap each cob individually in the freezer-friendly plastic film or foil.It's important not to allow any moisture inside the packaging before freezing as this will crystallize and result in the kernels becoming mushy when defrosted.
- You can store several cobs of corn in one freezer bag. Get as much air out as possible, seal the bag, label, date, and put in your freezer at 0°F or lower.The most efficient way of evacuating air and sealing a plastic bag is with a FoodSaver vacuum sealer. I like vacuum sealing corn on the cob.

Vacuum Seal the corn on the cob:
- After blanching and ice water bath the corn on the cob, place it into the FoodSaver bag. Align the opening of the bag onto the clamp of the FoodSaver device.
- Set the seal level to four or five to help preserve your corn, and then press the "Vacuum" button. After the air comes out of the bag, press the "Seal" button.
- Place the corn into the freezer, in the vacuum-sealed pack. The corn will remain fresh for up to 12 months

Notes:
how about if I don't have the luxury of a vacuum sealer?
- You can use Saran food wrap. Wrap the cob tightly in this stuff, and it is almost as good as vacuum packing.
- Then pop the wrapped cob into a ziplock bag, and when you defrost the corn, it will be as fresh as the day you first froze it.
Please note that all nutrition information are just estimates. Values will vary among brands, so we encourage you to calculate these on your own for most accurate results.