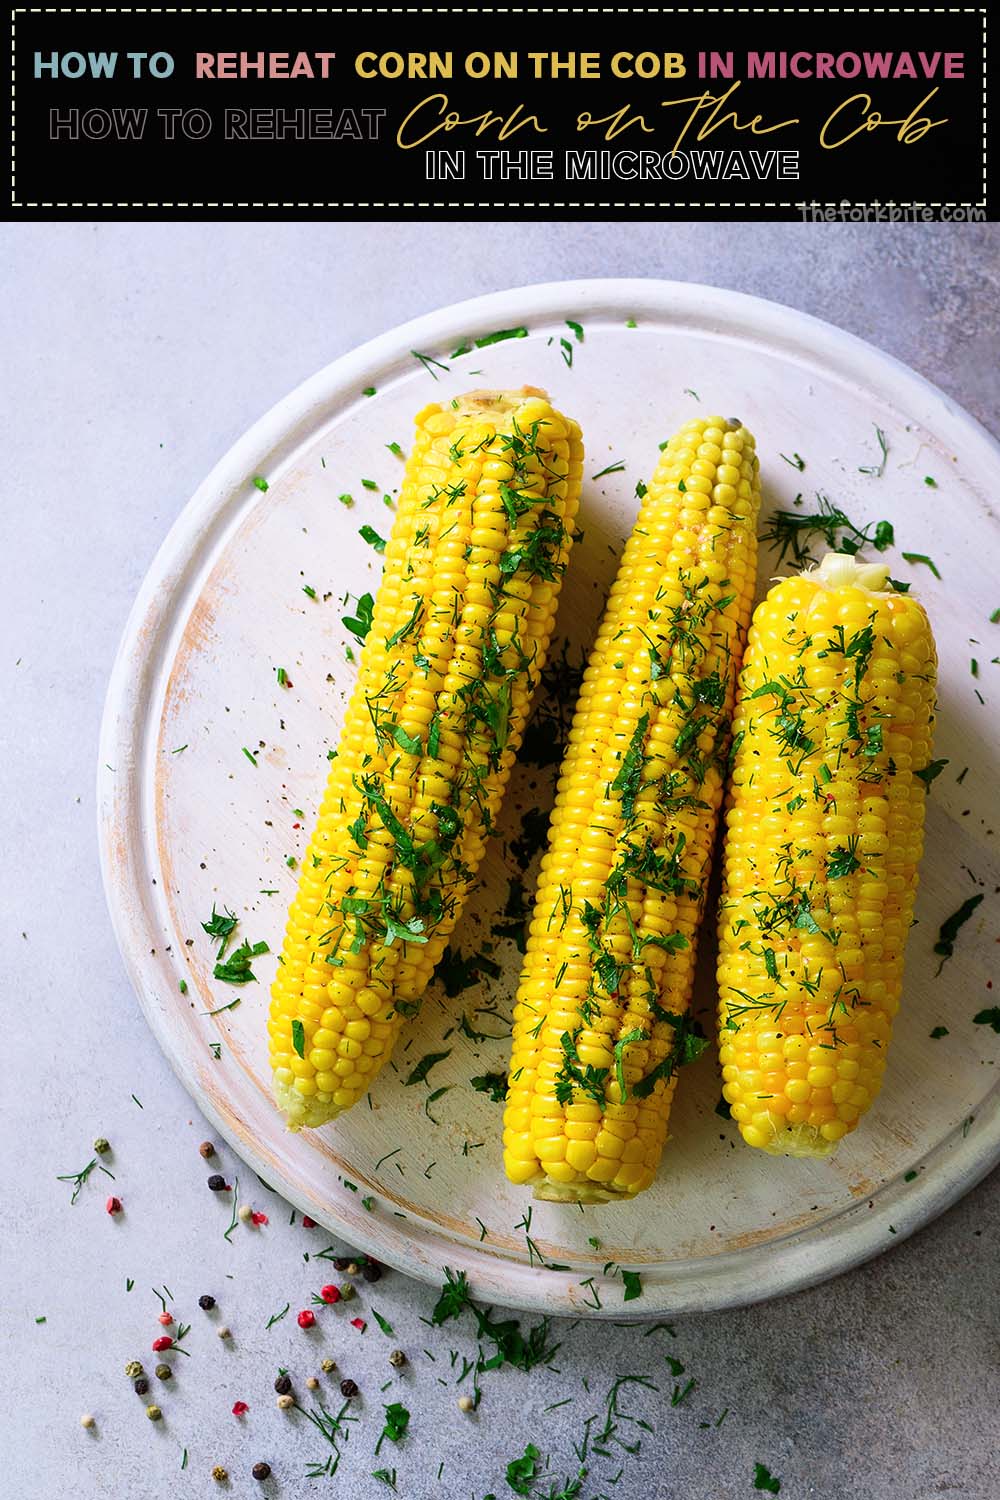
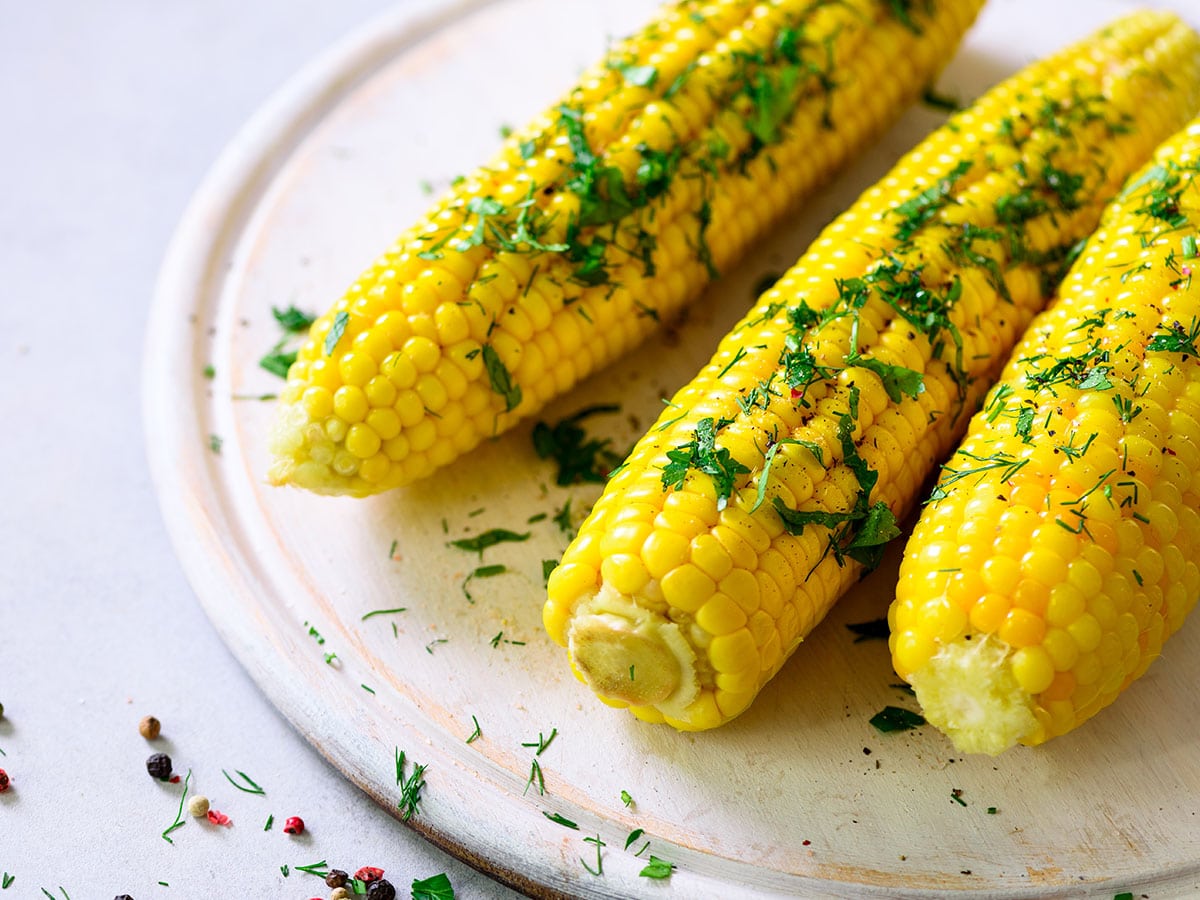
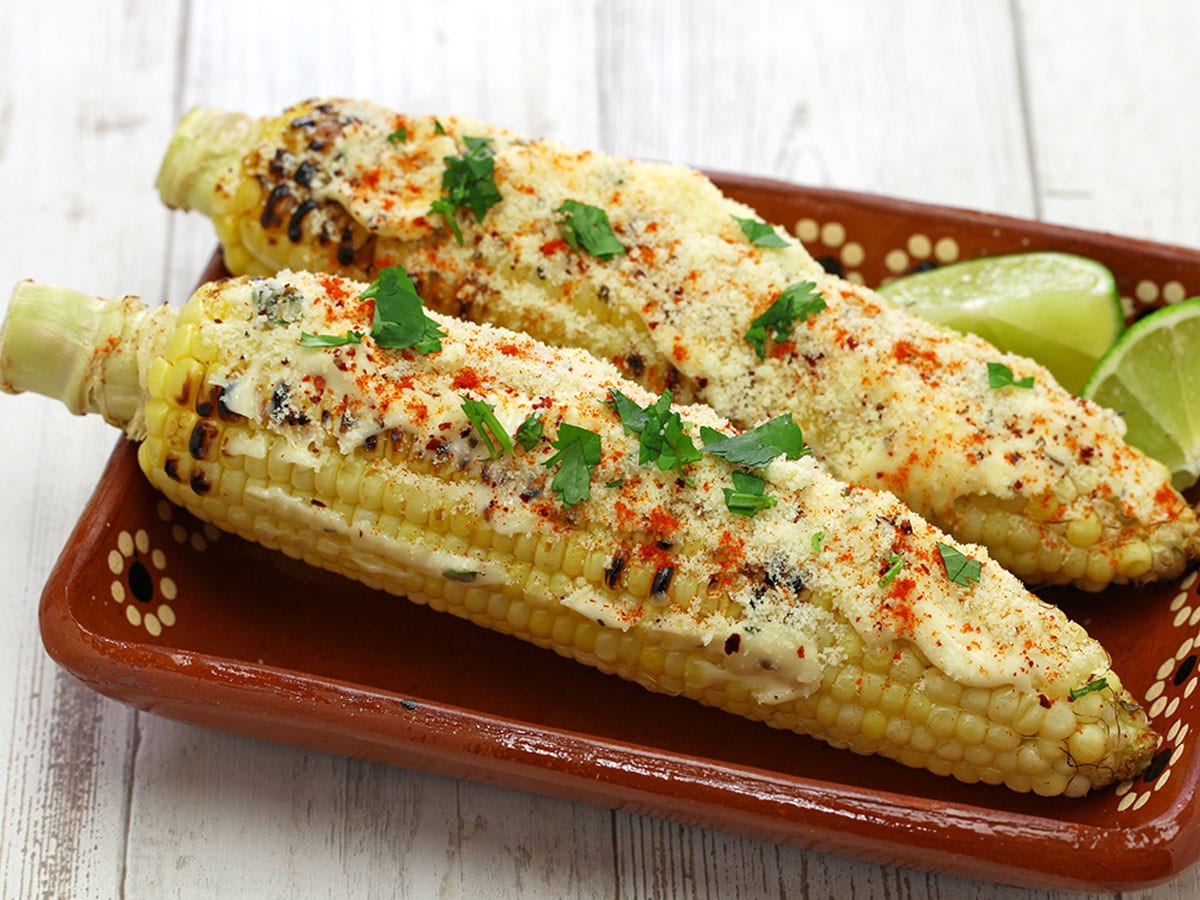
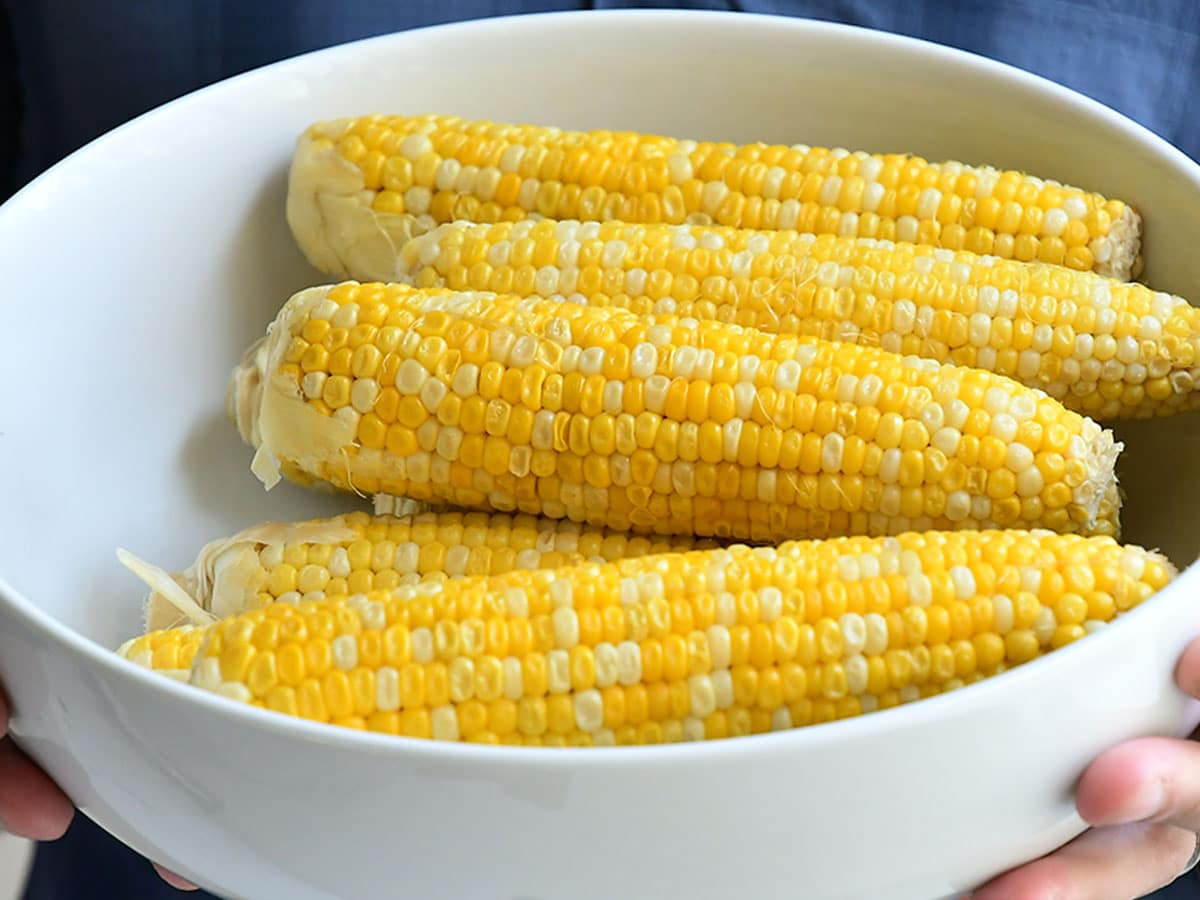
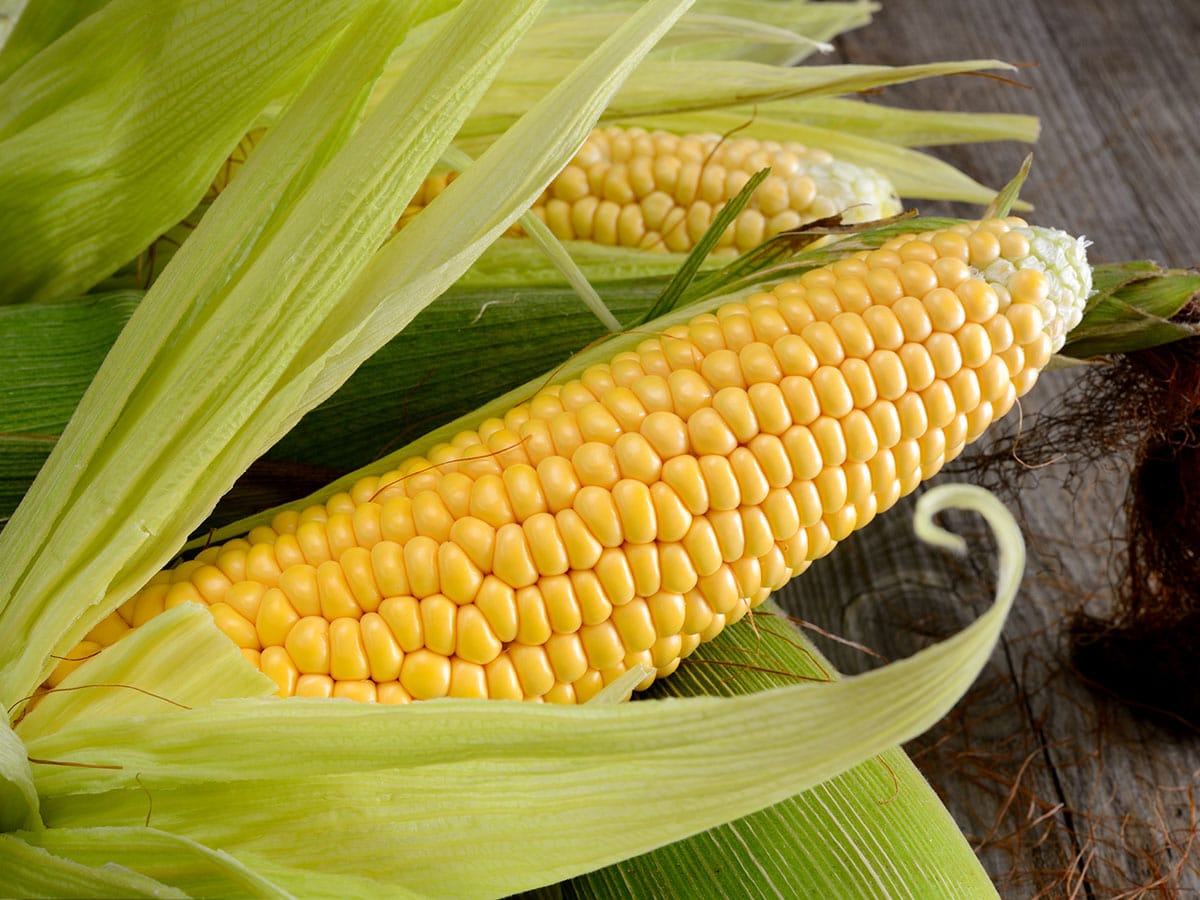
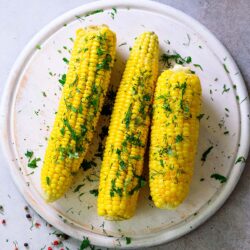
How to reheat corn on the cob in the microwave? Learn how to heat up corn so it's juicy and sweet not overcook. It can happen in seconds. If you're a corn lover like me, I can relate to one of your frequent queries on how to reheat corn on the cob. Whether in the microwave, oven or on the stovetop.
Some while ago, my mom passed me her closely guarded recipe for making the most perfect, delicious corn on the cob. It was one of my favorites as a kid and has now become one of my own kids' favorites today.
Jump to:
So that you can introduce your kids to what will indeed become one of their all-time favorites, too, I've decided to let you in on the secret.
You've only got to look at freshly cooked corn on the cob and grab a whiff of its gorgeous aroma to set your mouthwatering. Not only is it simple to prepare in your own home kitchen, but it's perfect for barbecues too.
It all begins with buying the freshest, juiciest corn on the cob you can. I'll tell you more about that a little later.
For now, let's get on with telling you the best way to cook it. All you have to do is sit back, relax, and read on.
Being in the know - the secret
It's not always possible to buy the ripest, most perfect cop cob corn on the cob from your local grocery store. If you can't, you might think it is never going to produce the best-cooked corn.
So how come my mom always used to serve up the best ever corn on the cob even when the product itself wasn't at its absolute best?
The answer - she used to add a little sugar.
As we all know, not all corn is sweet when we purchase it; adding sugar when boiling it is the best trick to cheat.
Just because you are now in the know, it doesn't mean that you shouldn't always try to get the best quality produce. That should always be your aim.
But when you boil your corn on the cob, and it comes out a little tough, you can't always blame it on not being the best corn available.
If you add salt to the water you boil your corn in, that will make it chewy.
Rather than adding salt to the water, add some sugar before the water starts boiling. Leave adding the salt until after it's finished cooking.
How long to boil corn on the cob?
A lot of people make the mistake of boiling their corn on the cob for far too long. I guess it's because the cob itself is so thick and dense. But remember, it's only those delicious little yellow kernels you're cooking, not the entire thing.
So, don't boil it to death. First things first.
Here's what you're going to need:
- A large pan, big enough to hold three quarts of water to cover the corn
- ½ cup of sugar (depends on how much sweetness you required)
- Six (or however many you need) shucked cobs
- Three tablespoons of butter
- Salt and pepper for seasoning after the corn is cooked.
What to do:
- Pour three quarts of cold water into a large pan and add half a cup of sugar.
- Bring the pan to a boil. Do not add any salt.
- Add your corn to the boiling water, return to the boil, and cover.
- Boil for approximately five minutes. Take the pan off the heat. Leave the lid in place let the pan sit for between 2 to 3 minutes.
- Take the cobs of corn out of the hot water and serve onto plates, with a small knob of butter, one per cob.
- If you've got any small individually wrapped pieces of butter, you can serve those with the paper peeled back from one end. It's a convenient way of applying butter to your corn without getting your hands messy.
Otherwise, serve knobs of butter with a fork people can use for applying.
Knowing when your corn is cooked
The most enjoyable way of eating corn on the cob is straight from the pan when the little yellow kernels are plump and tender.
The cobs only need to be boiled for about five minutes, and you can tell that they're ready for eating when they turn a gorgeous intense yellow color.
To test, you can prick a kernel or two with the tip of a sharp vegetable knife.
How to reheat corn on the cob in the microwave
Microwaves are one of the best modern kitchen conveniences that you can use for reheating almost any type of food.
But because foodstuffs heat up so quickly in the microwave, you have to be careful not to overcook them. It can happen in seconds.
Steps for the perfect reheated corn on the cob:
- Place the cobs of corn onto a microwave-safe dish. Cover with a damp towel and then wrap in plastic film.
- Microwave for 30 seconds at a time. It's important not to overcook them, or you will split the kernels.
- Cooking time will vary from microwave to microwave and depending on how many cobs you're cooking at once.
- Keep blasting for 30-second intervals until they're warmed to your satisfaction.
Top Tips:
- To get the maximum flavor hit, before each 30-second burst in the microwave, coat each cob with a little melted butter using a pastry brush.
- Don't overcook your corn on the cob when reheating. Otherwise, the sugars will turn to starch ruining both the taste and the texture of the corn. It's ready to eat when it's just warm through.
How to reheat corn on the cob in the oven
Although it takes a little longer than microwaving, for me, the best way to reheat your corn on the cob is in the oven.
Here's how you do it:
- Preheat the oven to a temperature of 350°F
- Tear off some pieces of aluminum kitchen foil of the right size to individually wrap each cob of corn.
- Put each cob onto its own piece of aluminum foil, add a small pat of butter, season with salt-and-pepper, and sprinkle on a teaspoon of water - you may use milk instead if you wish.
- Wrap the aluminum foil around the cobs of corn, and twist the ends not to let the steam escape.
- Put into your oven and cook for between 5 to 7 minutes.
- Open one of the parcels to check if it's warm enough, and if not, re-wrap and place it back in the oven for a few more minutes.
- Once warmed through to your satisfaction, take out of the oven, remove the wrapping, serve and enjoy.
Reheating corn on your stovetop
Some people have an aversion to using their ovens too much in the hot summer. If this is you, and you'd prefer to reheat your corn on the cob on the stovetop;
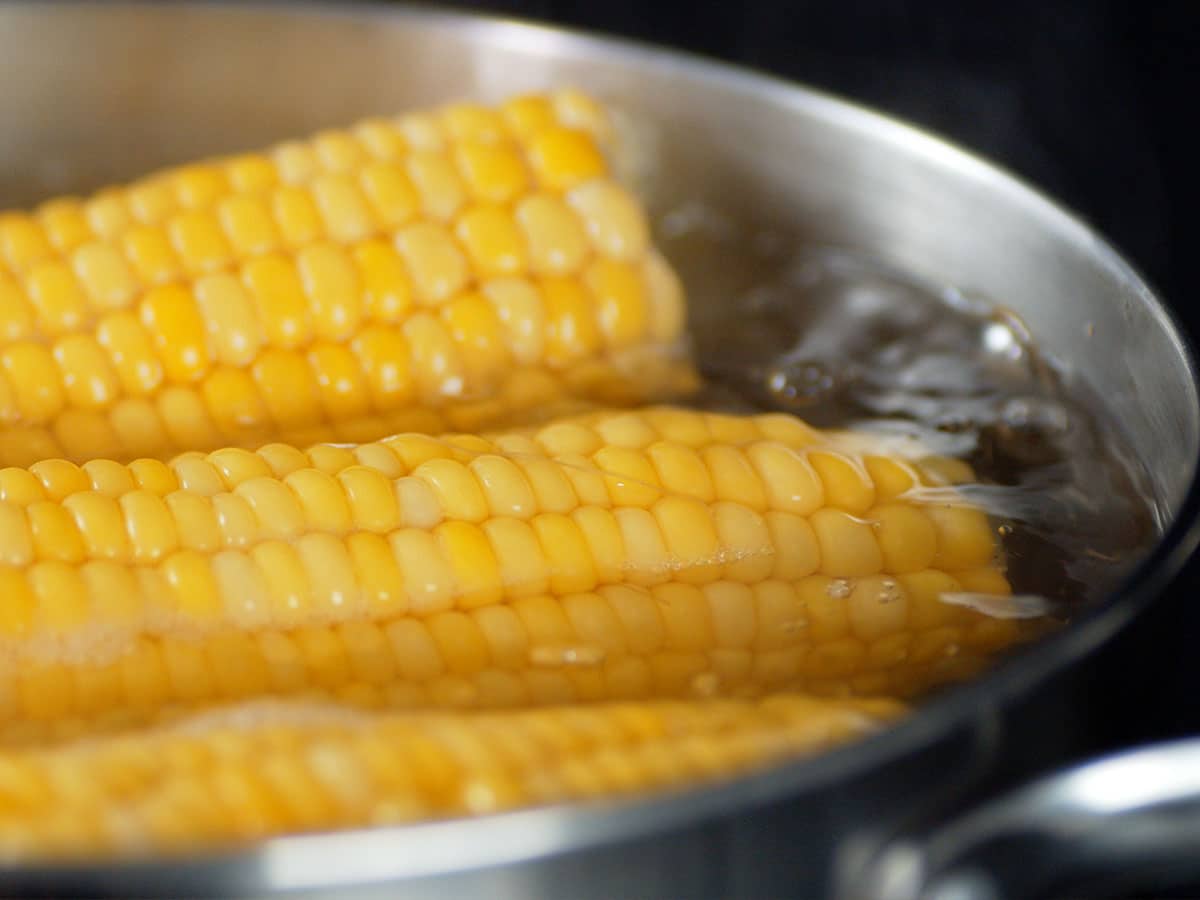
This is how to go about it:
- Pour enough water into a large pan to cover the cobs of corn you wish to reheat and bring to the boil.
- Gently add the cobs being careful not to splash the boiling water and burn yourself.
- Bring the pan back to the boil and allow to cook for around three minutes bearing in mind that the corn is already cooked and you are only reheating it.
- When ready, remove from the boiling water and place it onto a serving dish. A pair of tongs is a great tool for doing this.
- Add some butter and a little salt-and-pepper to taste.
Reheating corn on the cob that has been frozen
If you've got some corn on the cob in your freezer and you want to reheat it for a quick supper meal, here's how:
- Put the frozen cobs straight from the freezer into a pan and cover them with cold water.
- Place the pan on your stovetop. Turn the temperature up to a high setting and bring the pan to a boil.
- Once the water has started boiling, cover with a lid, reduce the heat down to a low setting and allow to cook for a further 5 to 8 minutes.
- When cooked to your satisfaction, remove the cobs from the water.
- Serve with a little butter and salt-and-pepper to taste.
How to microwave corn on the cob with husks
Corn on the cob is the perfect food for any cookout or barbecue. One of the easiest ways of cooking corn that still has the husks around it is in the microwave. The husks help to keep in the heat.
- Place the cob onto a microwave-safe dish, and cook in the microwave for approximately 4 to 5 minutes. The cooking time will vary dependent on the power of your microwave and the size of the cob.
- Leave in the microwave for another 2 to 3 minutes to allow the corn to cool.
- Take out of the microwave and place onto a cutting board. Use a kitchen towel or oven gloves to prevent burning your hands.
- Cut off the base of the husk using a sharp knife.
- Holding one end of the cob, pull the husk from the base up towards the top of the cob. You will find that the cob will slide out quite easily, silk and all. It's a neat little trick.
How to avoid mushy corn when freezing corn on the cob
You can keep corn on the cob in your freezer safely for up to 6 to 8 months. However, unless you know what to do, you will end up with mushy corn kernels. Before freezing, you need to blanch it.
Why blanching is important?
The process of blanching corn on the cob before you freeze prevents an enzymatic action from taking place that will destroy both the flavor and the nutrient content of the corn.
The earlier that corn on the cob is frozen after being harvested or bought, the better the chances of preventing the natural sugars it contains from turning into starch.
Once it does that, it will impair the corn's flavor.
These are the steps to follow:
1 Remove the husk from the cob, taking with it as much out of the silk as you can. You can remove any remaining silk by scrubbing lightly with a vegetable brush. You can actually buy a special tool for this.
To get rid of any dirt or debris post shucking, hold the cobs under fast running water from the kitchen faucet.
2 Trim the base of the cobs with a sharp kitchen knife.
3 Fill a large pan approximately three-quarters full of water, place on your stovetop, and bring to the boil.
4 Fill another large pan with cold water and add cubes of ice for each cob you are blanching.
5 Carefully lower the corn cobs into the boiling water. It's safest to use a pair of tongs to do this. Wait for the pan to come back to a boil, then cover tightly with a lid. You can set your timer to 3 or 4 minutes (depends on the corn's size), and remove it from the stovetop.
6 Once the time is up, depending on the size of your cobs, remove them from the hot water with a pair of tongs.
7 As soon as you take them out of the hot water, immediately put them into the iced water for the same amount of time as you allowed for blanching.
8 Remove each cob from the cold water and dry with a paper kitchen towel before freezing. This will help to prevent ice crystals from forming, which will, in turn, lead to the corn kernels turning mushy.
9 Wrap each cob in plastic film. If steam forms inside the film, it means that the cob was not adequately cooled. You will need to unwrap it and cool it properly before re-wrapping and freezing it. Any moisture left inside the film will crystallize during freezing resulting in mushy corn kernels.
10 Place the cobs into suitably sized freezer storage bags or containers. Evacuate as much air as possible before sealing. You can check my post on how to freeze corn on the cob with a FoodSaver.
11 Don't forget to label and date.
Blanching time
These blanching time guidelines are for reference only according to National Center for Home Preservation. However, I normally blanch corn on the cob for about 3 to 4 minutes, depending on its size.
The proper way to freeze corn
You can freeze corn off the cob as well as on. It is easier to freeze when it's off the cob and a lot easier to use after it's been defrosted.
Step #1 Blanching
First of all, you need to go through the blanching process as described above.
Step #2 Take the corn off the cob
The best way to remove the kernels from the cob is to saw them off with a serrated-bladed knife. Cut them off straight into a bowl or plastic bag.
Step # 3 The cup measure for the perfectionist
If you're somebody who likes to do things with a little panache, rather than just using an ordinary cup to measure out your corn kernels, you can add a set of measuring cups to your kitchen tools.
Using one of these fancy little measuring cups, you can put the same quantity of corn kernels into many zip-top freezer bags, label, and freeze.
As a rough guide, medium-sized cobs of corn will give you about 2 cups of kernels. Whatever you do, though, don't put too many kernels per bag.
As a rule of thumb, I stick to about 2 cups of corn per 1 quart-sized zip-top bag.
Step #4 Freeze the corn
Put the bags of corn kernels into your freezer, lying them flat. They will only take about three hours to freeze.
Once frozen, they will remain safe to use for up to 10 to 12 months.
Defrosting frozen corn off the cob
When the time arrives that you want to use your frozen corn kernels, there are two ways you can go about defrosting them.
- Firstly, if you're going to be using them in a saute, you can put them straight from the freezer into a hot pan. A cast-iron skillet is best for retaining heat, allowing the kernels to defrost rapidly, and steaming off any excess water.
- Alternatively, if you're going to be using your corn kernels in salads or salsas, you can pour them straight from the freezer bag into a colander and then rinse them with luke-warm water.
To get rid of any excess moisture, place them between two sheets of kitchen paper and pat dry.
How to pick the freshest corn on the cob
Many people are under the misapprehension that the best way to pick out the best corn on the cob at their local grocery store is to peel loose some of the husks and sneak a look underneath to check if the kernels are plump and yellow - wrong!
All that does is speed up the decaying process because the husk is Mother Nature's way of protecting the kernels and loosening it lets the air inside.
- The way to tell fresh corn on the cob is when the husk is a vibrant green color, and it is tightly wrapped around the outside of the cob.
- A gentle squeeze will soon tell you if the kernels are healthy and robust.
- Cobs whose husks have brown spots on them or whose silks at the top have become dry or turned dark are the ones to avoid.
The best way to store fresh corn on the cob
As I mentioned just now, leave the husk in place as long as you can. It's there to protect the good stuff underneath. Removing the husk will only speed up how quickly the kernels dry up.
Whether you harvest your own corn on the cob in your garden or buy it from your local grocery store, it's best prepared, cooked, and eaten straight away.
But, if you are planning to eat it a few days later, you can refrigerate it.
The best way of doing this is to stores it as it is, husk intact, in a sealed plastic bag inside your fridge's crisper draw. Packed and stored like this, it will remain fresh for between five and seven days.
If you've shucked off the husk already, store it in the same way, but it will only be good for a couple of days.
What about storing cooked corn on the cob?
If you've got some leftover corn on the cob you want to store to eat later, it's best to let it cool, wrap it in aluminum foil, put it inside a lidded, airtight container, and keep it in the fridge. It should be okay for between three and five days.
Eat and enjoy
All that talk about buying, preparing, cooking, and storing corn on the cob deserve to be finished with how best to eat the stuff. It's not the most elegant food to eat - especially when it's still on the cob.
Don't try sticking forks into the ends of your corn. You'll only bend them. Those cobs are pretty sturdy little suckers. Treat yourself to some bona fide corn holders. They make all the difference.
Now for the bite. If you just go for it and eat as you would an apple, you're likely to end up with it pieces of kernel stuck in between your teeth.
Try just using the teeth on your lower jaw to gently pop the kernels off, a row at a time.
One last point. You don't have to only eat cooked corn on the cob hot. It also makes a tasty snack straight out of the fridge on a hot summer day.
Other recipes that use corn:
How to reheat corn on the cob in the microwave
Pin RecipeIngredients:
- corn on the cob
Instructions:
- Place the cobs of corn onto a microwave-safe dish. Cover with a damp towel and then wrap in plastic film.
- Microwave for 30 seconds at a time. It’s important not to overcook them, or you will split the kernels. Cooking time will vary from microwave to microwave and depending on how many cobs you’re cooking at once.
- Keep blasting for 30-second intervals until they’re warmed to your satisfaction.
Notes:
Top tips
- To get the maximum flavor hit, before each 30-second burst in the microwave, coat each cob with a little melted butter using a pastry brush.
- Don’t overcook your corn on the cob when reheating. Otherwise, the sugars will turn to starch ruining both the taste and the texture of the corn. It’s ready to eat when it’s just warm through.
Please note that all nutrition information are just estimates. Values will vary among brands, so we encourage you to calculate these on your own for most accurate results.

