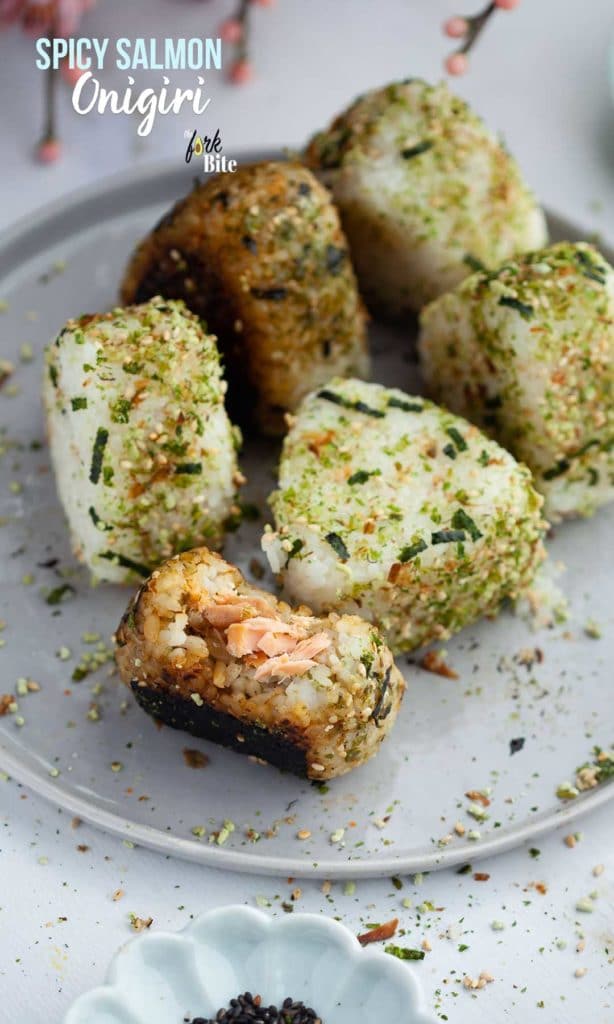
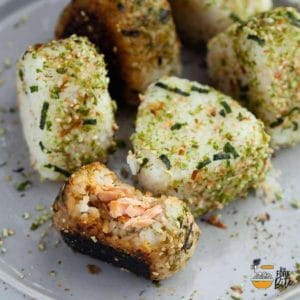
These cute Onigiri or Japanese rice balls are a combination of savory fillings which make an ideal snack to carry with you and even delicious lunches on the go.
I have a simple recipe for making onigiri that anyone can try at home. It’s flavored with amazing Japanese flavorings and comes with a nori wrapping. It makes an ideal snack to carry with you and even delicious lunches.
What is Onigiri?
Onigiri (おにぎり) is also known as o-musubi. It is most commonly a triangle-shaped rice snack quite similar to sushi, which is a combination of rice, seaweed, and seasoning. The difference between the two is that onigiri is so much easier to make.
The Japanese prefer making omusubi in the morning to wrap and carry to work, school as a snack and even a quick lunch. Not only is the omusubi portable with a delicious filling, but it’s also the ultimate comfort food.
This is why these Japanese rice balls are quite popular on their own, as a cute and delicious appetizer and in a bento box.
How to make onigiri?
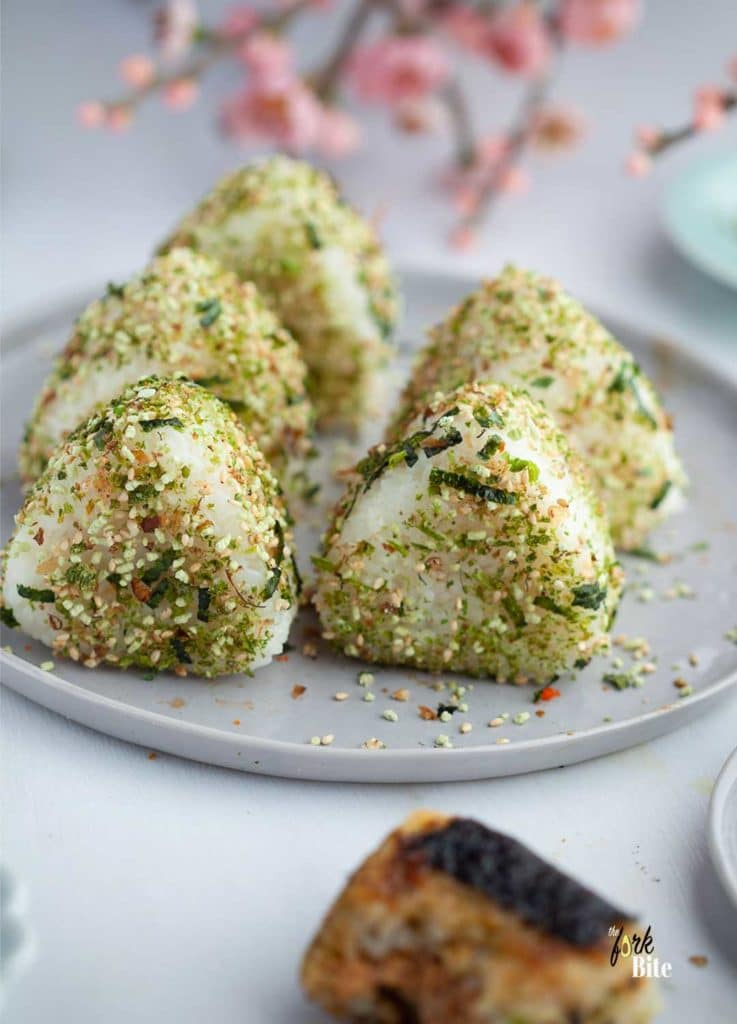
The main reason I love o-musubi so much is that it’s easily customized with your flavor combinations. It’s also easy to make by mixing some cooked rice with furikake or Japanese seasoning.
Then, you mold it to form a triangle and wrap the final product in decorative nori seaweed. You can now eat your origini!
You can use as many types of fillings in it as you like. The most popular are salted salmon, pitted umeboshi, a mixture of mayo, tuna, and wasabi and stewed Kombu. It’s up to you to use your imagination because practically everything complementing rice goes well inside the onigiri.
Omusubi also comes in various shapes and forms. While the triangular ones are the most popular, cylindrical and circular rice balls are also quite popular. You can also make them by mixing the ingredients into the rice before molding it.
I call this mixed-rice onigiri which I either wrap entirely in nori or just place a nori strip around it to prevent sticky fingers.
How to mold onigiri
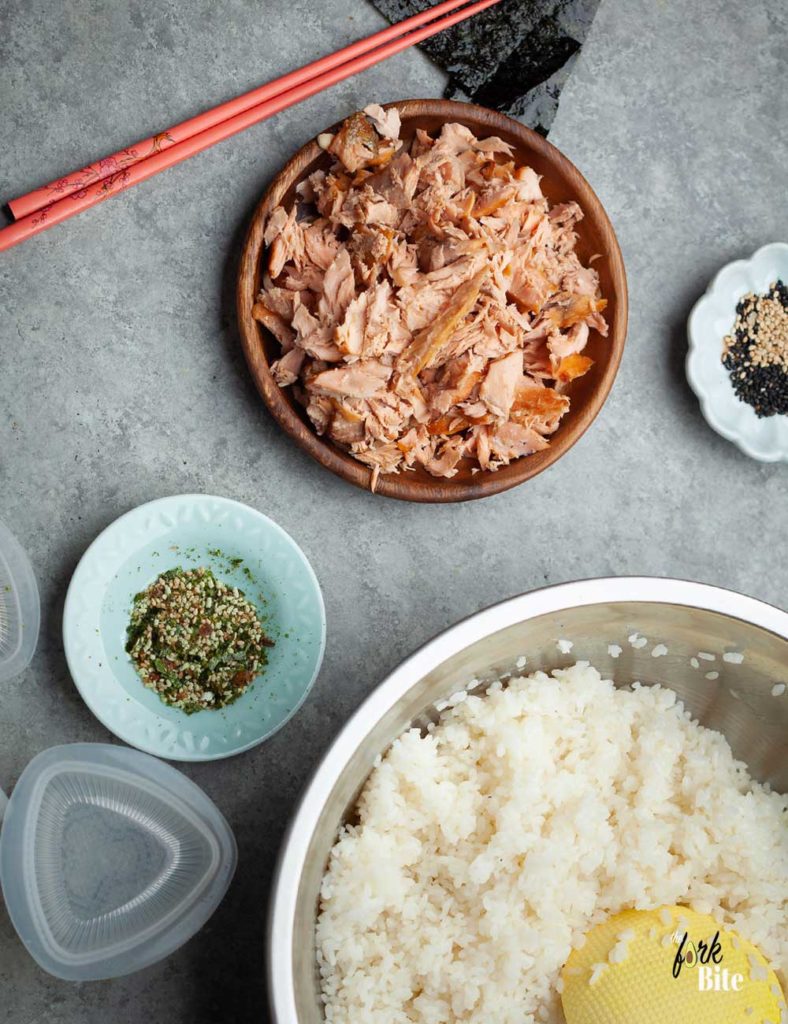
While you can easily make onigiri by hand, its mold proves helpful, especially on busy mornings. Not only can you make omusubis much faster, but they are also more uniform in shape. I use two molds—a larger one for stuffed versions and a smaller one for plain and mixed-rice variants.
This is an easy omusubi recipe you can make at home using cooked rice and some of your favorite seasonings.
① Start by popping the rice in a bowl; add ¼ cup rice vinegar, 1 tablespoon of sugar & 1 teaspoon salt. Sprinkle the Furikake rice seasoning and mix well. Set aside and let cool while you make the fillings. You don’t have to do this to make omusubi with some secret, tasty filling.
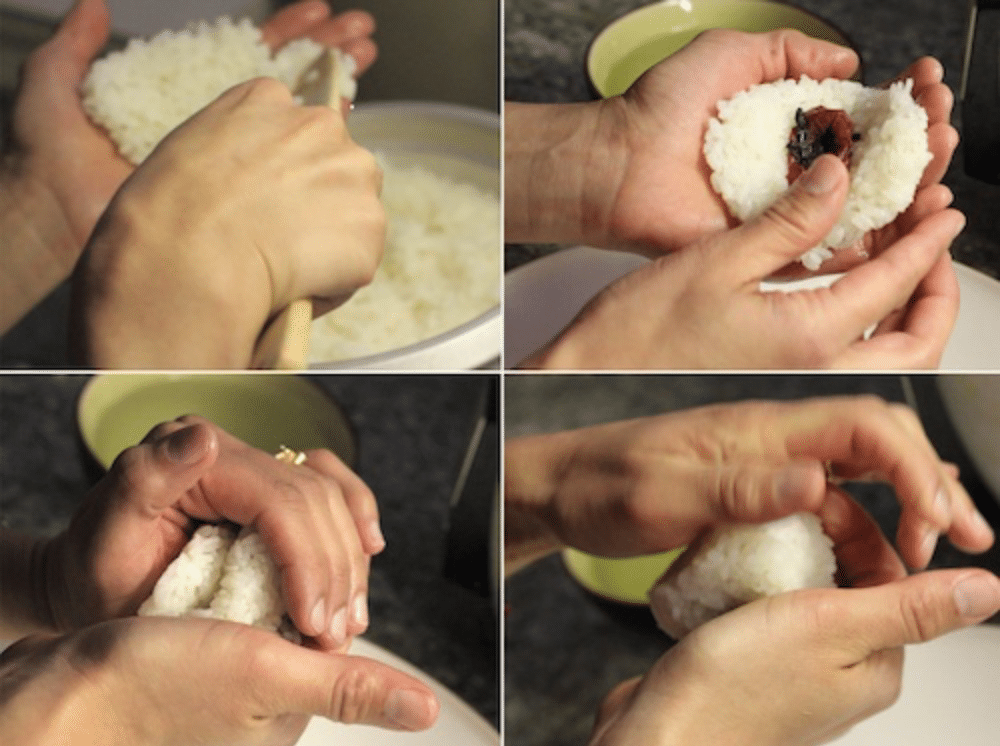
② Divide the rice into portions that fill each hand. They should preferably be the same size.
③ Wet your hands with water and rub them together with a pinch or two of salt. This prevents the rice from getting stuck to your palms.
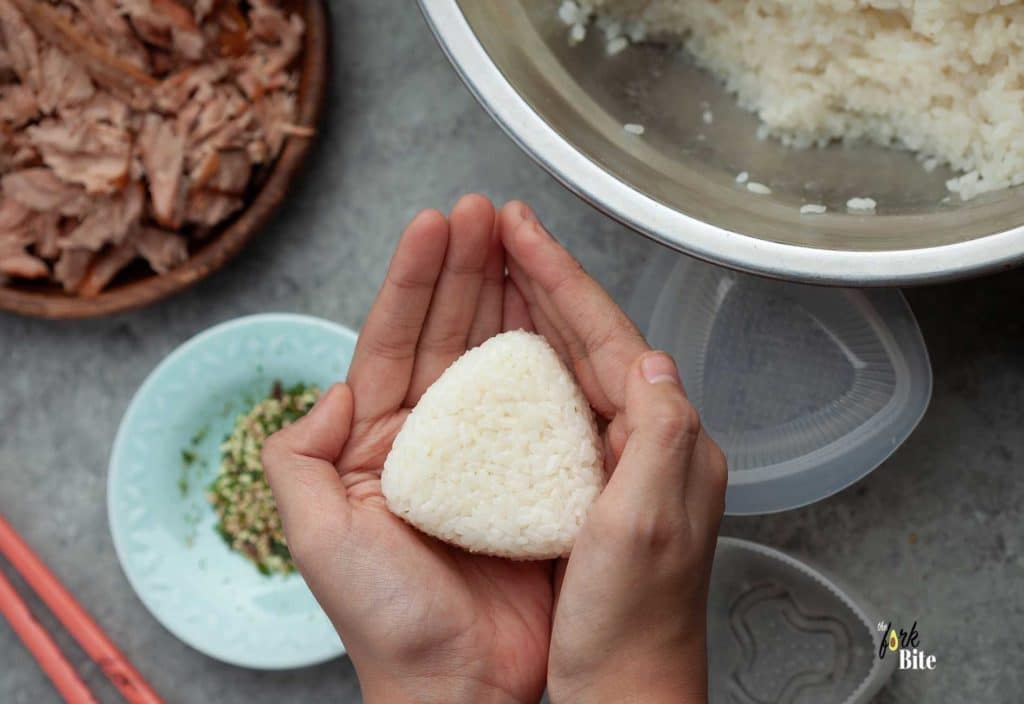
④ Now take one portion and make an indent if you plan to put something inside. Place the filling ingredients inside, gently cover the filling and then press lightly to form a ball.
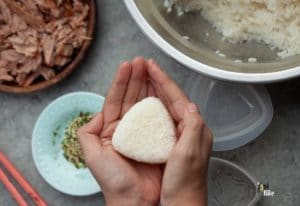
⑤ Place each portion on your palm and start pressing and squeezing to make a triangle using mainly fingertips. Keep turning it as you do this to get an even shape.
⑥ Next, place a nori slice at its bottom. Keep the rougher side facing the rice and double over upwards towards its middle. You have your first omusubi ready!
⑦ Repeat the same process with the other portions.
Fillings for Onigiri
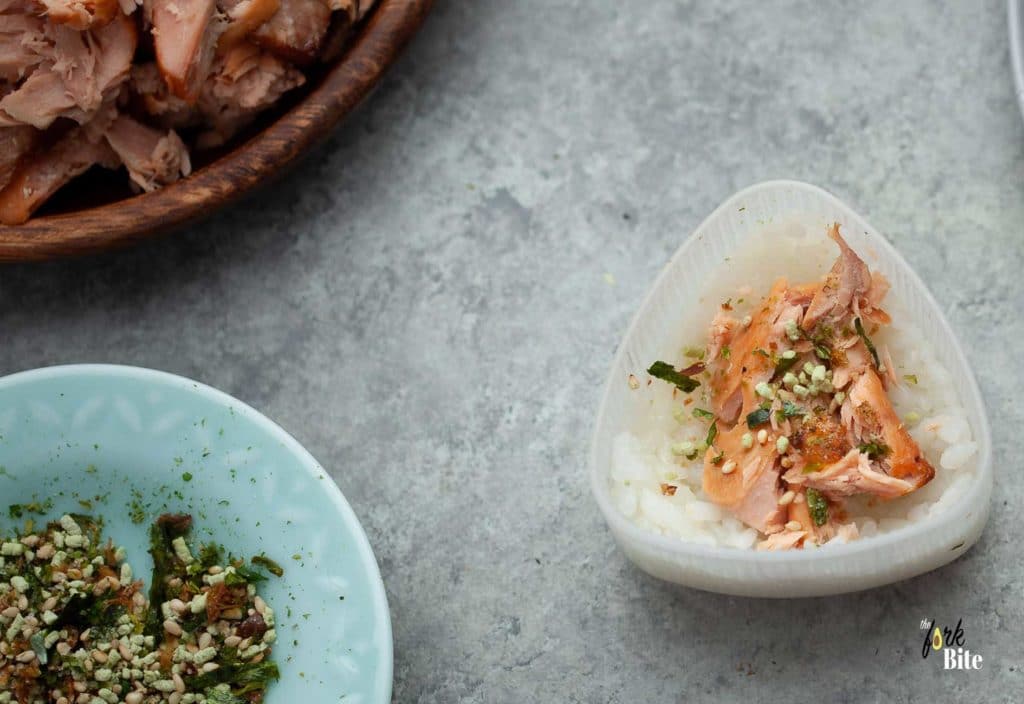
Onigiri was traditionally filled with delicious ingredients like roasted chicken mixed with mayonnaise, pickled plum, tuna, or flavored Kombu seaweed. Another famous variant is made using furikake or rice seasoning mixed thoroughly with the rice.
I personally love gomashio or, rather salted black sesame seeds. The sky’s the limit in choices. You can use the help of your creativity and taste buds to add something new and special to your homemade omusubi.
Other fillings Variations:
- scrambled eggs
- pickled vegetables
- pickles
- guacamole
- portobello mushrooms
- umeboshi (pickled plums)
- marinated tofu
- tuna
- mock crab
- flaked salmon
- caviar
- hot dogs
- meatballs
- chicken nuggets
- gingery chicken
- diced cold cuts
Ingredients
- 3-4 cups cooked sushi rice (see notes)
- 8 oz about 1 cup baked salmon or canned salmon, or canned tuna
- 2 teaspoon Kewpie mayonnaise
- 2 teaspoon Sriracha chili sauce or other hot sauce of your choice, depends on how spicy you like
- 2 tablespoon of Furikake ** optional for rice seasoning; add more for garnish
- 1 sheet of Nori
Step-by-step instructions
For Sushi Rice:
1 First, cook the sushi rice according to its package's instructions. Once the rice is done, add ¼ cup of rice vinegar, 2 tablespoon of sugar, 1 teaspoon salt. Sprinkle the Furikake rice seasoning and mix well. Set aside and let cool while you make the filling.
For the Fillings:
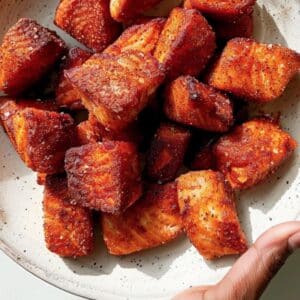
2 Prepare the salmon by brushing it with the Tare sauce (mix 1 tablespoon dark soy sauce, Mirin, sake & 1 teaspoon of sugar) or season it with salt. Bake the salmon for 12 minutes or until cooked.
3 Once the salmon is done, let it cool down a bit and put in a bowl and shred it. Add the mayonnaise and the sriracha. Mix gently. Taste and add salt if necessary.
Wrapping Onigiri by Hands:
4 Wet your hands to keep the sushi rice from sticking to them. Spread a palmful of warm sushi rice into one hand.
5 Place the filling in the center. Fold up the rice around the filling and pack the rice tightly with both hands into a triangular shape.
Wrapping Onigiri with Mold:
6 Rinse your mold with water and fill halfway with sushi rice. With wet hands, make a little indent in the center. Add the fillings without overstuffing.
7 Cover the filling with more sushi rice, but don't stuff it. Cover the rice mold with the lid and press down. If you can't press down all the way, you have used too much rice. If you press down too easily (gentle pressure should be needed), you have put too little rice. Remove the lid, invert the mold, and press the “button” to release.
8 Cut a seaweed rectangular-shaped (size varies according to your likeness) and place it over the rice to cover it. The dampness from the rice should help hold the seaweed to the rice ball, but you can use a few grains of extra rice to seal it.
- Or you can coat the sides of onigiri with furikake rice seasoning.
- Serve and enjoy it immediately.
Notes
- I recommend using the stickier Koshihikari sushi rice because the shape holds better with it, but it's a bit expensive. You can also use medium or short-grained rice because they stick better than long-grain varieties like jasmine rice.
Commonly asked questions:
What is the best rice to use for making onigiri or omusubi ?
1 I recommend using the stickier Koshihikari sushi rice because its shape holds better. You can also use medium or short-grained rice because they stick better than long-grain varieties like jasmine rice.
How can I keep onigiri fresh overnight?
2 It is better to eat onigiri fresh. However, if you have to make them in advance, then I recommend wrapping them in plastic wrap.
- You can alternatively put it in an airtight container and store it in the fridge.
- This helps retain the rice’s moisture and prevents the outer surface from losing moisture. However, if you eat it with some nori seaweed, keep it separately and wrap it when you are about to eat it.
What can I do with dried-out onigiri ?
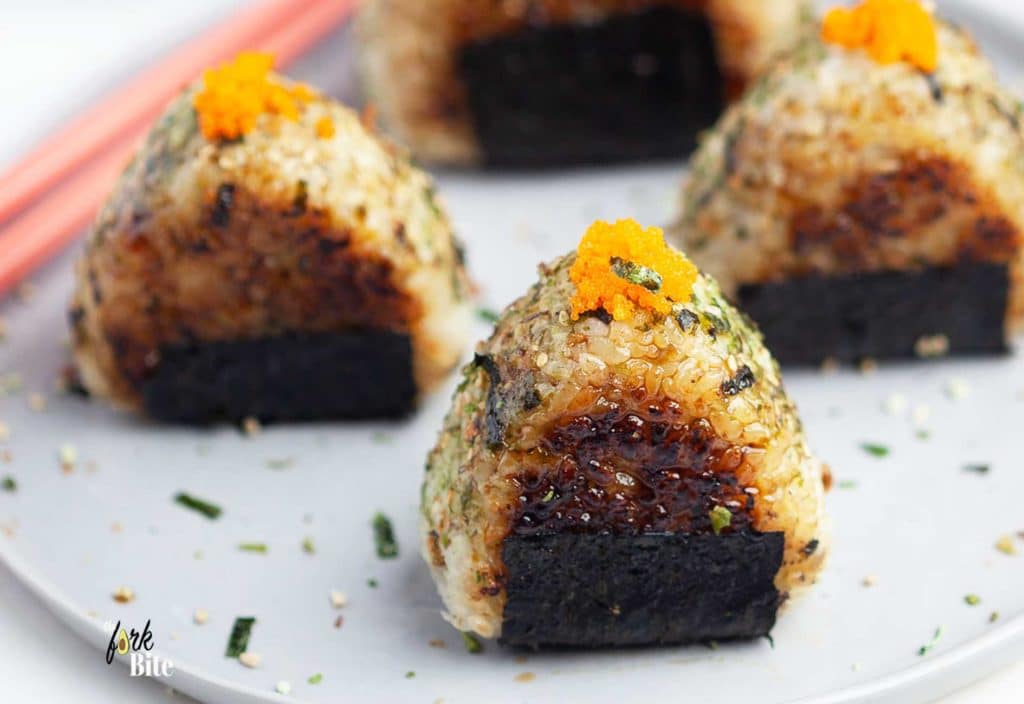
3 Don’t worry if your onigiri dries out externally, but its inside is still good. You can ‘revive’ it as yaki-onigiri or grilled o-musubi.
- Just fry them in a pan using some sesame oil and baste with soy sauce. The heat makes the outside crispy while the inside remains tender, moist, and delicious.
Useful tips
1 Always make onigiri with warm rice because it sticks better when warm. It is also easier for you to form its original triangle variant.
2 You can add a touch of authenticity to it by adding a nori slice around its base. This makes it look both great and taste delicious.
3 If you are planning to make onigiri or omusubi in advance, then I suggest storing the nori in a separate container. Add it only when you plan to eat it immediately otherwise, the nori will end up soggy.
Substitutes or Variations
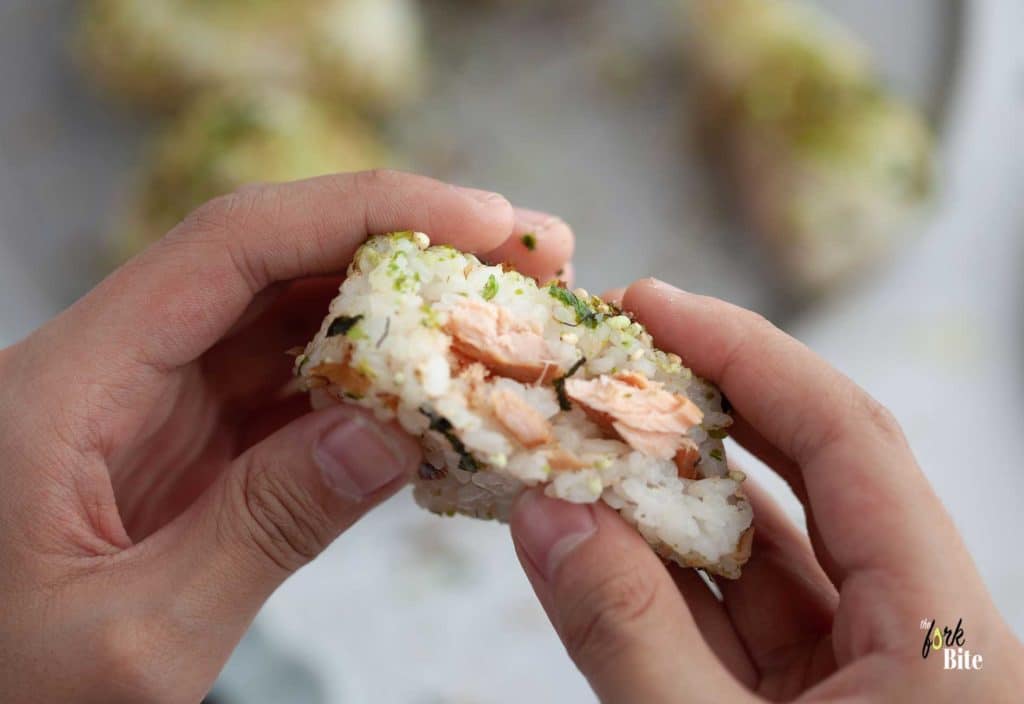
- You can use leftovers or your favorite ingredients to make a simple filling. Good suggestions are canned tuna, pickled vegetables, and fried chicken.
- You can also try something different from boring triangular onigiris. You can try squares, circles, or even animal shapes. You can also use your creativity and create unique faces and patterns using thin nori strips.
Related recipes:
Japanese Potato Croquettes
Crispy Shrimp Tempura
Sushi in a Jar
Full Recipe
Onigiri (Rice Ball) with Spicy Salmon
Pin RecipeIngredients:
- 3-4 cups cooked sushi rice (see notes)
- 8 oz about 1 cup baked salmon or canned salmon, or canned tuna
- 2 teaspoon Kewpie mayonnaise
- 2 teaspoon Sriracha chili sauce or other hot sauce of your choice depends on how spicy you like
- 2 tablespoon of Furikake ** optional for rice seasoning, add more for garnish
- 1 sheet of Nori
Instructions:
For Sushi Rice:
- First, cook the rice according to its package's instruction. Once the rice is done, add ¼ cup rice vinegar, 2 tablespoon of sugar & 1 teaspoon salt. Sprinkle the Furikake rice seasoning and mix well. Set aside and let cool while you make the filling.
For the Fillings:
- Prepare the salmon by brushing it with the Tare sauce (mix 1 tablespoon dark soy sauce, Mirin, sake & 1 teaspoon of sugar) or you can simply season it with salt. Bake the salmon for 12 minutes or until cooked.
- Once the salmon is done, let it cool down a bit and put in a bowl and shred it. Add the mayonnaise and the sriracha. Mix gently. Taste and add salt if necessary.
Wrapping Onigiri by Hands:
- Wet your hands to keep the sushi rice from sticking to them. Spread a palmful of warm sushi rice into one hand.
- Place the filling in the center. Fold up the rice around the filling and pack the rice tightly with both hands into a triangular shape.
Wrapping Onigiri with Mold:
- Rinse your mold with water and fill halfway with sushi rice. With wet hands, make a little indent in the center. Add the fillings without overstuffing.
- Cover the filling with more sushi rice, but dont stuff it. Cover the rice mold with the lid and press down. If you can't press down all the way, you have used too much rice. If you press down too easily (there should be gentle pressure needed), you have put too little rice.
- Remove the lid, invert the mold, and press down on the “button” to release.
- Cut a seaweed in rectangular-shaped (size varies according to your likeness) and place over the rice to cover. The dampness from the rice should help hold the seaweed to the rice ball, but you can use a few grains of extra rice to seal it.
- Or you can coat the sides of onigiri with furikake rice seasoning.
- Serve and enjoy it immediately.
Notes:
Nutrition Information:
Please note that all nutrition information are just estimates. Values will vary among brands, so we encourage you to calculate these on your own for most accurate results.




SHANIKA says
These Rice Balls look so delicious! I love that you've chosen to use Spicy Tuna! YUM!
Toni says
My kids loved these!! Really easy and flavorful!
Haley D Williams says
I love your step by step photos you have in this post! I cannot wait to try and make these!
Kristen says
These are so good! Thank you for the recipe!
Raia Todd says
Oooh, I've never heard of this before. Sounds so delicious, though! I pretty much love anything with tuna in it. 🙂
Michelle says
Yum! Mine would likely not turn out as pretty as yours, but I bet they would still taste amazing!