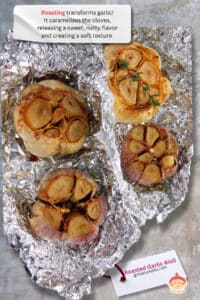
Okay, let's be honest – garlic is awesome, but roasted garlic... that's next-level stuff. If you haven't mastered how to roast garlic yet, you're missing out! Think about it: all that sharp, spicy bite melts away, and what you've got is this sweet, mellow, spread-on-everything deliciousness.
Roasted garlic is one of the simplest kitchen tricks that'll change your life. It's perfect mashed into potatoes, stirred into pasta, or just smeared on a chunk of crusty bread. And the best part? You don't even need to be a pro chef to pull it off.
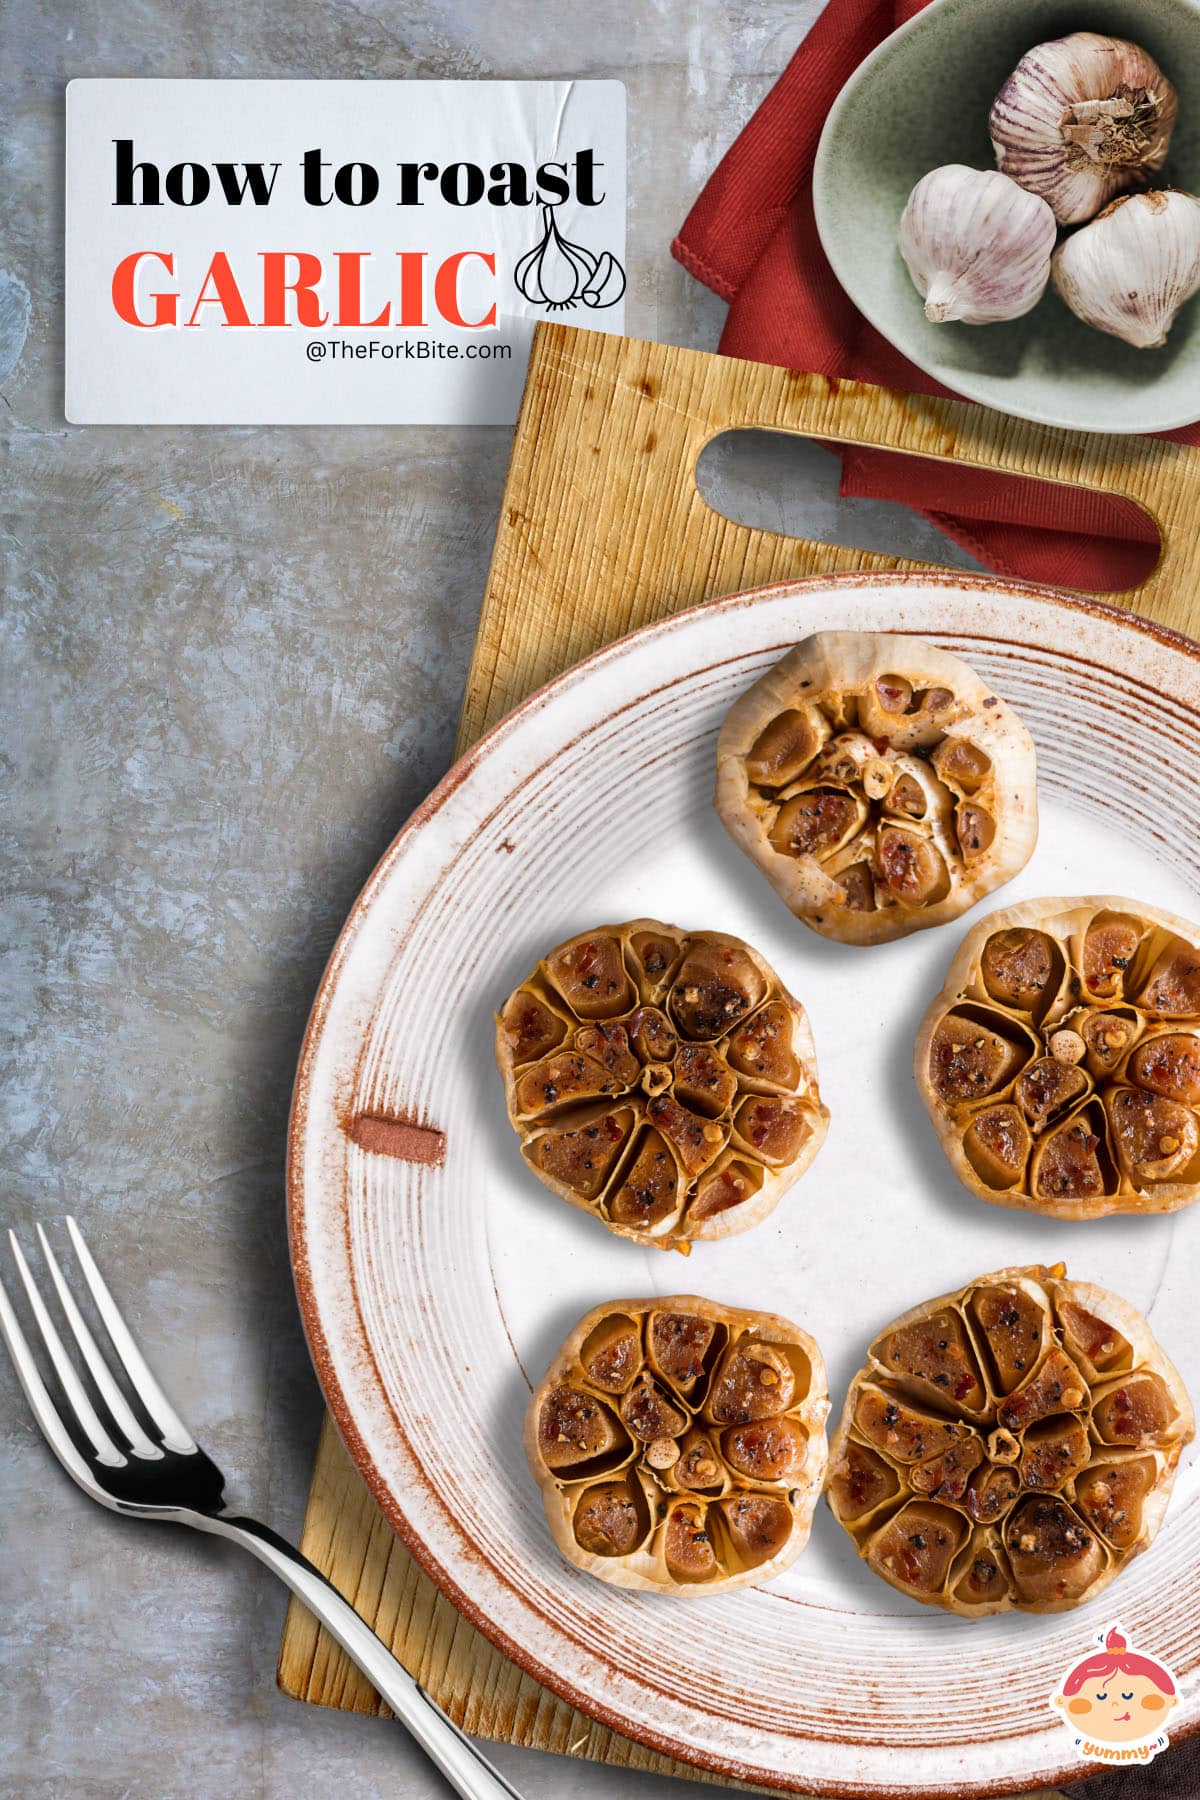
Why Roast Garlic? (Because, Trust Me, You'll Want To)
Okay, picture this: You take a bite of raw garlic. It's got that strong, spicy punch that lingers on your tongue – love it or hate it, it's intense. Now, imagine roasting that same garlic. It's like magic! The harshness totally disappears, and what you're left with is this sweet, nutty flavor that's incredibly mellow. Kind of like the difference between a raw onion and caramelized onions, you know?
Besides the incredible flavor change, the texture shifts too. Roasted garlic cloves get so soft and creamy – think of it like garlic butter that's even better. That means you can spread it, mash it, or blend it into basically anything.
Speaking of "anything"...roasted garlic is the secret weapon you didn't know you needed. It's a flavor bomb you can add to so many dishes:
- Swirl some into hummus for extra oomph.
- Stir it into pasta sauce for another layer of deliciousness.
- Mash it into potatoes for the ultimate side dish.
Step-by-Step Guide to Roasting Garlic
Step 1: Garlic 101 – Choosing the Good Stuff
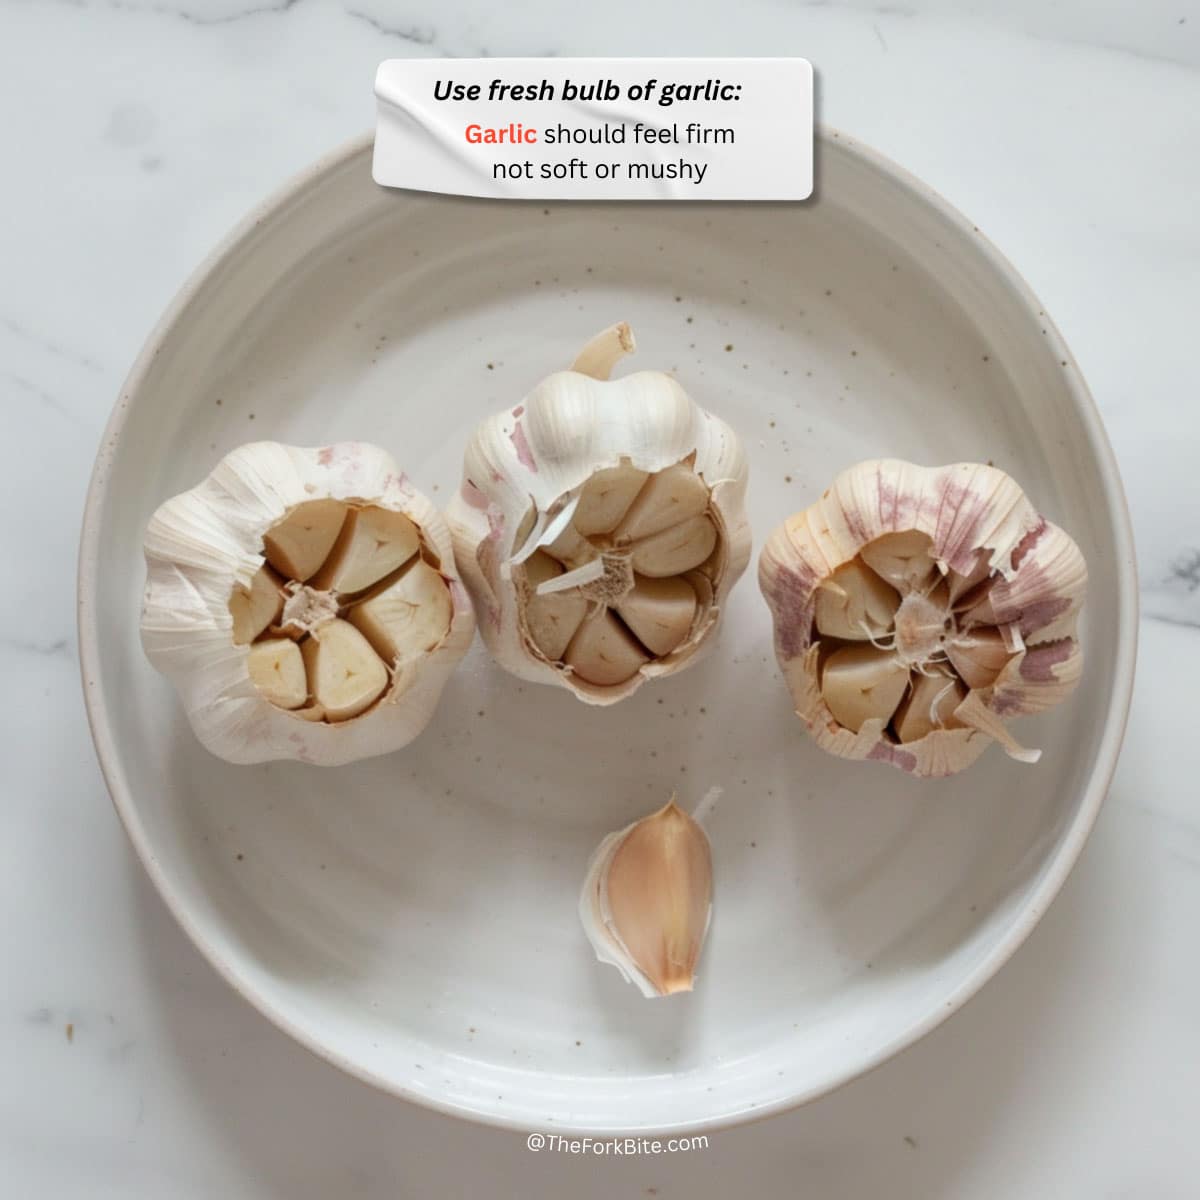
Not all garlic is created equal, especially when roasting. Here's what to look for:
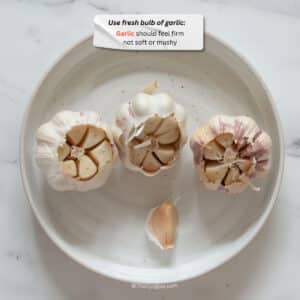
- Firm Feel: Give the garlic bulb a gentle squeeze. It should feel solid, not soft or mushy.
- No Sprouts: See those little green bits poking through the top sometimes? That's a sign the garlic is on its way out – avoid those.
- The Plumper, the Better: Bigger bulbs usually mean bigger cloves, which are easier to handle when roasting.
Step 2: Prepping Your Garlic (Two Ways)
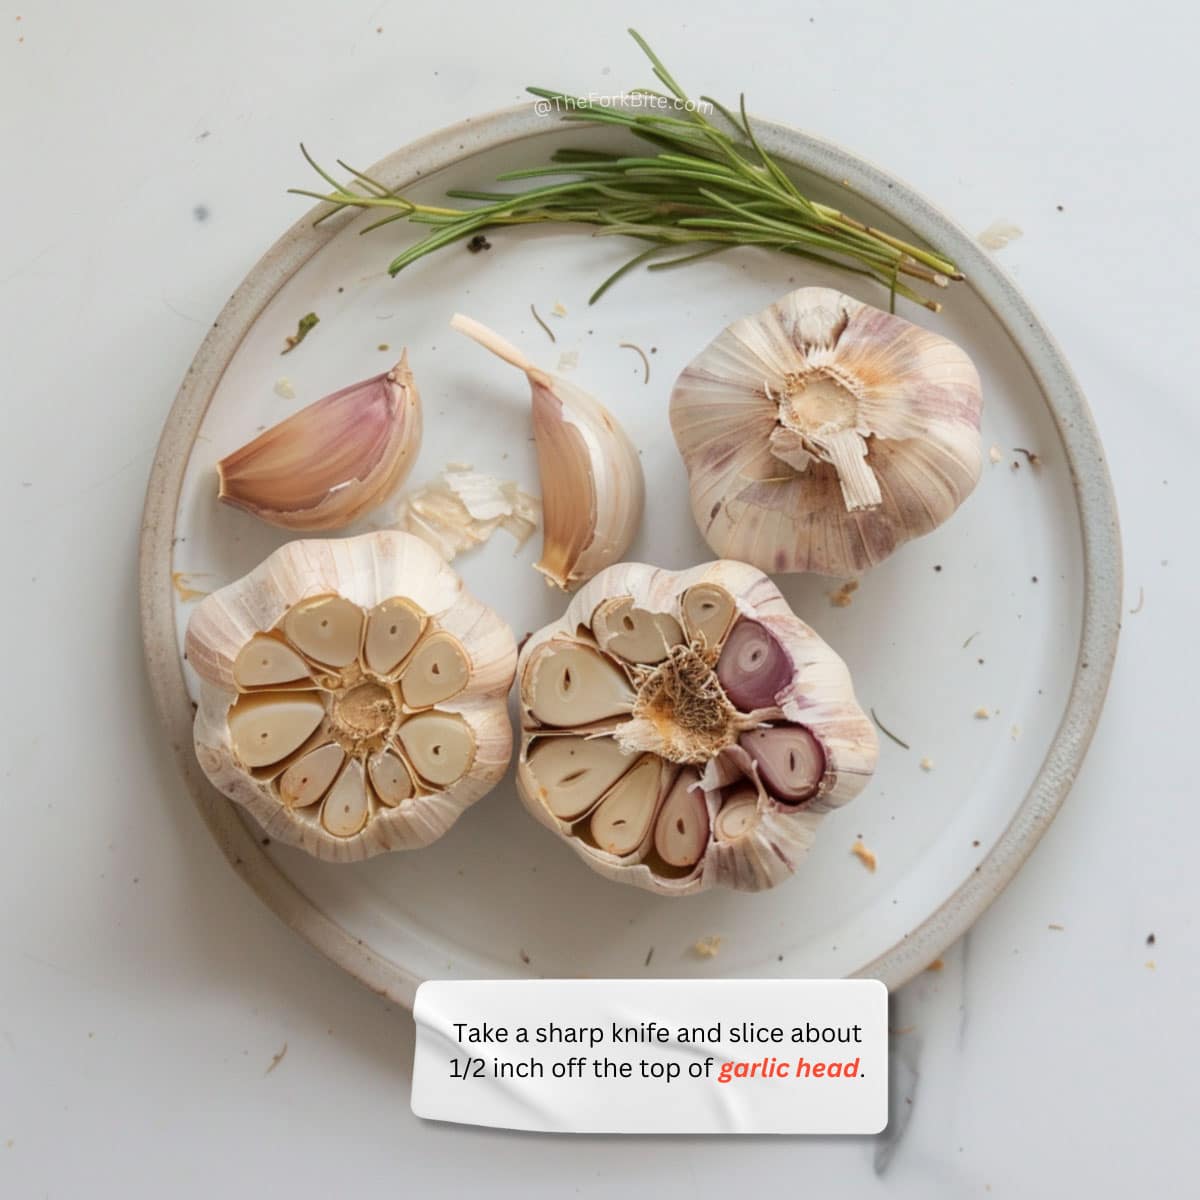
Whole Head Method:
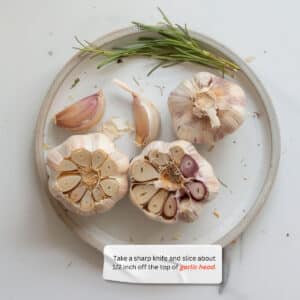
- Give it a Trim: Take a sharp knife and slice about ½ inch off the top of the garlic head, exposing the tops of the cloves.
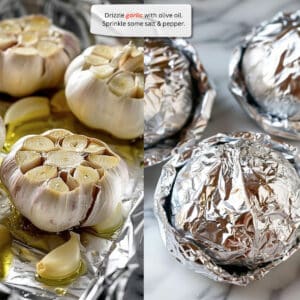
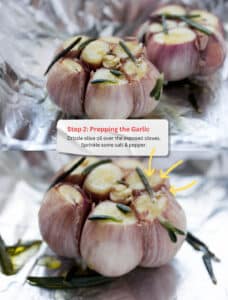
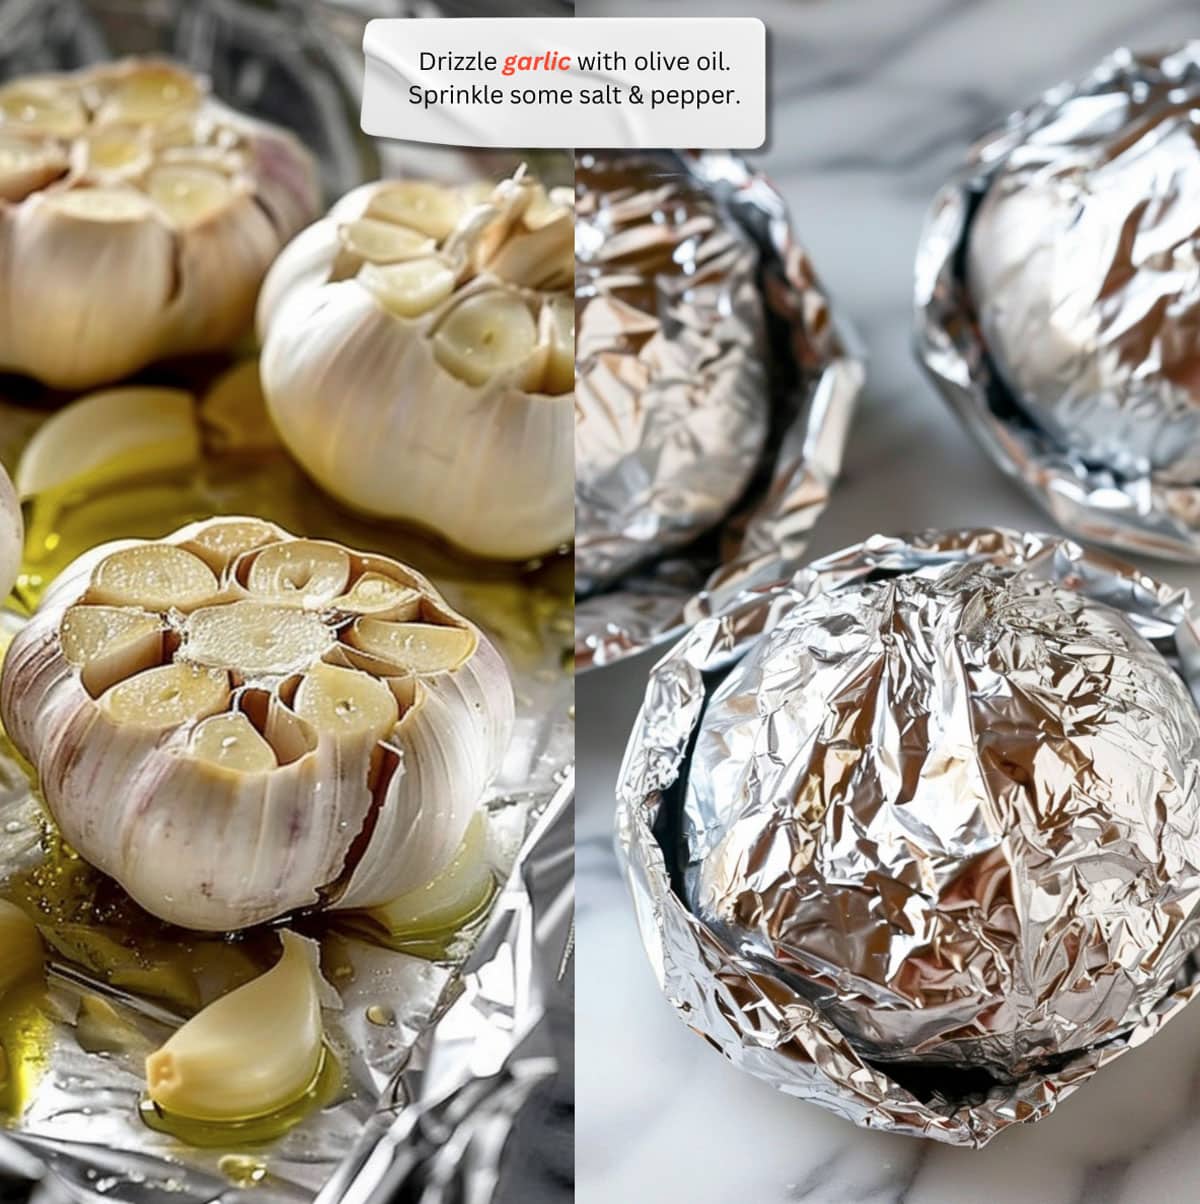
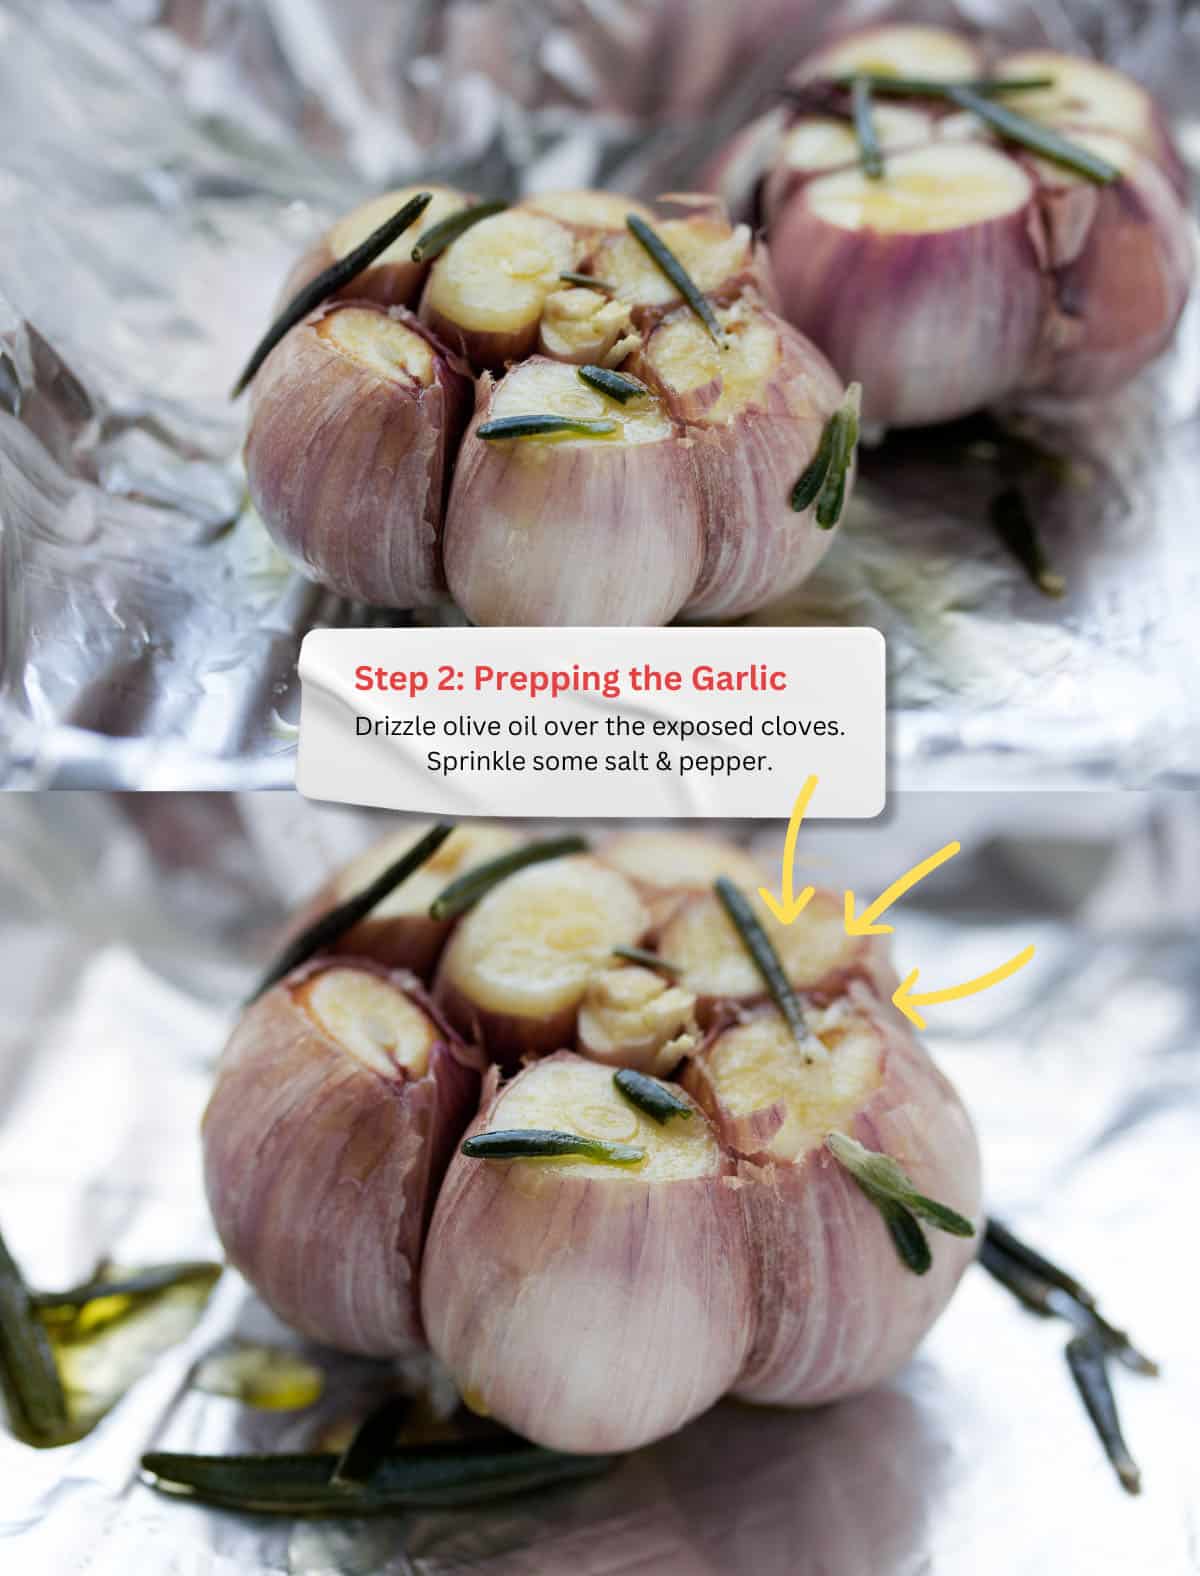
- Oil & Season: Drizzle olive oil generously over the exposed cloves. Sprinkle with a bit of salt and pepper if you like.
- Foil Wrap: Grab a piece of aluminum foil and wrap the garlic head snugly, like a little gift.
Individual Clove Method:
- Let's Get Peeling: Peel as many cloves as you need. You can smash them slightly with the flat side of your knife to make peeling easier.
- Oil Bath: Put the peeled cloves in a small bowl and drizzle with olive oil. Toss them around to make sure they're nicely coated.
- Foil Pouch: Create a small pouch out of aluminum foil, pop the cloves in, and seal it tightly.
Step 3: The Oven is Your Friend
Take it slow and steady! For that perfect melt-in-your-mouth garlic, we're gonna keep the oven at 180°C (356°F) for up to an hour. I know it's tempting to speed things up with a hotter oven, but trust me, it's worth the wait for that sweet, caramelized goodness.
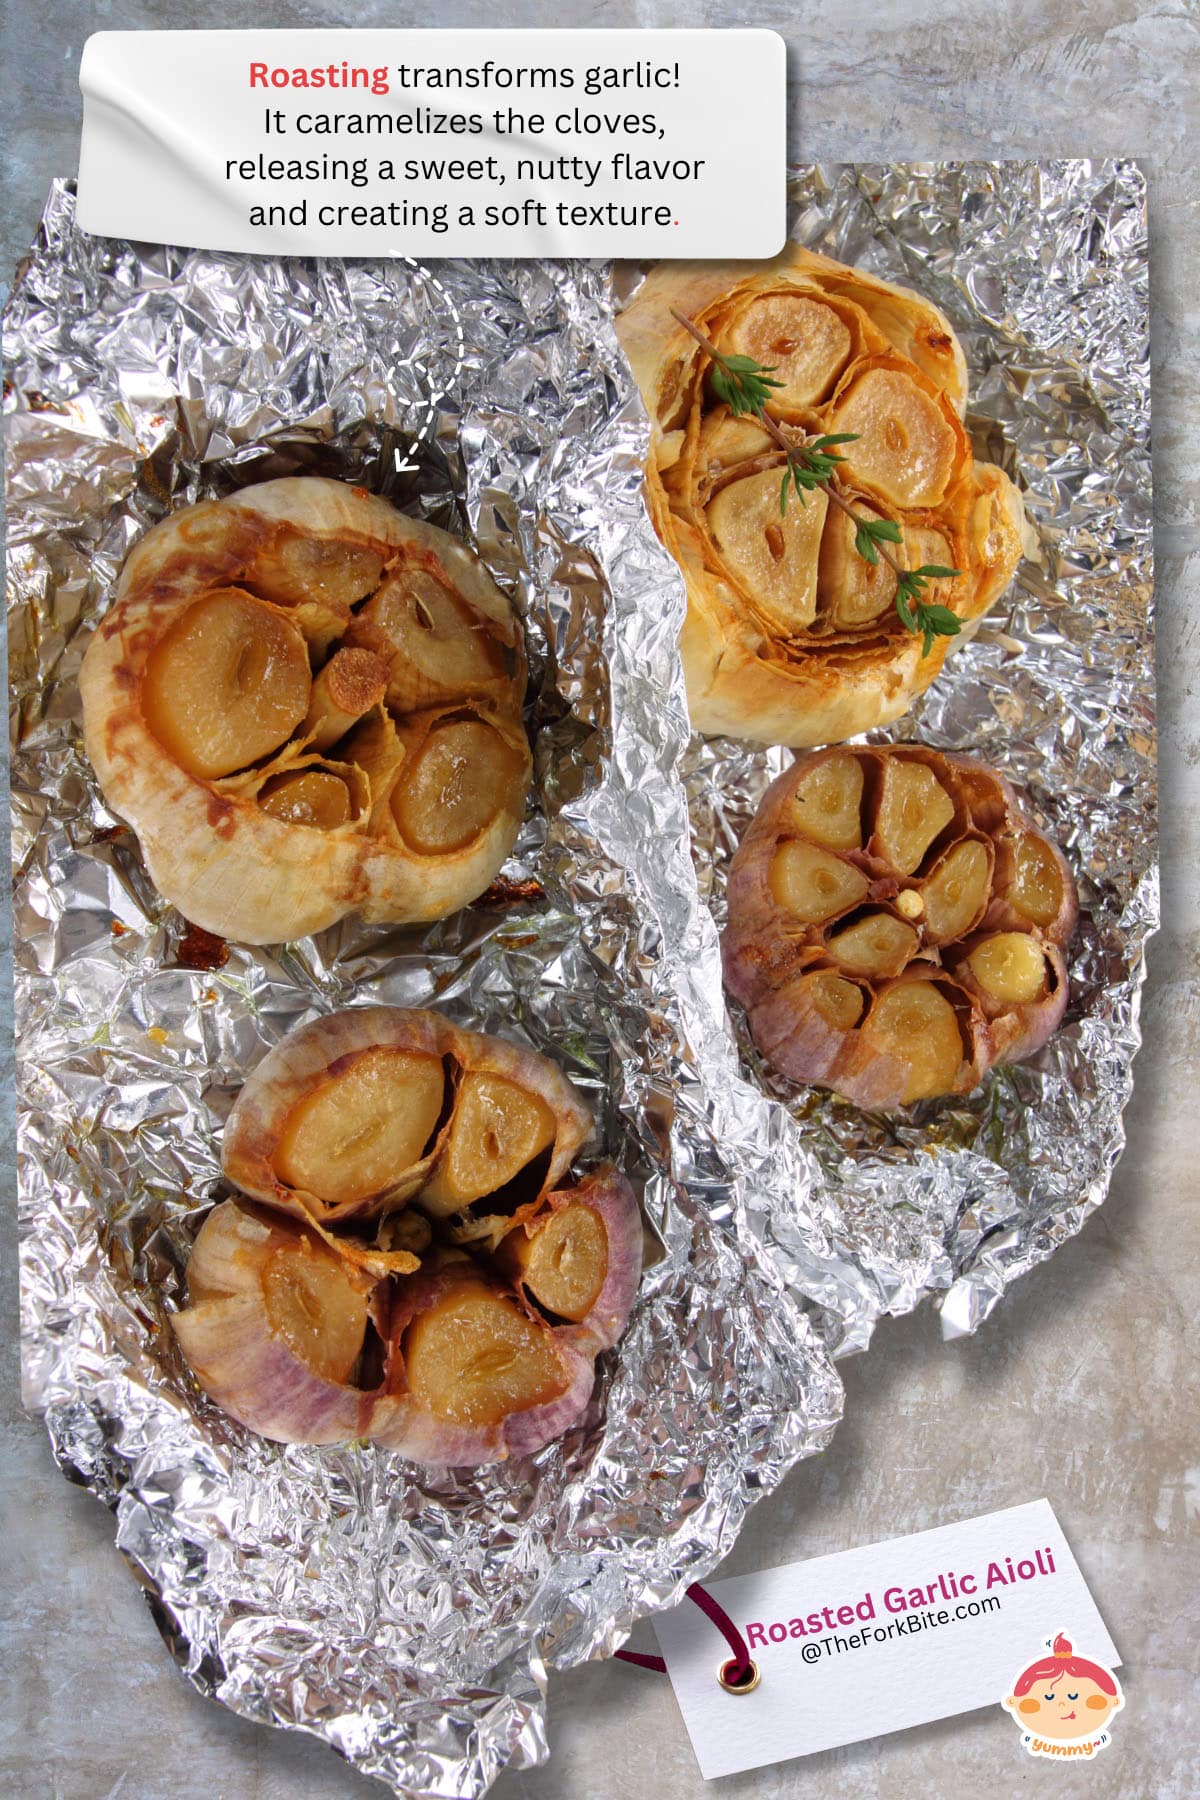
- Preheat and Adjust: Get your oven nice and hot to 180°C (365°F).
- Roast Time (Low and Slow): Whole garlic heads will typically take between 50-60 minutes at this temperature. Individual cloves might be ready in 30-40 minutes. Remember, they're done when they're golden brown and feel incredibly soft when poked with a fork.
- Cool Down: Always let the garlic cool slightly before handling it.
Here's why the low and slow method is great:
- Deeper Caramelization: The lower temperature allows the natural sugars in the garlic to caramelize more fully, creating an even sweeter, richer flavor.
- Ultra-Tender Texture: The extended cooking time ensures the garlic becomes incredibly soft and creamy.
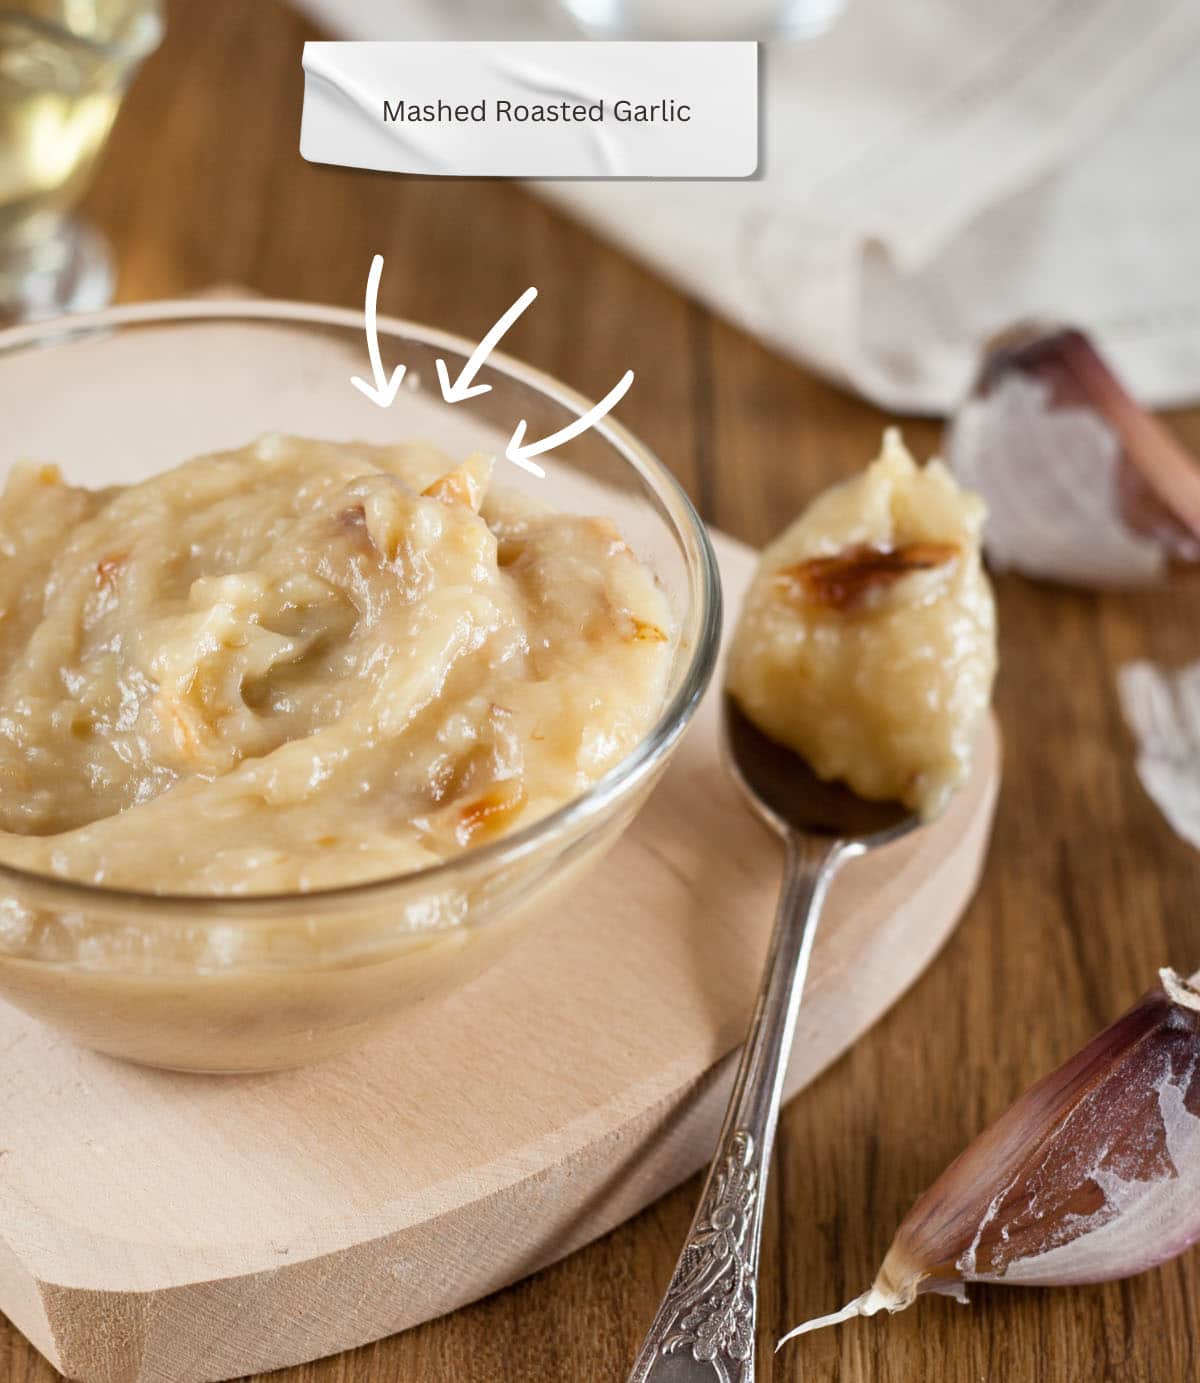
Important Note: Since we've lowered the temperature, it's even more important to keep an eye on the garlic, especially towards the end of the cooking time. Ovens can vary, and you don't want your garlic to dry out.
Step 4: Beyond the Oven (Quick Overview)
Don't have an oven, or feeling adventurous? No worries!
- Stovetop: You can roast garlic in a skillet with a little oil. It's faster, but you gotta keep a closer eye on it. [Link to stovetop method post]
- Air Fryer: Air fryers are amazing for roasting garlic cloves quickly and easily. [Link to air fryer post]
Storing Roasted Garlic
You've put in the work, and now you've got this amazing roasted garlic – let's make sure it stays delicious! Here's the lowdown on storing it:
Option 1: Fridge
- How Long: In the fridge, roasted garlic will keep its quality for about a week, maybe a bit longer if you're lucky.
- Whole Heads: Leave them in their foil wrapping and pop them in the fridge.
- Cloves: If you've roasted individual cloves, the best way to store them is submerged in olive oil. Put them in a small jar or airtight container, cover them completely with oil, and store them in the fridge.
- Extra Tip: You can use the flavorful oil you stored the cloves in for cooking – it's delicious in salad dressings or drizzled on roasted veggies!
Option 2: The Freezer
Freezing Mashed Garlic
- Mash Time: If you prefer a paste-like consistency, mash the roasted garlic cloves.
- Ice Cube Trays: Spoon the mashed roasted garlic into ice cube trays, filling each compartment about ¾ of the way full. (The garlic will expand slightly when frozen).
- Freeze: Place the ice cube trays in the freezer until the garlic is solid, usually a few hours.
- Pop and Store: Once frozen, pop out the roasted garlic cubes and transfer them to a freezer-safe bag or container.
- Label & Date: Be sure to label the container with the contents and the date for future reference.
Freezing Individual Cloves:
- Prep the Space: Line a baking sheet with parchment paper or a silicone baking mat. This prevents the cloves from sticking.
- Spread Them Out: Arrange the roasted garlic cloves in a single layer on the prepared baking sheet, leaving a little space between them.
- Flash Freeze: Place the baking sheet in the freezer for about 1-2 hours, or until the cloves are frozen solid.
- Bag 'Em Up: Transfer the frozen cloves to a freezer-safe bag or airtight container. Squeeze out as much excess air as possible to prevent freezer burn.
- Label & Date: Don't forget to label the bag or container with the contents and the date you froze them.
Pro Tip: Before storing your roasted garlic, label the containers with the date so you know how long it's been in there.
Delicious Ways to Use Roasted Garlic
Roasted garlic is so much more than a side dish! Its mellow sweetness and creamy texture make it an incredibly versatile ingredient. Here are a few ideas to get you started:
- Roasted Garlic Mac and Cheese: Cheese and garlic is a match made in heaven. Add roasted garlic to your mac and cheese for a flavor bomb no one can resist!
- Roasted Garlic Guac Upgrade: Your next taco night needs this! Mash a few cloves into your guacamole or Cilantro dressing for a flavor twist you won't forget.
- Garlic Bread, But Better: Ditch the garlic powder! Spread roasted garlic on your bread before toasting for next-level garlic bread deliciousness.
- Pasta Sauce Power-Up: Stir roasted garlic into your favorite tomato sauce. It's the secret to making boring jarred sauce taste AMAZING.
- Mashed Potato Magic: Because regular mashed potatoes are good, but roasted garlic mashed potatoes? That's a whole new level.
- Burger Booster: Top your burger with a dollop of roasted garlic. Trust me, your tastebuds will thank you.
Simple & Delicious
- The Ultimate Spread: Smear roasted garlic cloves straight onto Shrimp toast or crackers, chicken shawarma for a super satisfying snack. Bonus points if you drizzle it with a little olive oil and balsamic.
- Supercharged Mashed Potatoes: Forget plain mashed potatoes! Stir in a few roasted cloves for a major flavor upgrade. Check my post for the Loaded Baked Potatoes here.
- Hummus Hero: Swirl a hefty spoonful of roasted garlic into your favorite hummus recipe for an instant boost of richness.
Level Up Your Recipes
- Soups & Sauces: Roasted garlic adds depth to any tomato-based sauce, creamy soups, or a simple pan sauce for chicken or fish.
- Flavorful Dips: Mix roasted garlic into plain yogurt or sour cream for a quick, flavorful dip for veggies or pita bread.
- Roasted Veggie Delight: Toss roasted garlic cloves with your favorite vegetables before roasting for a burst of sweet, garlicky goodness.
Get Creative!
- Garlic Herb Butter: Whip up a batch of compound butter with roasted garlic, fresh herbs, and a sprinkle of salt for ultimate garlicky goodness on steaks, bread, or anything else! Check the Garlic Butter recipe here.
- Fancy Salad Dressings: Whisk roasted garlic into a balsamic vinaigrette or a creamy Caesar dressing for a gourmet twist.
- Pizza Surprise: Dollop roasted garlic onto your pizza along with sauce and cheese for a delicious flavor boost.
How to Roast Garlic
Pin RecipeEquipments:
- Aluminum foil
- chopping board
Ingredients:
- 1 bulb garlic (large)
- 1 tablespoon olive oil
Instructions:
Garlic 101:
- Not all garlic is created equal, especially when roasting. Here's what to look for:Firm Feel: Give the garlic bulb a gentle squeeze. It should feel solid, not soft or mushy.No Sprouts: See those little green bits poking through the top sometimes? That's a sign the garlic is on its way out – avoid those.The Plumper, the Better: Bigger bulbs usually mean bigger cloves, which are easier to handle when roasting.
Prepping your garlic:
The oven is your friend:
- Take it slow and steady! For that perfect melt-in-your-mouth garlic, we're gonna keep your oven at 180°C/356°F for up to an hour. I know it's tempting to speed things up with a hotter oven, but trust me, it's worth the wait for that sweet, caramelized goodness.
- Preheat and Adjust: Get your oven nice and hot to 180°C (365°F).Roast Time (Low and Slow): Whole garlic heads will typically take between 50-60 minutes at this temperature. Individual cloves might be ready in 30-40 minutes. Remember, they're done when they're golden brown and feel incredibly soft when poked with a fork.Cool Down: Always let the garlic cool slightly before handling it.
Notes:
How to use Roasted Garlic:
- Roasted Garlic Mac and Cheese: Cheese and garlic is a match made in heaven. Add roasted garlic to your mac and cheese for a flavor bomb no one can resist!
- Roasted Garlic Guac Upgrade: Your next taco night needs this! Mash a few cloves into your guacamole for a flavor twist you won't forget.
- Garlic Bread, But Better: Ditch the garlic powder! Spread roasted garlic on your bread before toasting for next-level garlic bread deliciousness.
- Pasta Sauce Power-Up: Stir roasted garlic into your favorite tomato sauce. It's the secret to making boring jarred sauce taste AMAZING.
- Mashed Potato Magic: Because regular mashed potatoes are good, but roasted garlic mashed potatoes? That's a whole new level.
- Burger Booster: Top your burger with a dollop of roasted garlic. Trust me, your tastebuds will thank you.
Please note that all nutrition information are just estimates. Values will vary among brands, so we encourage you to calculate these on your own for most accurate results.


